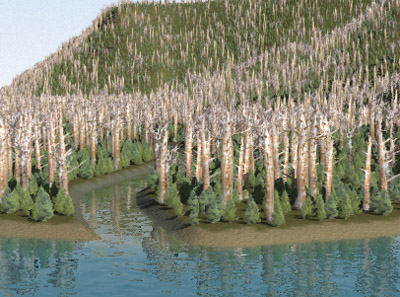
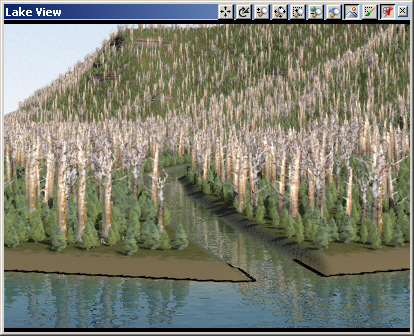
1. We’re close enough to the foliage that we really notice the lack of shadows. Go to the Light Task Mode, select the Shadows category, and Create .
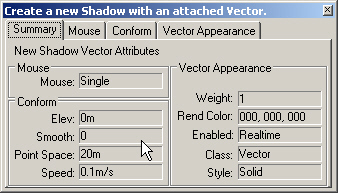
2. We’re creating a new Shadow with an attached Vector. A Shadow Component doesn’t require a bounding vector but it saves rendering time and increases Shadow quality.
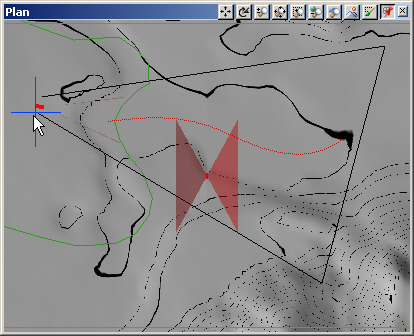
3. Go to the Plan view and digitize a polygon around the Lake View Camera view area.
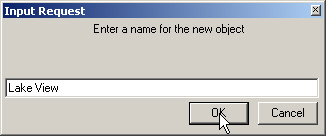
4. Name it Lake View and confirm the operation. Close out the Component Gallery.
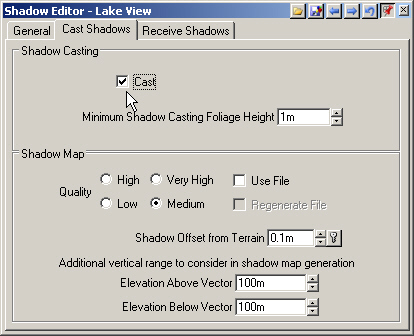
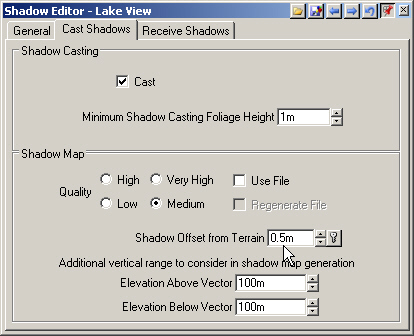
5. Turn to the Cast Shadows page and select Cast. This controls the casting of shadows by terrain and foliage. Shadow-casting of 3D Objects and Clouds is controlled by their respective editors.
6. The Receive Shadows page determines what shadows will be received by the terrain.
7. Save the project and render a preview. The Status window will show that Shadow calculations have been added to the rendering process.
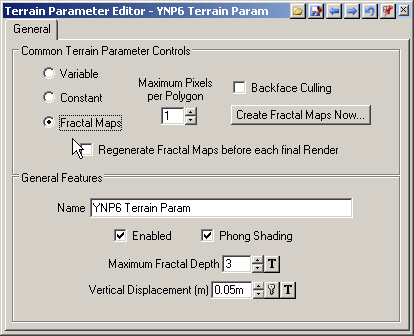
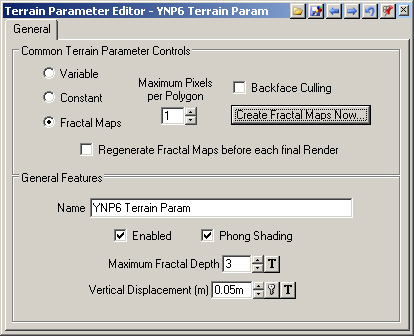
8. Go to the lower S@G tab and open the Terrain Parameter Editor. The last time we talked about fractal depth methods, we learned that Variable was for images and Fractal Maps were for animation. If you are rendering Shadows, use Fractal Maps regardless of whether it’s an image or animation. You’ll get more accurate Shadows. If you choose the Variable method, some trees may not have shadows and vice versa.
9. Fractal Depth Maps are calculated using enabled Render Job Cameras, so let’s add the Lake View Camera to a Render Job. Go to the Render Task Mode and expand the Render Jobs category. Open the YNP6 Render Job.
10. It’s using the Main Camera, so change it to the Lake View Camera.
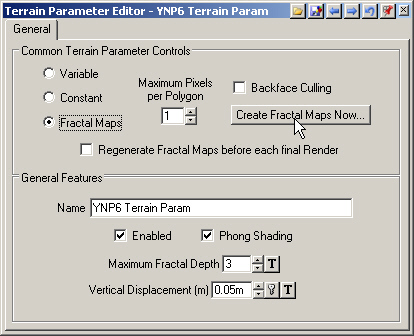
11. Bring the Terrain Parameter Editor forward and Create Fractal Maps.
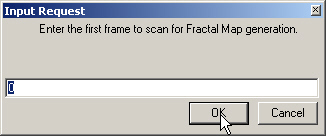
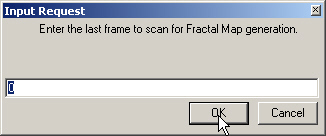
12. Start with frame 0 and end at frame 0.
13. VNS will make a Maximum Fractal Depth suggestion, but we’ll leave it at 3 because we already it gives us the detail we need.
14. Open another Lake View Camera view in the upper right view.
15. Save the project and render a preview.
16. Bring the Shadow Editor forward. By default, Shadows are recalculated for each render. That’s good, since changes to Lights, foliage, and terrain mean changes to Shadows. Once we’re done moving Lights and the foliage is set, Use File will calculate the Shadow Map once, save it, and use it for subsequent renders. This saves a lot of render time.
17. You may have noticed some faint ‘shadow facets’ on the right bank of the stream. VNS 3’s new terrain phong shading has made this effect much less common than it was in VNS 2. If you see it, try increasing the Shadow Offset from Terrain. A value of 0.5 meters did the job here.
18. Save the project and render a left preview.
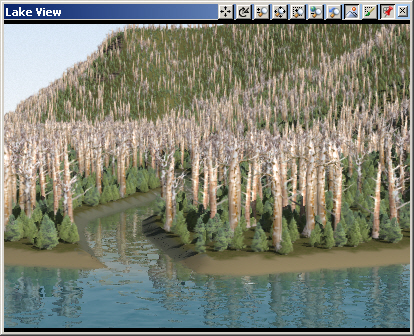
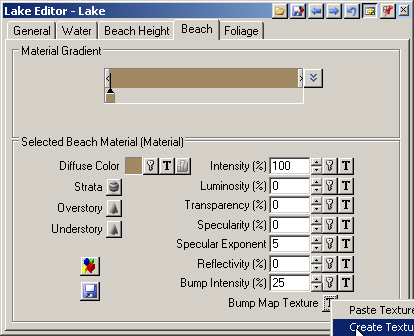
19. The Beach is a little too smooth. Bring the Lake Editor forward. Turn to the Beach page.
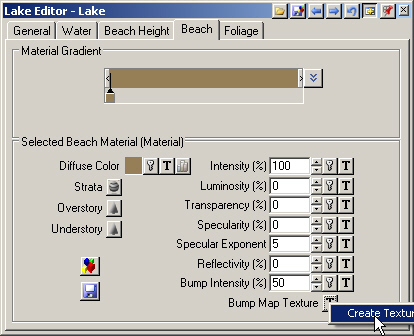
20. Change the Material Bump Intensity to 25%. Add a Bump Map Texture and keep the default settings.