1. Before we start digging streams and lakes, let’s see how Multiple-User Mode and Templates can streamline workflow. Open the YNP5-Final tutorial project from the WCSProjects\Tutorials\YNP folder. We’re going to turn this into a Template.
A template is a great way to save core Components in a single project and have changes automatically propagate to projects based on that template. For example, these tutorials all focus on Yellowstone National Park, a region that shares the same Ecosystems and Environments. If we create future Yellowstone projects using this template, any changes we make to the Template project will automatically be updated in the derivative projects when they’re opened.
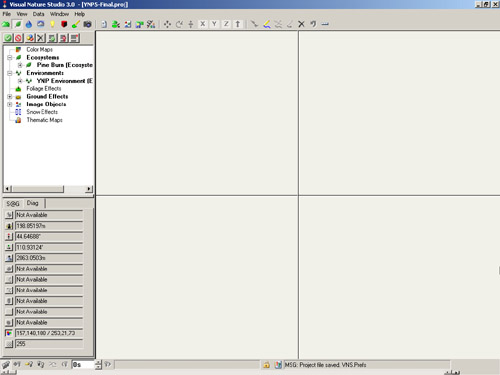
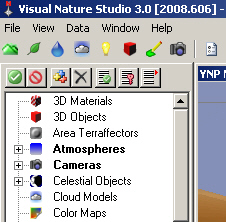
2. Switch to the free form mode in the Scene-at-a-Glance by deselecting the active Task Mode icon. Double-click the pane divider down to maximize the list.
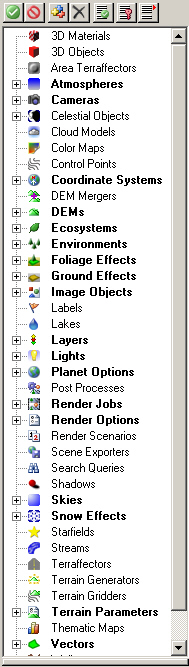
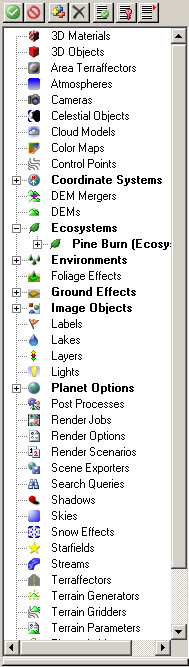
3. We need to remove everything but Components directly related to Ecosystems and Environments. Select each of the following categories or Components, press the Delete key, and confirm the deletion.
Atmospheres Cameras Celestial Objects Grassland Ecosystem Grassland Plan Ecosystem (We don’t need the Grassland Ecosystems for subsequent tutorials) Foliage Effects Lights Render Jobs Render Options Skies Snow Effects Terrain Parameters Vectors (confirm each removal)
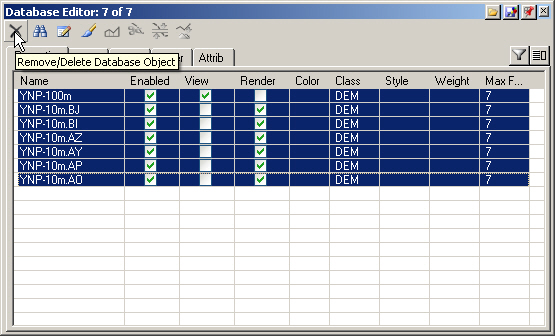
4. We could have removed the DEMs from the Scene-at-a-Glancebut VNS would have had us confirm each removal. The Database Editorwill only ask us once. Open it, select all the DEMs, and Remove.
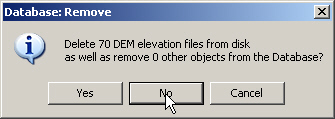
5. Answer No when asked to delete the DEMs from disk as well.
6. Without DEMs, we have no need for Coordinate Systems or Planet Options. Delete them from the Scene-at-a-Glance. Old layers may hang around even when nothing is attached to them. Right-click the Layers category and Purge unused layers from Project.
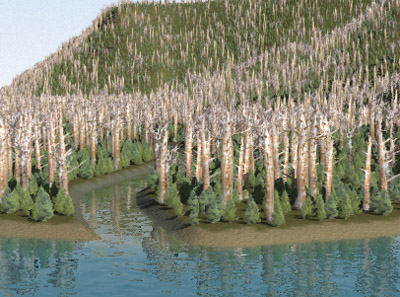
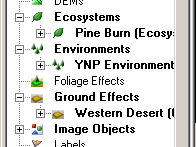
7. That leaves us with an Ecosystem, Environment, Ground Effect, and some Image Objects.
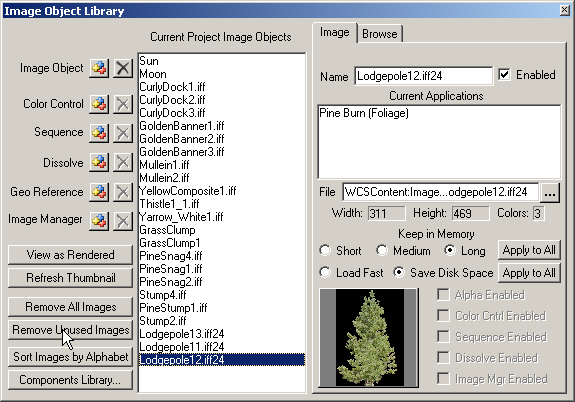
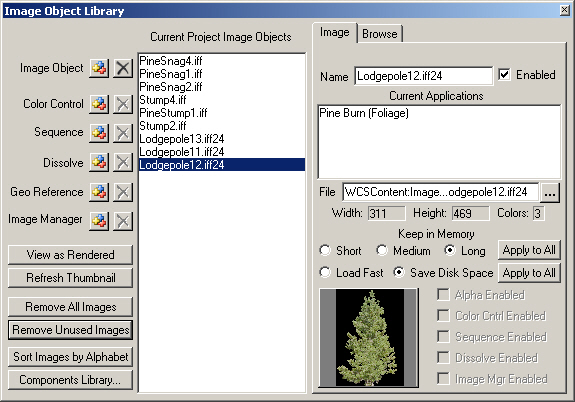
8. Open the Image Object Library. Some of these images belong to now-defunct Ecosystems so Remove Unused Images. Close the editor.
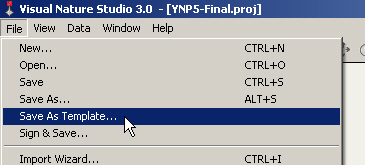
9. Double-click the pane divider to return it to its previous location. Go to the File menu and Save AsTemplate.
10. VNS offers you the option of making the project portable to other machines. We’ll only be using this template on this machine so answer No.
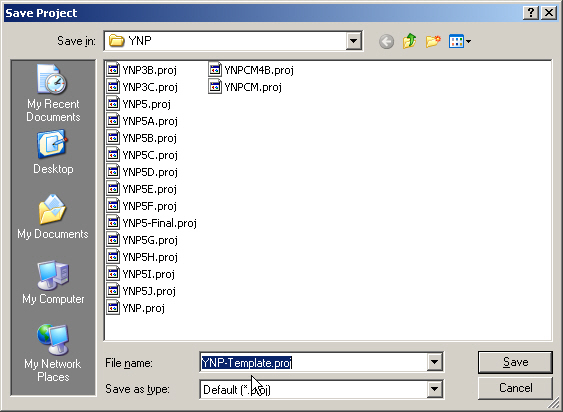
11. Save the template as YNP–Template.
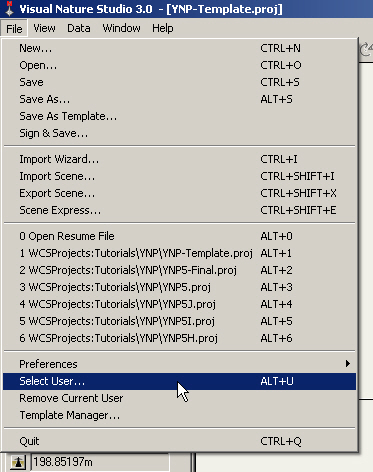
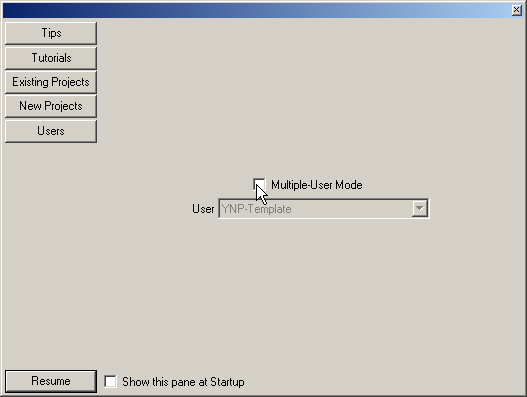
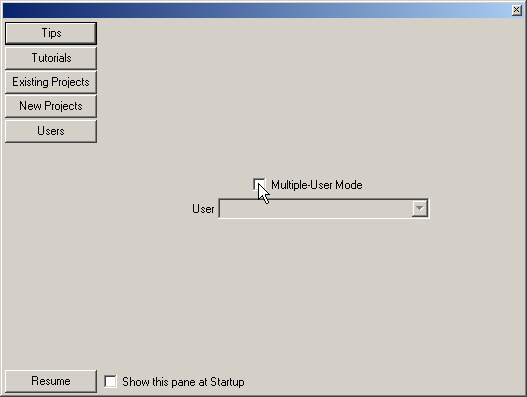
12. The Multi-User Mode makes it easy to open the template project for editing. Go to the File menu and Select User.
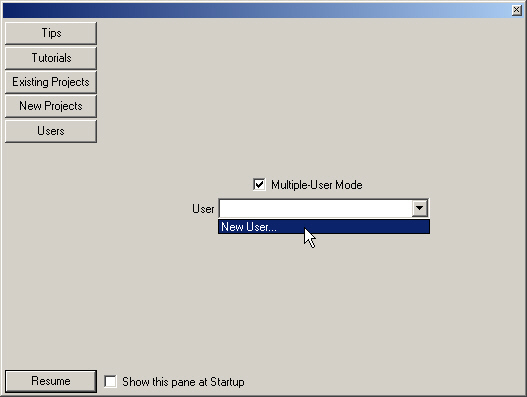
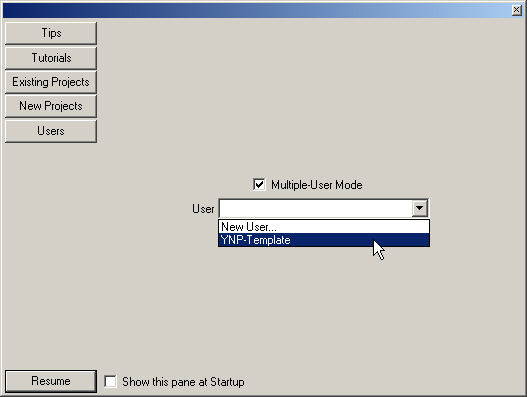
13. Check the Multiple-User Mode and select New User from the User dropdown list.
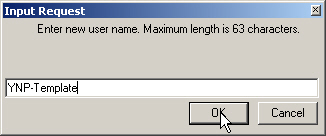
14. This is the YNP template-editing user, so name the user YNP-Template.
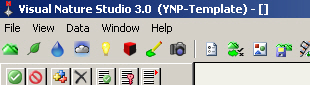
15. Once you do this, you’ll notice that the user name is added to the titlebar between the VNS version and the project name brackets.
16. Open the YNP-Template project and save it to set the user preferences.
17. Go to the menu and select File > Select User. Deselect Multiple-User Mode. This returns us to the normal mode we’ve been using.
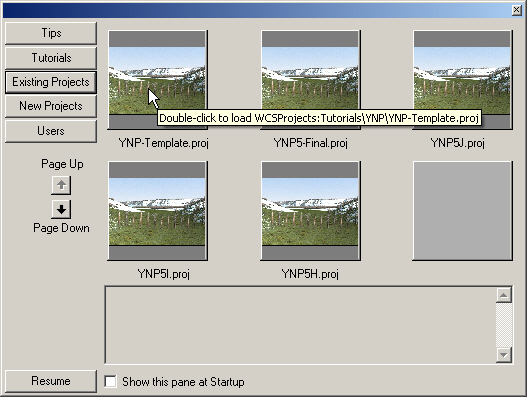
18. Select Existing Projects and open YNP5-Final again. Now imagine we’ve been working on this project and want to change the YNP template. Go to the File menu and Select User.
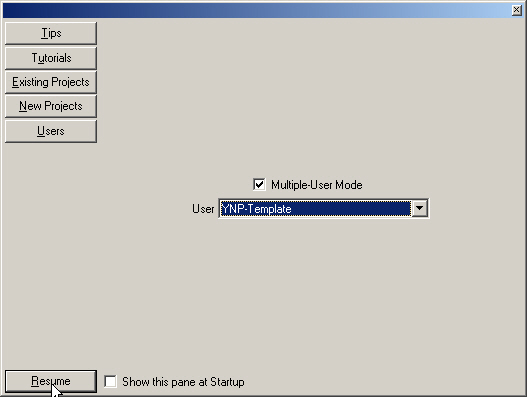
19. Check the Multiple-User Mode and select YNP-Template from the User dropdown list. Resume and the template project comes up ready to edit.
20. Let’s get back into normal user mode. Go to the menu and select File > Select User. Deselect Multiple-User Mode.