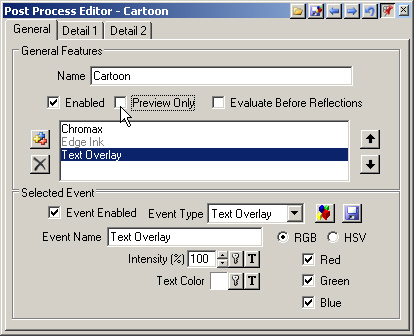
1. Go to the Post Process Editor General page. Deselect Preview Only to allow Post Process rendering to file. Save the project.
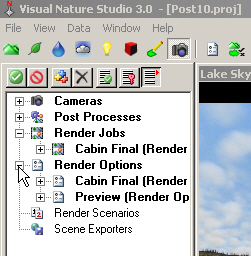
2. Expand the Render Jobs and Render Options categories in the Scene-at-a-Glance.
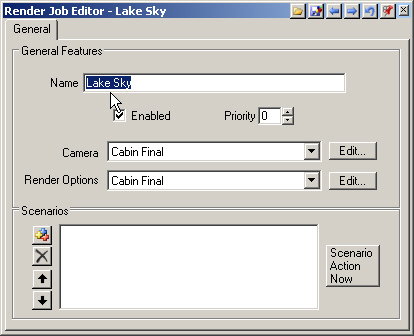
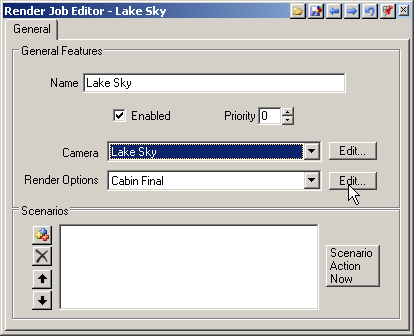
3. Open the Cabin Final Render Job and rename it Lake Sky.
4. Change the Camera to Lake Sky. Edit the Render Options.
5. Rename it Lake Sky.
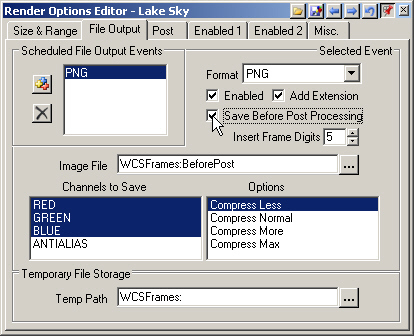
6. Go to the File Output page and change the Format to PNG. Change the Image File name to BeforePost. Select Save Before PostProcessing.
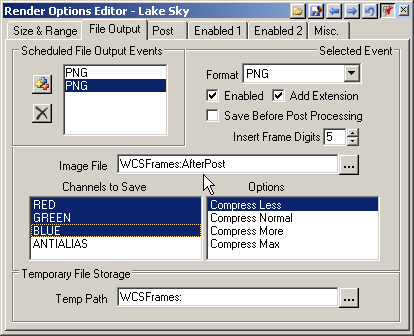
7. Add another PNG Output Event and change the Image File name it AfterPost.
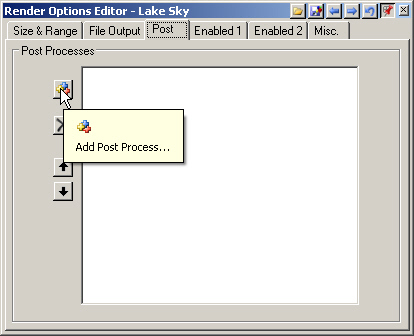
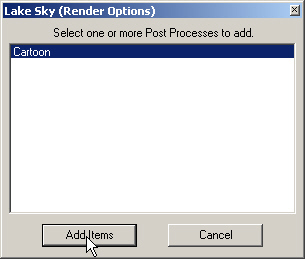
8. Go to the Post page and Add Post Process.
9. Select the Cartoon item from the Post Process list in the Lake Sky popup window. Confirm the operation.
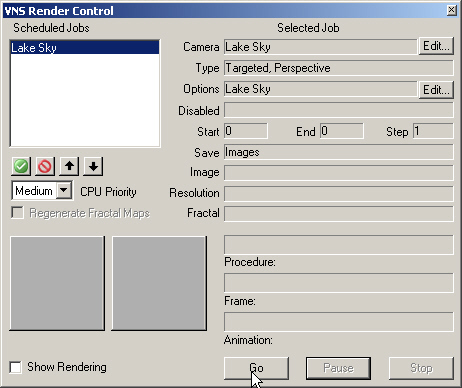
10. Open Render Control. Confirm the Camera, Options, and Save settings for the Lake Sky Render Job. Give the Render Job a Go.
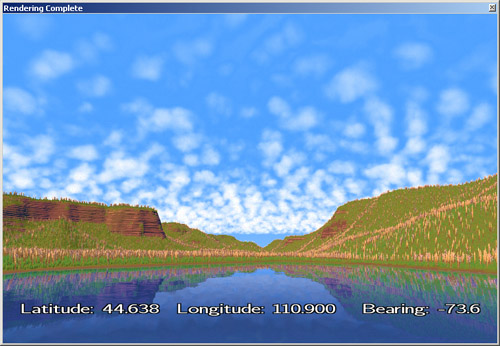
11. When VNS is finished rendering, click Show Rendering in the Render Control window to show the render with post processing.
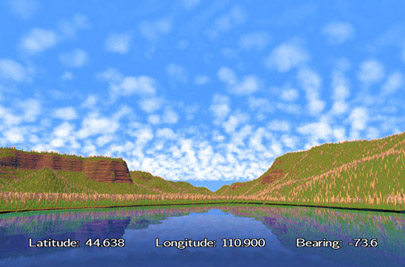
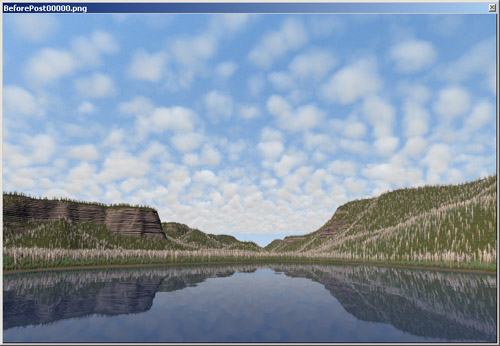
12. Go to the menu and View > View Image > From Disk. Open BeforePost00000.png. Even if you don’t do many effects, this method is handy for adding project information to renders.