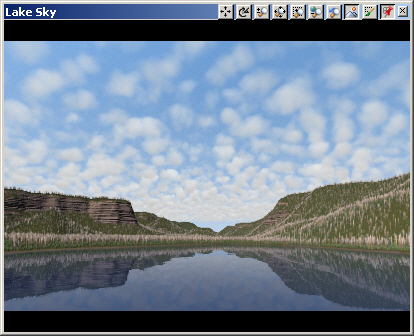
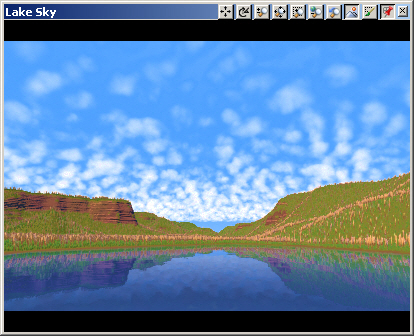
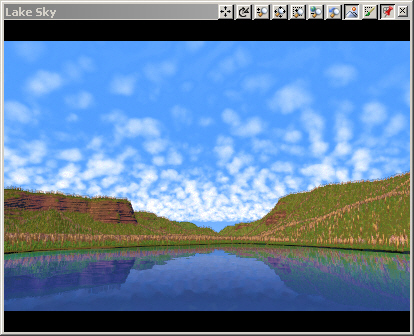
1. With Post Processes we can render many effects that were previously done in post and also use project parameters to create effects that we can’t do in post. Open the Post project from the Tutorials\YNP folder. Save the project as Post10. Render the upper left Lake Sky view.
2. Go to the Render Task Mode. Right-click the Post Processes category and Add Component of this type.
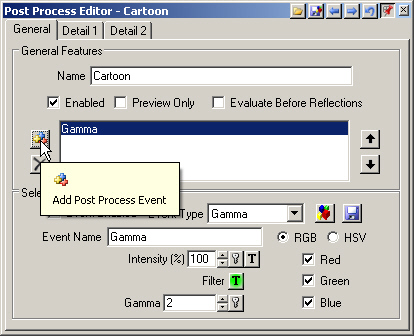
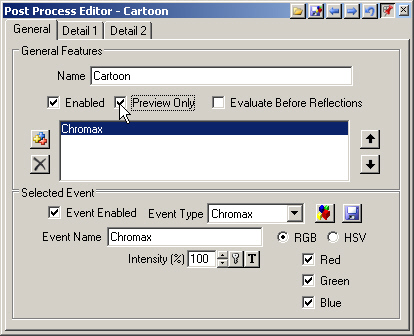
3. Name it Cartoon. Add Post Process Event and the type will default to Gamma.
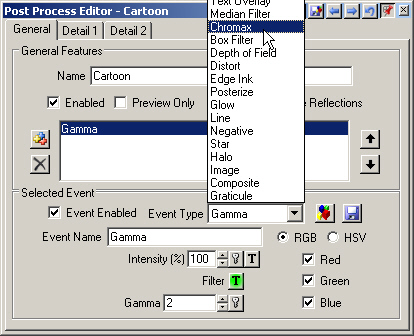
4. Go to the Event Type dropdown list and select Chromax.
5. Select Preview Only and the render will refresh and preview the Chromax effect.
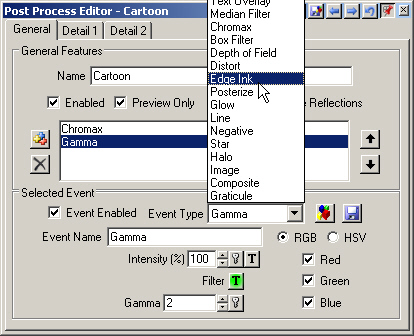
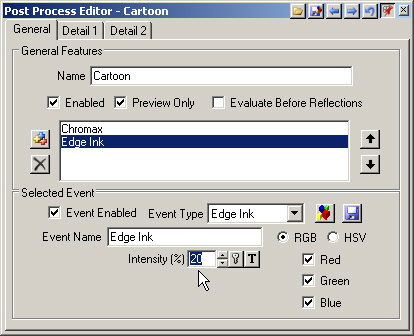
6. Add another Post Process Event. Choose Edge Ink from the Event Type dropdown list.
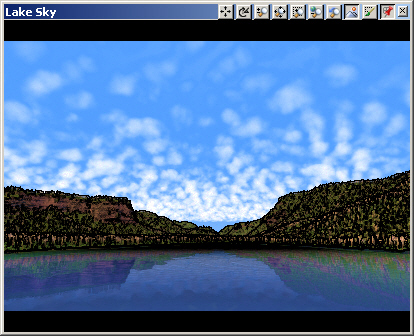
7. That’s a bit too much ink, so decrease the Intensity to 20%.
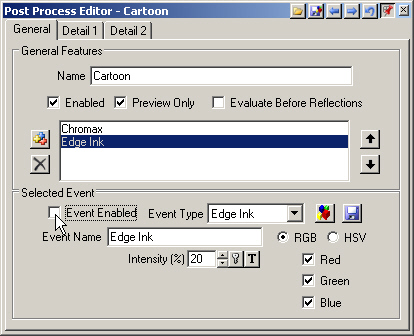
8. Deselect the Event Enabled box to turn Edge Ink off.
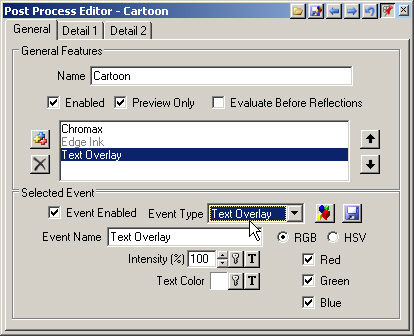
9. Add another Post Process Event and select Text Overlay from the Event Type dropdown list.
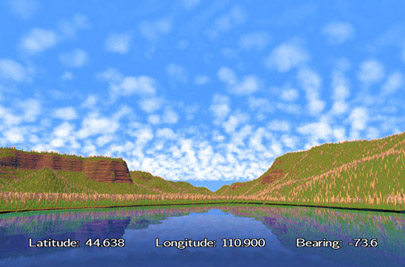
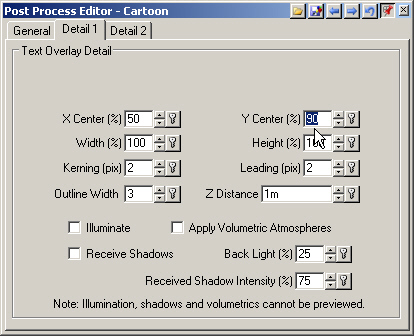
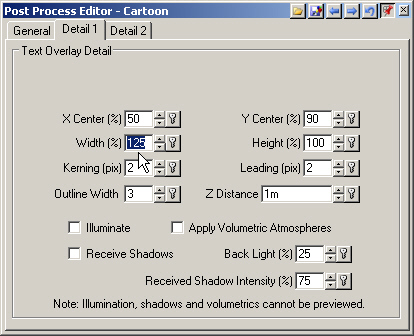
10. Go to the Detail 1 page and change the Y Center to 90%.
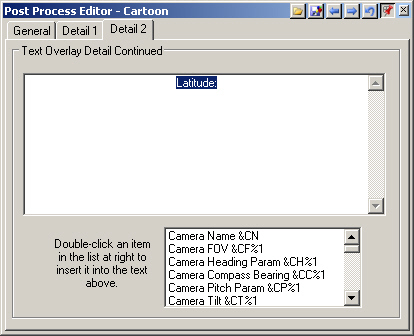
11. Go to Detail 2 and type Latitude: in the Text box.
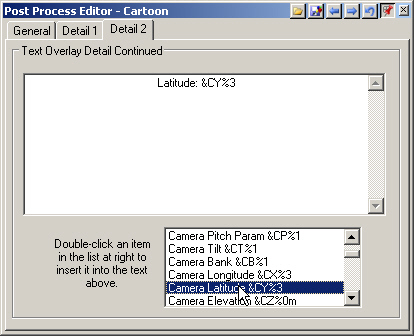
12. Double-click Camera Latitude from the lower list to add it to the text string.
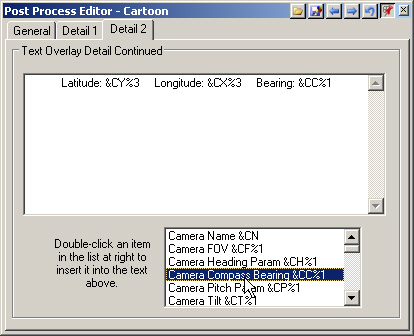
13. Type 3 spaces Longitude: and add the Camera Longitude from the lower list. Type 3 spaces Bearing: and add the Camera Compass Bearing.
14. Go back to the Detail 1 page and increase the Width to 150%. Save the project.