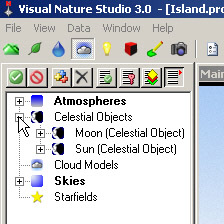
1. Switch the Main view to realtime mode. Let’s add an oversized moon to the sky. Go to the Sky Task Mode and expand the Celestial Objects category.
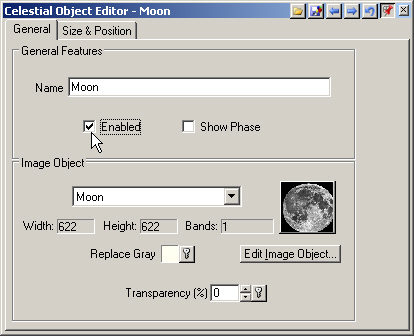
2. We have a Moon and Sun Component, but they aren’t enabled. Double-click the Moon to open its editor and active it. Enable it.
3. Ctrl+click to place the Moon in the sky to the left of the island.
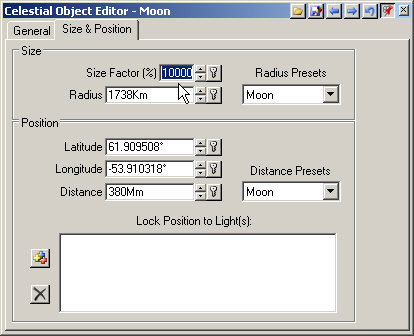
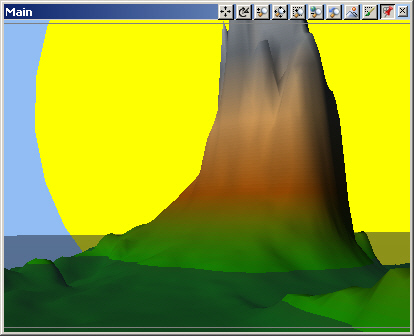
4. To enlarge it, go to the Size & Position page and increase the Size Factor to 10,000%.
5. Select the Move Mode button on the icon toolbar.
6. Click and drag the Moon to a new position right of its current one. This will take some getting used to as celestial objects don’t necessarily move in the direction you drag them.
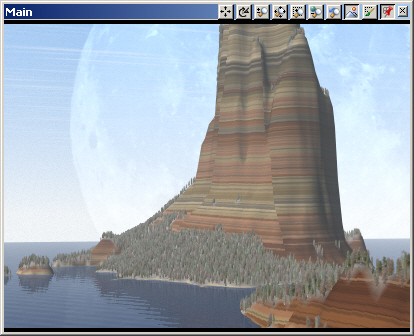
7. Save the project and render a preview.
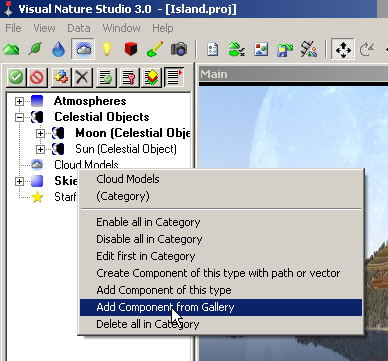
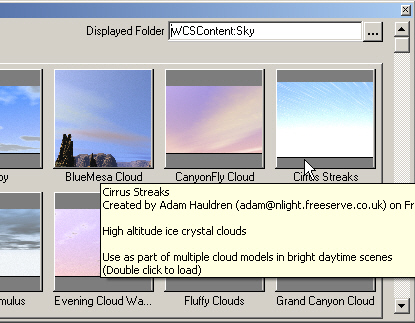
8. Right-click the Cloud Models category and Add Component from Gallery.
9. Load the Cirrus Streaks.
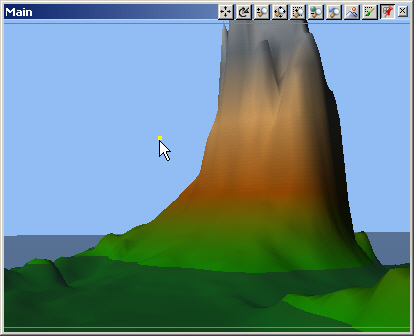
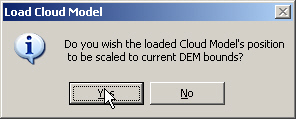
10. Scale the Cloud Model’s position to current DEM bounds.
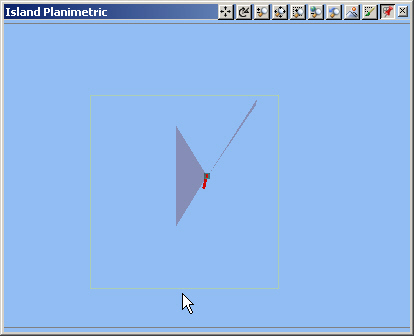
11. Activate the Island Planimetric view and zoom back with the minus (-) key until you see the yellow outline of the cloud bounds box.
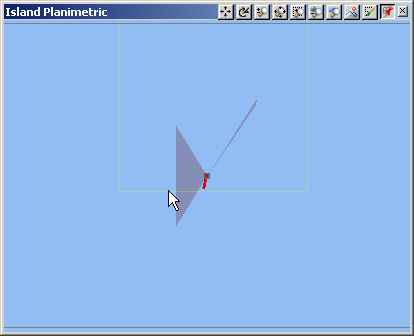
12. The Cloud Model is still the active item and we’re still in MoveMode, so click and drag the clouds north so the southern bound is near the Main camera icon. We’ll look at clouds in more detail in the Sky & Clouds tutorial.
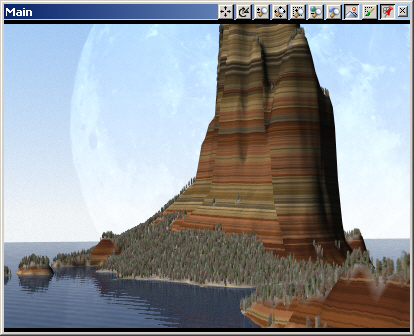
13. Save the project and render a preview.
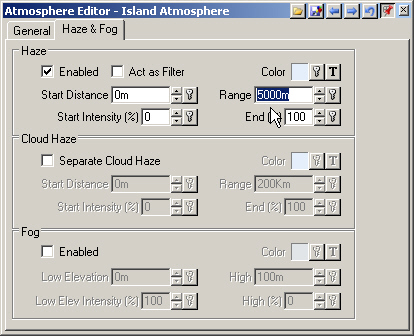
14. We’re working with a small DEM and the edge is clearly visible at the horizon. We’ll increase atmospheric haze to make the horizon appear farther away. It’ll have the secondary effect of making the air around our tropical island look more humid. Expand the Atmospheres category in the Scene-at-a-Glance.
15. Open the Atmosphere Editor to the Haze & Fog page. We already have the Haze that VNS assigned to the project, we just need to change the distance where it reaches full intensity. The DEM is a little over 3 kilometers across, so let’s change the Range to 5000 meters and Enter.
16. Save the project and render a preview.
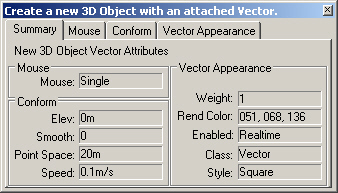
17. Last but not least, we need a high tension tower to complete the idyllic scene. Go to the 3D Object Task Mode , select the 3D Objects category, and click Create on the Icon Toolbar.
18. The Create window tells us we’re creating a new 3D Object with an attached vector. Always check the titlebar and confirm that you and VNS are creating the same thing.
19. Left-click once on the foreground ridge to place a vertex and right-click to finish digitizing.
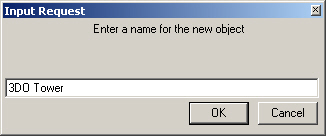
20. When the InputRequest window pops up asking for a vector name, name it 3DO Tower.
21. The 3DO Tower window will ask if the vector is for position or alignment. We want to place the tower at the vector point, so select Position.
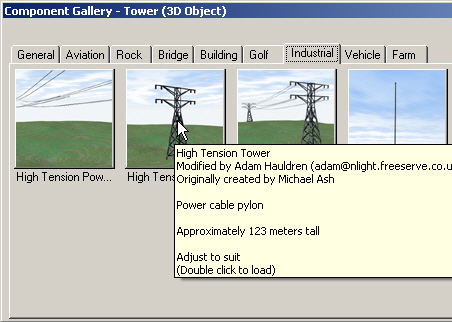
22. Go to the Industrial page of the Component Gallery and load the High Tension Tower.
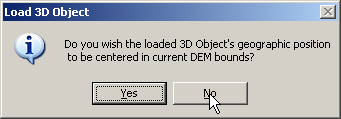
23. Answer No when asked if you want to center the object on the DEM. We’re placing the object with a vector.
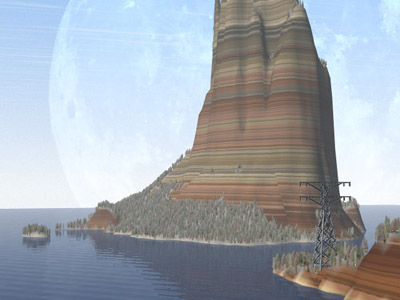
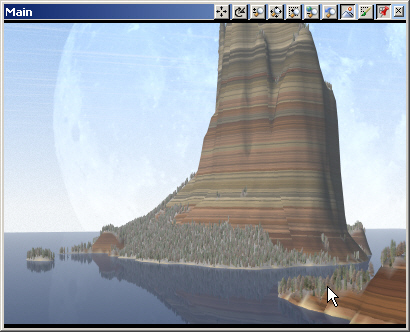
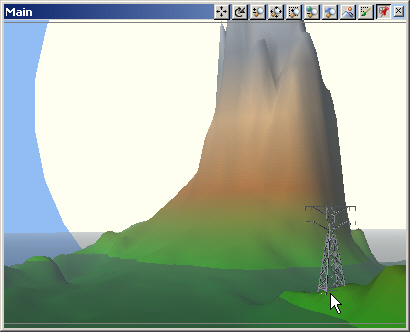
24. Activate the Main view and switch to realtime mode. You’ll see the tower right where we placed it.