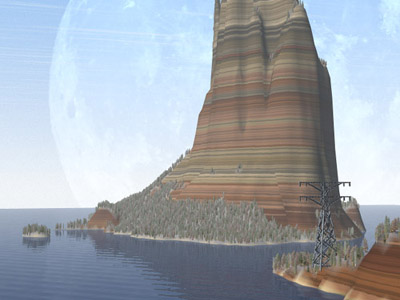
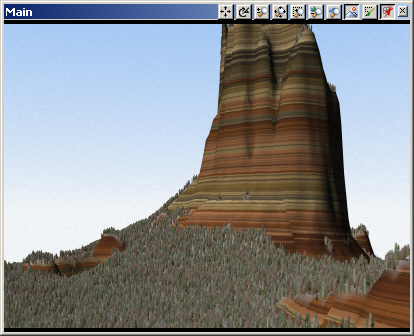
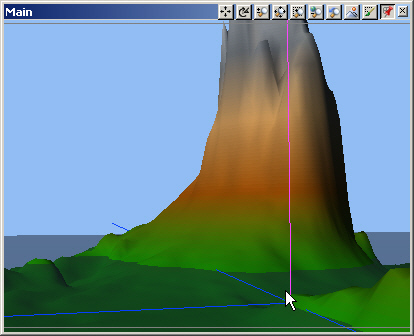
1. Now it’s time for lighting. Our Main view looks north with the default morning Light. Since most of the view is west-facing terrain, let’s move the sun to an afternoon position.
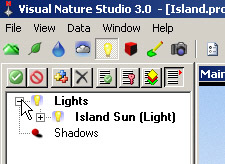
2. Go to the Light Task Mode in the Scene-at-a-Glance and expand the Lights category.
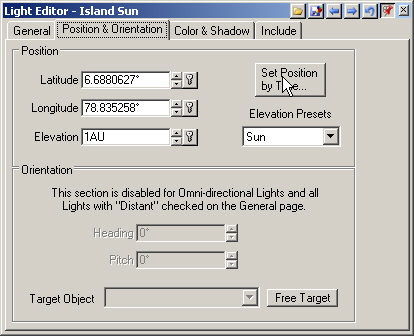
3. Open the Light Editor to the Position & Orientation page. Select Set Position by Time.
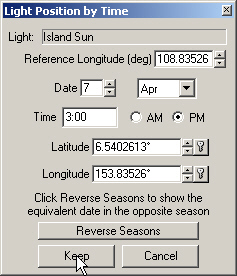
4. Change the time of day to 3 pm and Keep it. You’ll see the lighting update in the realtime view.
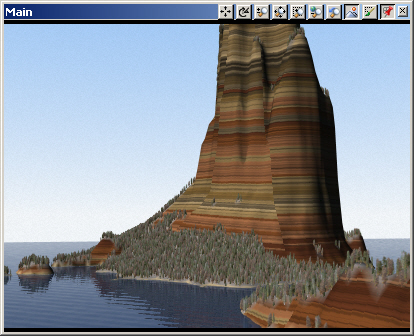
5. Save the project and render a Main preview.
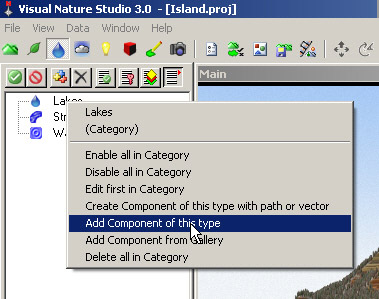
6. Since this is advertised as an island project, let’s add water to it. Go to the Water Task Mode. We have no bold categories, which means no Components yet.
7. Right-click the Lakes category and Add Component of this type.
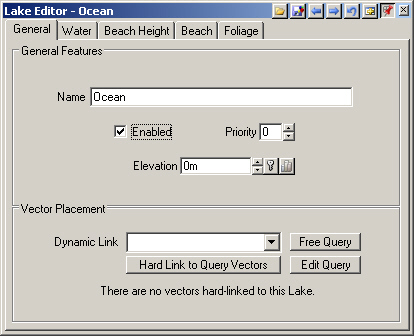
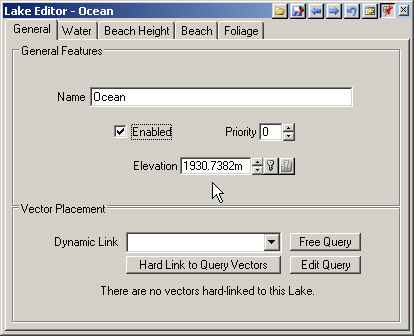
8. Rename the Lake Ocean and Enter.
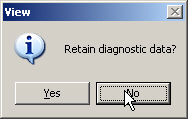
9. Activate the Main view and key F8 to switch to realtime mode. Don’t retain Diagnostic Data when prompted.
10. The Ocean is still the active item, so Ctrl+click a new water Elevation in the Main view, along the base of the foreground ridge. The OpenGL water will rise to the new shoreline.
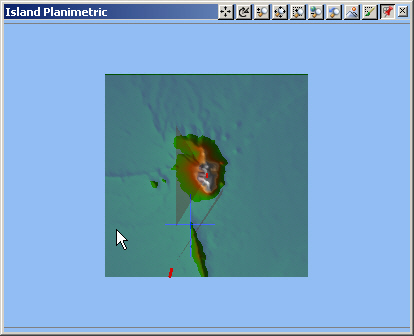
11. The water also rises in the planimetric view.
12. The Lake EditorElevation field updates with the new ocean level.
13. Save the project and render a preview.
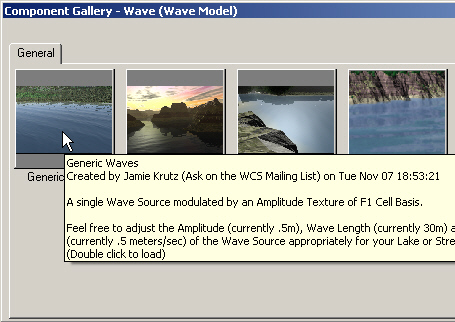
14. Let’s break up the water surface with some waves. Right-click the Wave Models category in the Scene-at-a-Glance and Add Component from Gallery.
15. Load Generic Waves.
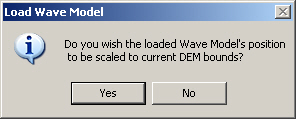
16. When the Load Wave Model window pops up, confirm that you want to scale the Wave Model’s position to current DEM bounds.
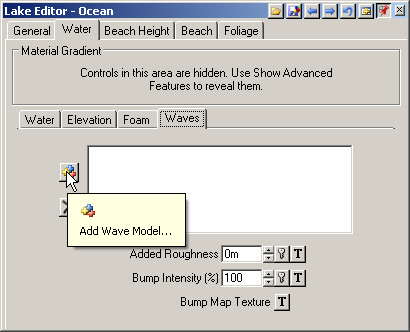
17. We have waves; all we have to do is add them to the Ocean. Go to the Lake EditorWater page and select the Waves tab. Add Wave Model.
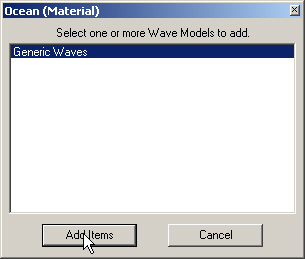
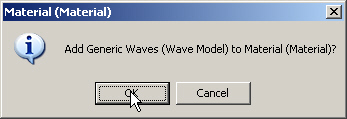
18. Select Generic Waves in the Ocean (Material) window and Add Items.