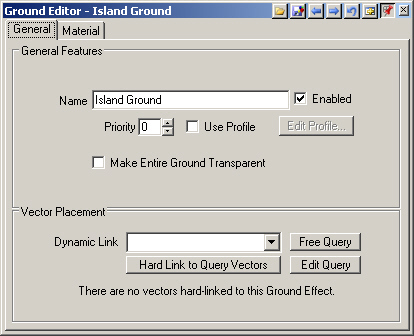
1. Terrain always has Ground Effect covering it. Open the IslandGround Editor by double-clicking it in the Scene-at-a-Glance. You can also open a Component by double-clicking it in a preview render.
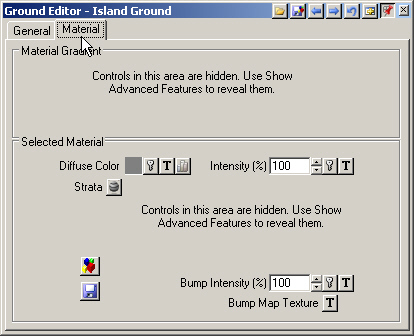
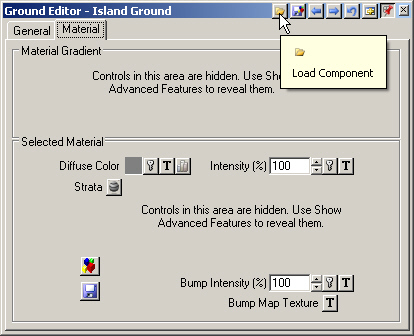
2. Go to the Material page.
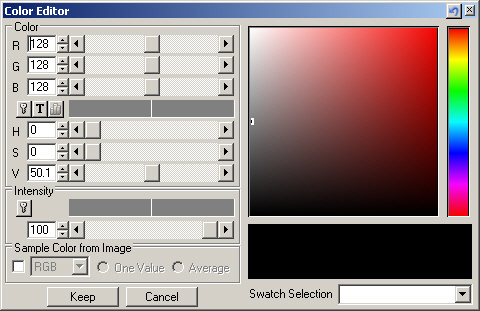
3. Click the Diffuse Color color well to open the Color Editor. We could choose a new color or pick one from one of the Swatches, but we’re not going to. Close the editor.
4. We’ll load one of the prebuilt Components that come with VNS. Select Load Component from the titlebar.
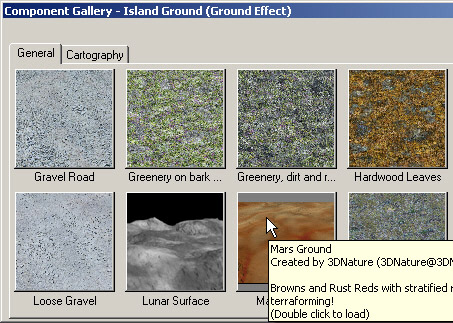
5. The Component Gallery will open to the Ground Effect section. Scroll down to Mars Ground and double-click the thumbnail to load it.
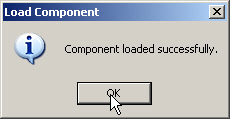
6. Save the project and render a preview.
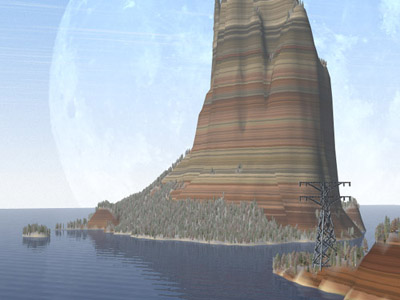
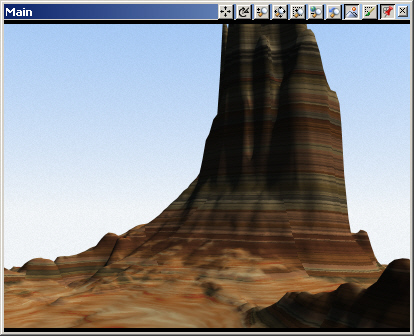
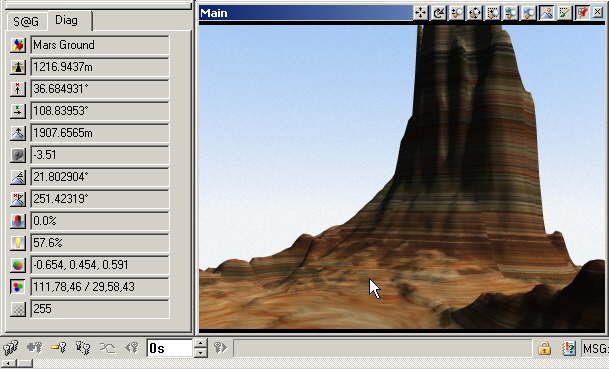
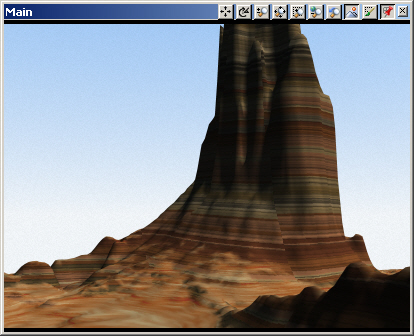
7. It’s starting to look more like real terrain, thanks to the new Ground Effect. Now when we click on the terrain, the Diagnostic Data tells us it’s covered with the Mars Ground Component.
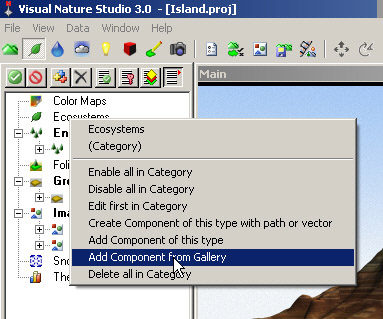
8. We’ll use a simple Ecosystem from the Component Gallery to add trees to our island paradise. Right-click the Ecosystems category in the Scene-at-a-Glance and select the Add Component from Gallery option.
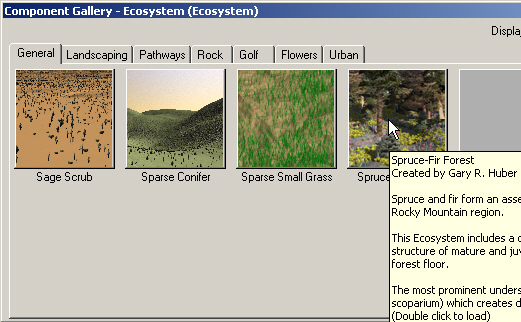
9. When the Component Galleryopens, make your way to the last page and load the Spruce-Fir Forest.
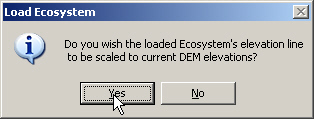
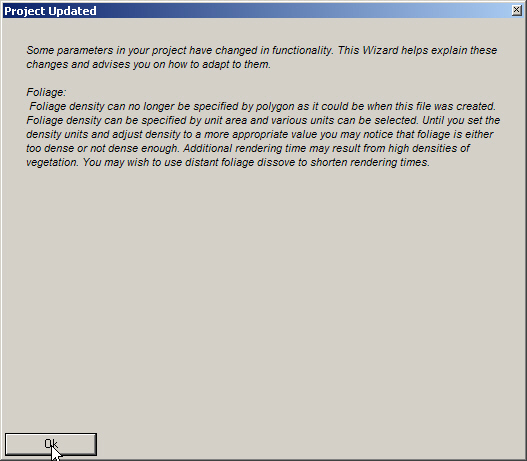
10. When the Load Ecosystem box pops up asking if you want to scale the Elevation Line to the current DEM, answer Yes.
You may also get a Project Updated window describing significant changes to the program since the last version. If you are a VNS 2 user, this window will contain important information. If you are new to VNS, you won’t have to worry about it.
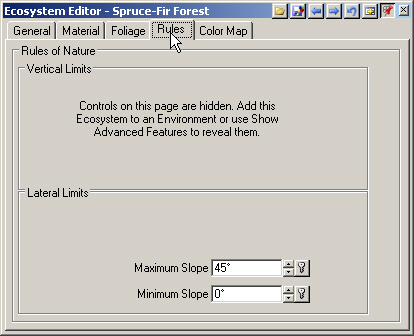
11. We’ll look at Ecosystems more in an upcoming tutorial. For now, let’s just look at the Rules page. We use the Rules-of-Nature to tell VNS which terrain polygons to render the Ecosystem on. For now, let’s just note that the Ecosystem is set to render on all polygons between a Minimum Slope of 0º and a Maximum Slope of 45º. For more information on these and other Rules-of-Nature, use the F1key to open the Interactive Reference Manual.
12. Save the project and render a preview.
13. So where’s the Spruce-Fir Forest? Just having an Ecosystem in the project does not add it to the scene. An Ecosystem has to be attached to a Vector, Color Map, or Environment so VNS knows where to place it.
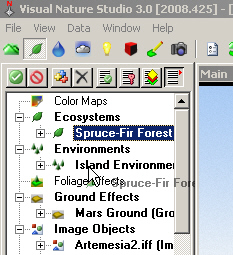
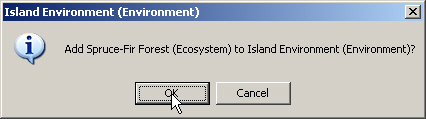
14. We don’t want to limit the lateral extent of the Ecosystem, so we’ll add it to the default Environment, which has a global effect. Expand the Ecosystems category in the Scene-at-a-Glance, select Spruce-Fir Forest, and click, drag, and drop it on the Island Environment.
15. When asked, confirm that you want to add the Ecosystem to the Environment.
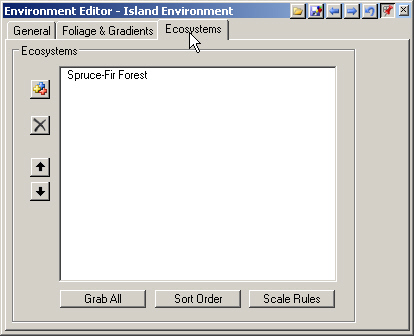
16. Open the Environment Editorto the Ecosystems page and you’ll see the Spruce-Fir Forest.
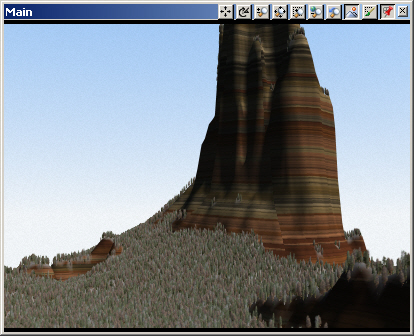
17. Save the project and render a preview.
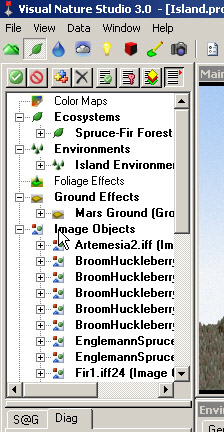
18. The Spruce-Fir Forest Ecosystem is made up of 24 Image Objects of grass, weeds, and trees. You may have noticed them added to the Scene-at-a-GlanceImage Object category as the Ecosystem was loaded from the Component Gallery.
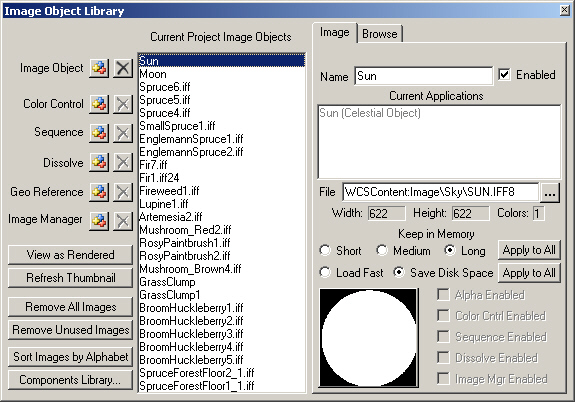
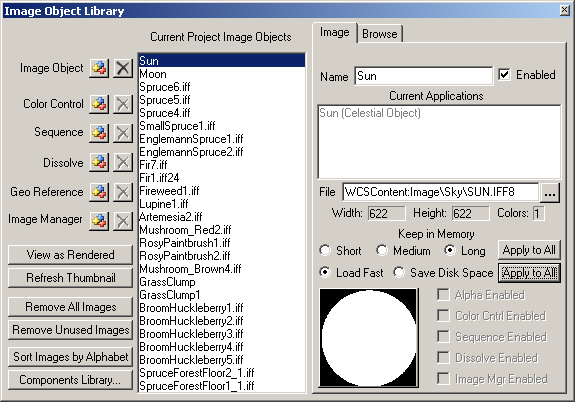
19. The best place to find them is in the Image Object Library, which you can open from the Icon Toolbar. Here you can add and remove Image Objects and edit image properties.
20. To optimize image loading and render time, go to the Keep in Memory section above the thumbnail, select Load Fast and Apply to All. This will create fast loading versions of the Image Objects. Close the Image Object Library.