3DNature

3D Landscape Design & Visualization Software published and supported by AlphaPixel

Menu
Getting Started with VNS 3: Sky & Clouds

Part 9C. Layered Clouds

1. Now for the clouds. Switch the Lake Sky view back to realtime mode. Open the Plan view popup menu and select View > New Planimetric Camera.
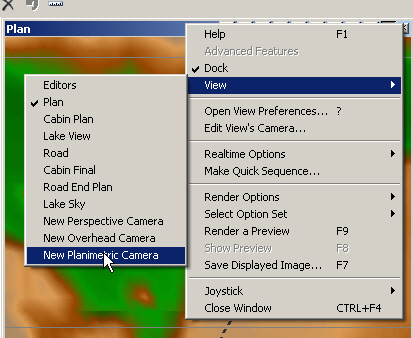
A software interface displaying a menu with options for different camera views. The "New Planimetric Camera" option is highlighted, and the "View" dropdown menu is open.

2. The Plan Camera view will be replaced by the new Planimetric Camera view.
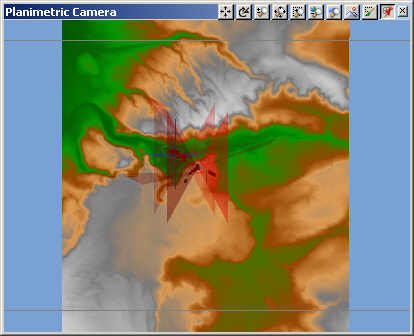
A topographic map displayed on a computer screen, featuring elevations in green, brown, and gray, with various toolbar icons at the top.

3. Go to the Scene-at-a-Glanceand double-click the empty Cloud Models category to add a new Component. The views will update with the default Cloud Model bounds.
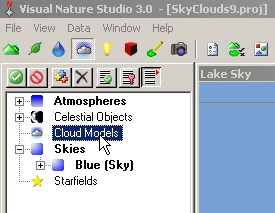
A screenshot of Visual Nature Studio 3.0 software showing a project file. The cursor hovers over the "Cloud Models" option under a list that includes Atmospheres, Celestial Objects, and Skies.

4. Rename it 2D Layers. Select the second A little thicker and denser type.
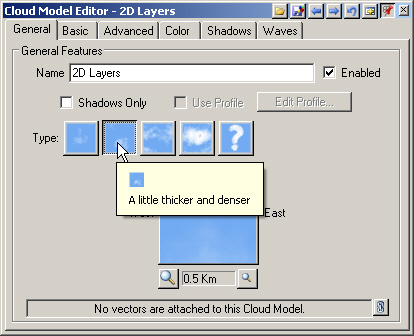
Screenshot of Cloud Model Editor showing options for 2D layers. A cursor hovers over a blue cloud icon with a tooltip saying, "A little thicker and denser." Various cloud types are selectable.

5. Turn to the Basic page and Set Bounds in a View.
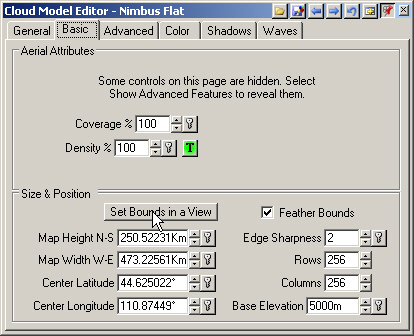
A software interface displaying settings for a cloud model editor, including controls for coverage, density, size, position, sharpness, rows, and elevation. Menu tabs are visible at the top.

6. The Set Cloud Model Bounds box reminds us that the next two points clicked will become the Cloud Model bounds.
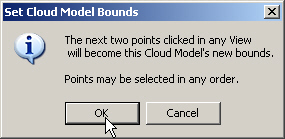
A dialog box titled "Set Cloud Model Bounds" with instructions and two buttons: "OK" and "Cancel." A cursor is clicking the "OK" button.

7. Activate the Planimetric Camera view and zoom out once with the key. To minimize render time, we only place clouds where we can see them in camera views. Left-click once behind the Lake Sky Camera near the lake. Click again to the northwest. The view will refresh with a shaded box representing the Cloud Model.
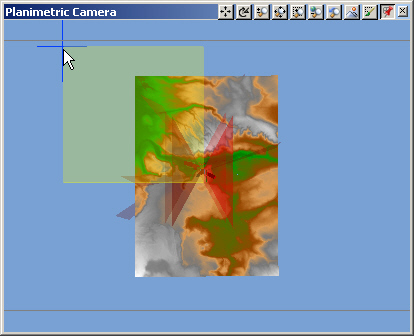
A computer interface displaying a topographic map with overlaying colored sections and a cursor pointing to a corner. Various tool icons are shown at the top.

8. Looking at the Lake Sky view, you can tell from active Cloud Model plane that we didn’t make it big enough.
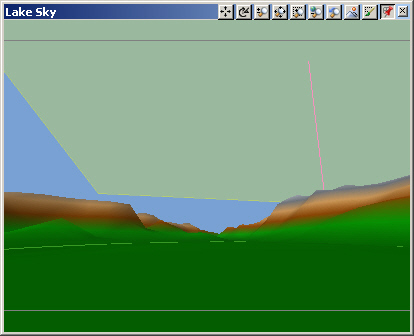
A digital landscape rendering showing a horizon with green hills, a blue lake, and a pale sky, as viewed from a computer modeling software interface.

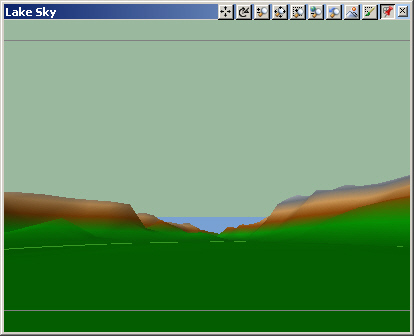
9. Zoom back another notch in the Planimetric Camera view. Set Bounds in a View again and create a larger Cloud Model area. Make it large enough to cover the sky in the Lake Sky view. If it doesn’t, repeat the process until it does.
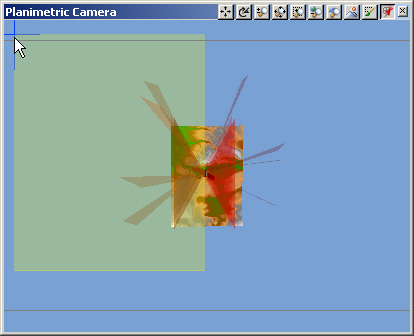
A computer screen displays a planimetric camera interface with various icons and a multicolored object in the center. A mouse cursor points to the left side of the screen.
A computer-rendered landscape showing a green valley with brown hills on the sides and a blue sky above. The interface displays the title "Lake Sky" with various tool icons at the top.

10. Save the project and render a Lake Sky preview.
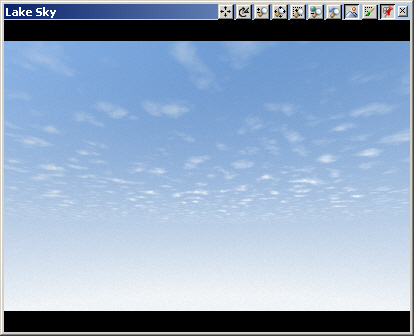
A computer screen displays an image titled "Lake Sky," showing a gradient of a clear blue sky with scattered white clouds.

11. This type of Cloud Model uses stacked layers to give the illusion of vertical depth. This works very well for clouds at high elevations. The Basic page has the Coverage and Density controls, the key tools for customizing your clouds.
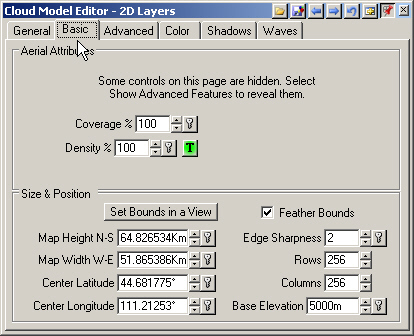
A screenshot of the Cloud Model Editor showing settings for Basic attributes, including aerial attributes and size & position parameters with various adjustable fields and options.

12. Think of Coverage as Clouds per unit area. The maximum value is 100%.
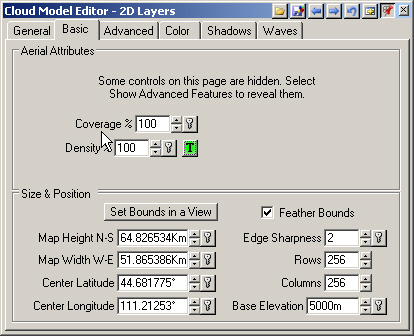
Interface of the Cloud Model Editor - 2D Layers with options for Aerial Attributes and Size & Position. Numeric input fields and drop-down menus are displayed for customization.

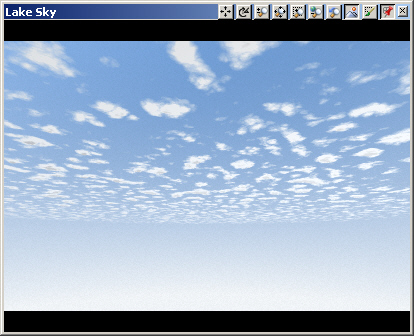
13. Density controls individual cloud density and size within the texture. Increase the value to 500%. Save the project and render a preview.
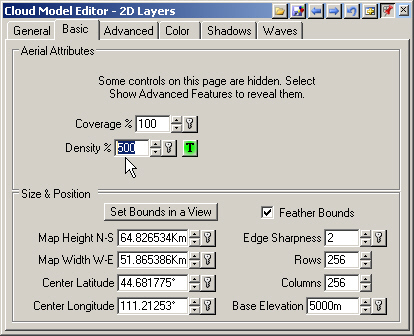
Screenshot of a Cloud Model Editor window showing 2D Layers settings. The main options visible are Aerial Attributes for Coverage and Density and Size & Position settings for map dimensions and coordinates.
A computer screen displaying an image of a blue sky dotted with scattered white clouds.

14. The Density texture is the Cloud Model pattern itself.
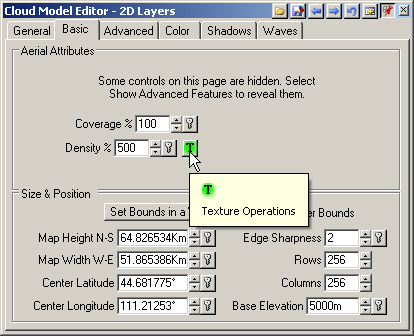
Screenshot of a Cloud Model Editor interface for 2D layers, showing options for aerial attributes such as coverage and density, and size & position settings including map height, width, and center coordinates.

15. The Shadows page controls the casting of shadows by Cloud Models.
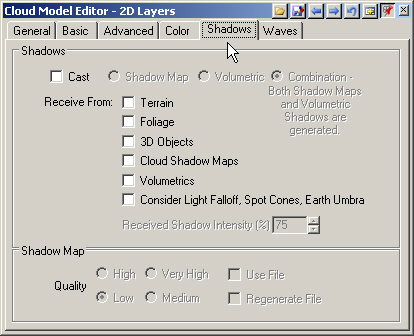
Cloud Model Editor user interface displaying settings for shadows, including options for cast shadows, shadow map quality, and shadow intensity.

16. Receiving of shadows by terrain and foliage is controlled by a Shadow Component. Go to the lower S@G tab and double-click the Shadows category to open its only Component, which is currently disabled.
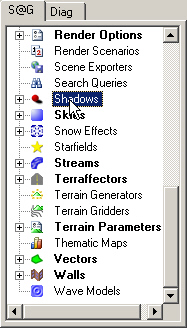
A computer software interface showing a list of options including Render Options, Skies, Streams, Terraffectors, Terrain Parameters, Vectors, Walls, and Wave Models. The Shadows option is highlighted.

17. The Receive Shadows page sets what shadows the terrain receives.
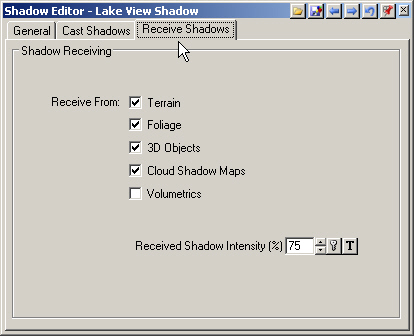
Screenshot of the Shadow Editor window with options for receiving shadows from Terrain, Foliage, 3D Objects, Cloud Shadow Maps, and Volumetrics, with shadow intensity set to 75%.

18. Open the Lake Sky popup menu and select Render Options > Terrain > Terrain to enable it for rendering.
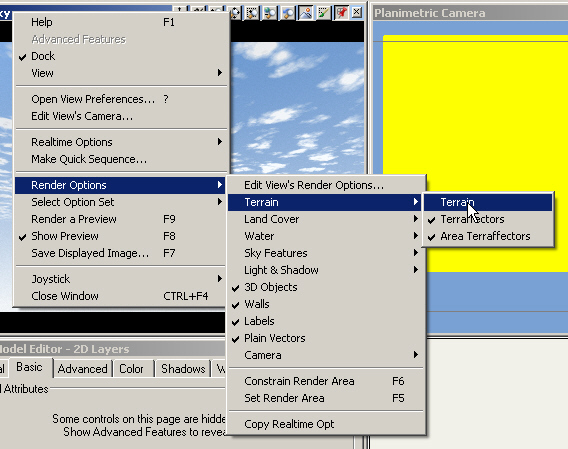
A software interface showing a dropdown menu. Render Options is selected, opening another menu with Terrain highlighted under various landscape and 3D rendering options.

19. Save the project and render a preview.
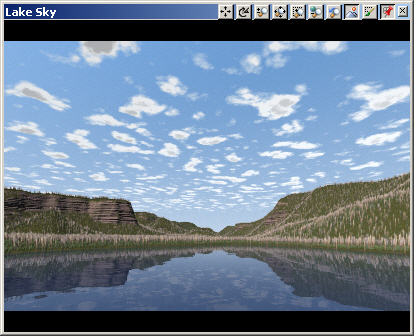
Computer-generated image of a tranquil lake surrounded by rocky hills with a partly cloudy sky reflecting on the water's surface. Toolbar visible at the top.

20. Return to the Cloud Model Editor General page and disable the Cloud Model.
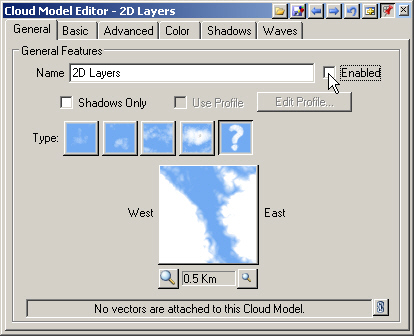
A screenshot of the Cloud Model Editor window showing the 2D Layers tab with various cloud type options and a preview map. A checkbox for "Enabled" is checked on the upper right side.
Scroll to top
Skip to content