3DNature

3D Landscape Design & Visualization Software published and supported by AlphaPixel

Menu

Part 9D. Volumetric Clouds

Getting Started with VNS 3: Sky & Clouds

Part 9D. Volumetric Clouds

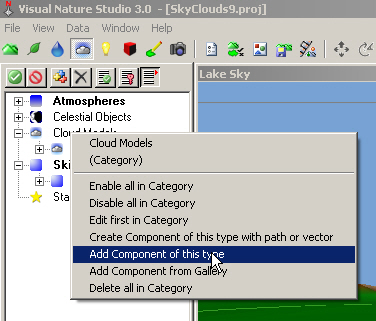
1. Go to the Scene-at-a-Glance, right-click the Cloud Models category, and Add Component of this type.

A software program interface showing "Visual Nature Studio 3.0" with a context menu open, displaying options for adding a component to the "Lake Sky" category in a "Sky Clouds" project.

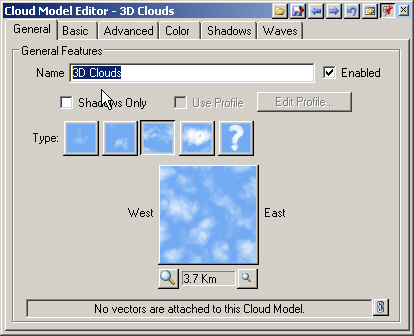
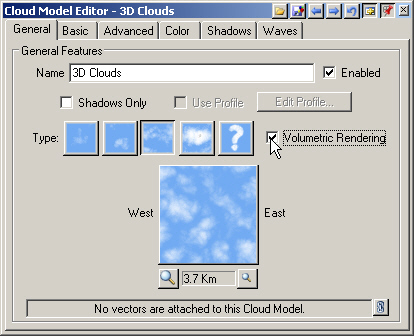
2. Rename it 3D Clouds.

Screenshot of the Cloud Model Editor interface for 3D Clouds. It displays a name field, shadow options, cloud type selection, preview image, and distance measurement. There are tabs and menu options at the top.

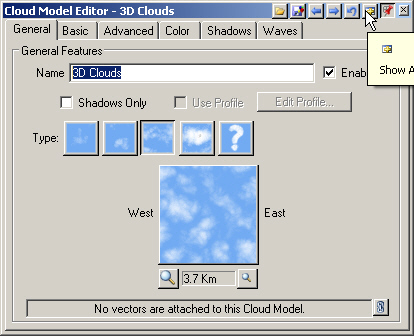
3. Show Advanced Features.

Screenshot of a Cloud Model Editor interface showing settings for 3D Clouds, including options for shadow display, cloud type selection, directional orientation, and a preview window.

4. Enable Volumetric Rendering.

A software window titled "Cloud Model Editor - 3D Clouds" with options for cloud type, naming, volumetric rendering, and shadow settings is displayed. The main preview shows a cloud pattern labeled "3.7 Km.

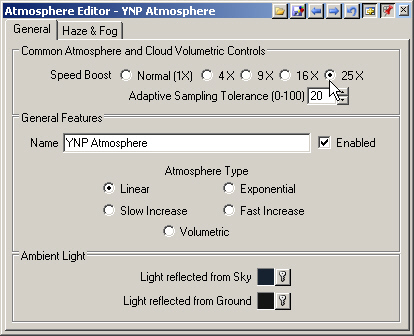
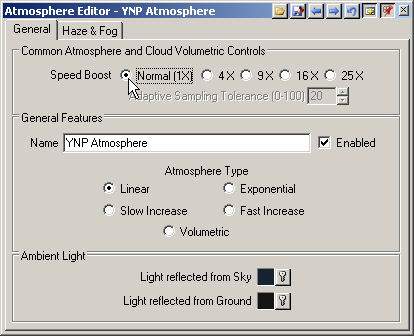
5. Open the Haze Atmosphere in the Scene-at-a-Glance. Select the 25X Speed Boost for fastest rendering. This is great for previewing cloud changes.
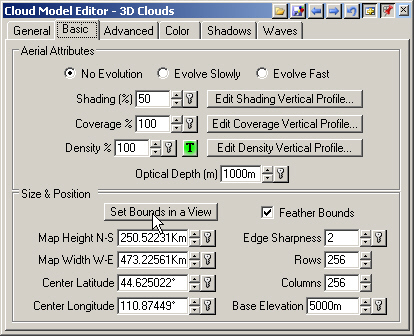
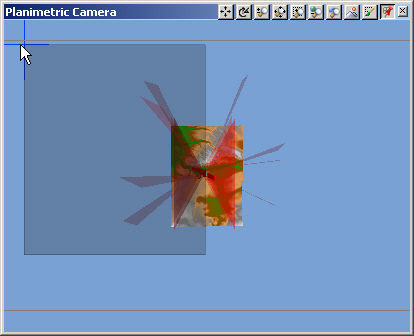
Screenshot of the Atmosphere Editor window, featuring controls for speed boost, adaptive sampling tolerance, atmosphere type, and ambient light settings. The "Enabled" checkbox is selected.

6. Go back to the Cloud Model Editor Basic page and Set Bounds in a View. Set bounds similar to the layered clouds.

A screenshot of the Cloud Model Editor software interface displaying settings for aerial attributes and size & position, including shading, coverage, density, height, width, center latitude, and longitude.
Screenshot showing a planimetric camera interface with various colored shapes and controls.

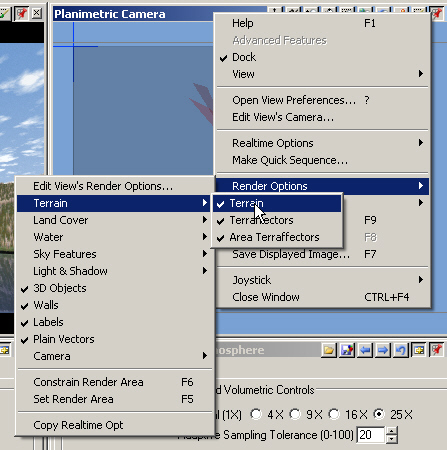
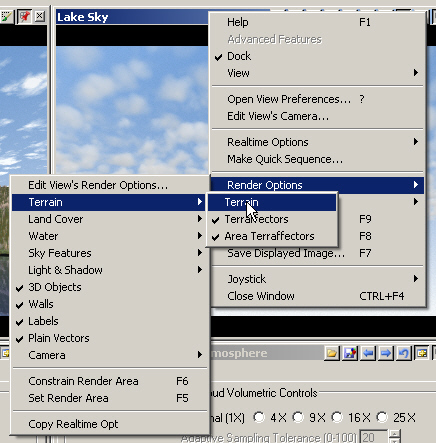
7. Open another Lake Sky Camera view in the upper right quad. Open the popup menu and select Render Options > Terrain > Terrain to disable it for rendering.

A software interface displaying a dropdown menu with options related to rendering and terrain settings for a planimetric camera view. Various options are shown, including "Render Options" and "Terrain.

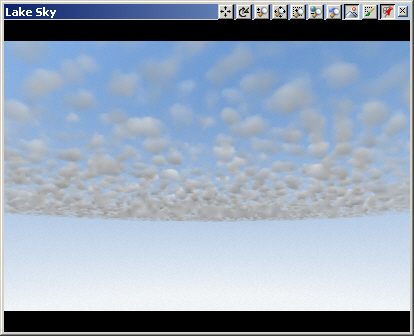
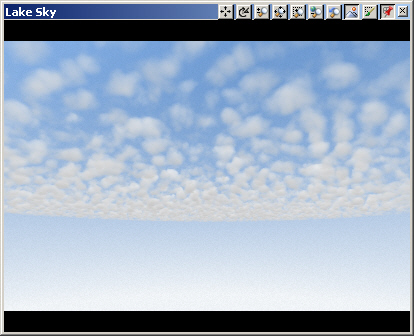
8. Save the project and render a preview.

A computer screen displaying an image of a blue sky with scattered white clouds.

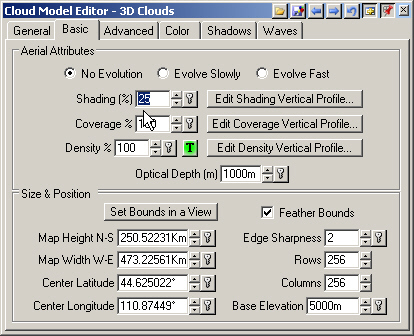
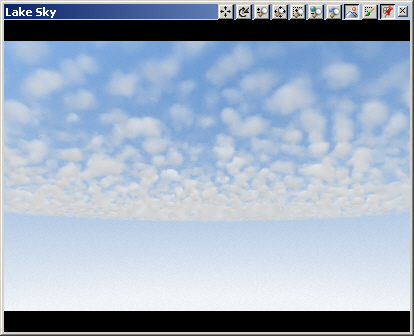
9. Let’s make the clouds look a little less ominous. Go to the Basic page and reduce the Shading to 25%. Save the project and render a preview.

A screenshot of the Cloud Model Editor with settings including shading (25%), coverage (0%), density (100%), and various position and size parameters like map height and base elevation.
A sky with scattered, small fluffy clouds against a blue background, as displayed on a computer screen with a title bar reading "Lake Sky" and various toolbar icons on top.

10. If you were keeping track of render time, you noticed that it took less time to render the volumetric clouds than the layered clouds at this quality setting. Go to the Atmosphere Editor and switch the Speed Boost to Normal. Render another preview. You’ll see more detail in the clouds.

A software interface titled "Atmosphere Editor - YNP Atmosphere" with settings for Speed Boost, General Features, and Ambient Light. Various radio buttons, checkboxes, and sliders are available for adjustments.
Computer software window showing a simulation of a sky with scattered clouds. The title bar reads "Lake Sky," and there are various tool icons at the top of the window.

11. Open the right popup menu and select Render Options > Terrain > Terrain to enable terrain again for rendering.

A computer screen displaying a software interface with multiple dropdown menus open and various options related to rendering terrain and land cover visible.
Scroll to top
Skip to content