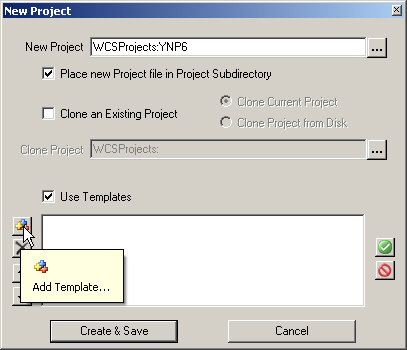
1. Create a new project named YNP6. Check the Use Templates box and Add Template.
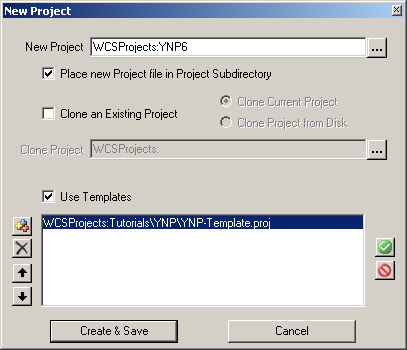
2. Select the Tutorials\YNP\YNP-Template project you created in the last section. Create & Save the new project.
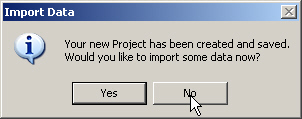
3. Answer No to the import data window. We’ll import DEMs after we load the lake vector.
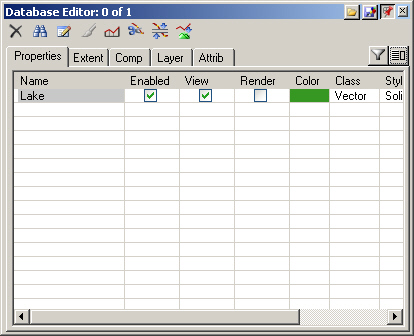
4. Open the Database Editor and LoadDatabase
5. Navigate to the database folder on the VNS 3 DVD and load Lake.db.
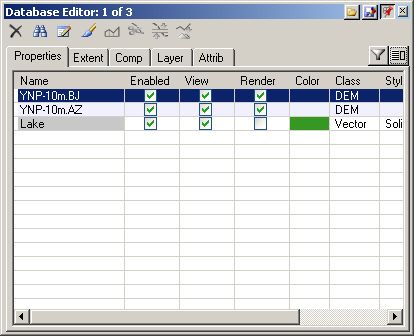
6. LoadDatabase again, this time for DEMs. Go to the Tutorials\YNP6 project folder and load the YNP-10m.AZ and YNP-10m.BJ elevation files.
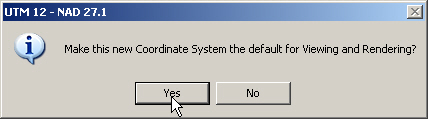
7. Make UTM 12 – NAD 27.1 the new Coordinate System default.
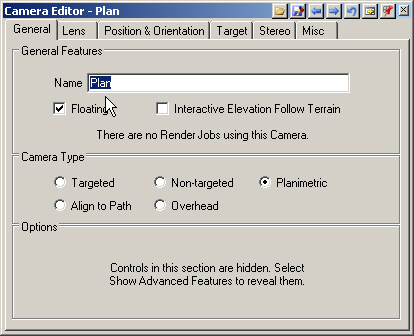
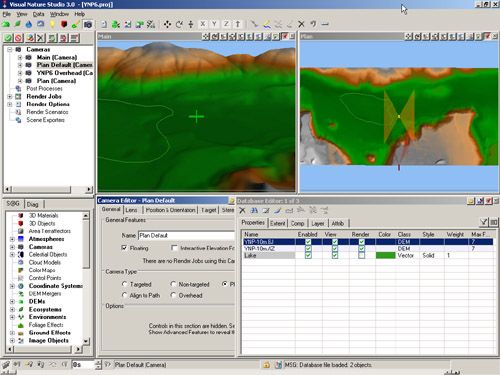
8. Go to the Render Task Mode and expand the Cameras category. Rename the YNP6 Camera Main and the YNP6 Planimetric Camera Plan.
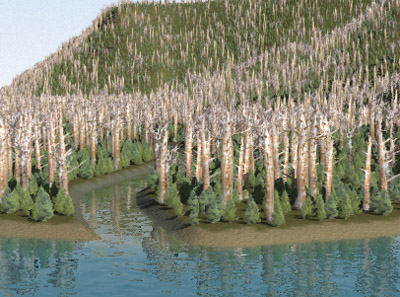
9. Open the Main and Plan views and save the project. The views show the lake vector and 2 DEMs we loaded into the Database Editor.
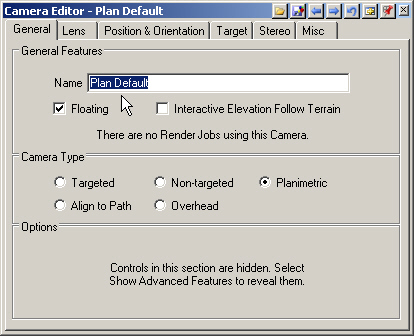
10. Clone the Plan Camera and name it Plan Default.
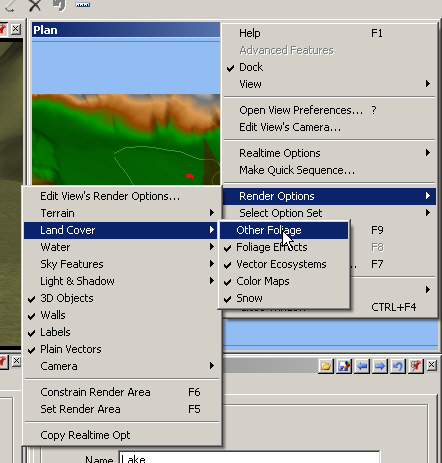
11. Let’s disable the foliage for faster rendering and better terrain visibility. Open the Plan popup menu and select Render Options > LandCover > Other Foliage to disable Ecosystem foliage rendering.
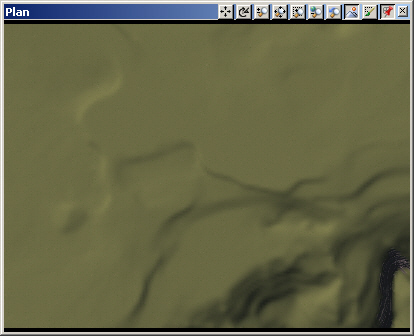
12. Zoom into the Plan view with 2 taps of the + key. Save the project and render a preview. All we have so far is terrain and Ecosystem Material color.