3DNature

3D Landscape Design & Visualization Software published and supported by AlphaPixel

Menu
Getting Started with VNS 3: Lakes & Streams

Part 6A. Templates

1. Before we start digging streams and lakes, let’s see how Multiple-User Mode and Templates can streamline workflow. Open the YNP5-Final tutorial project from the WCSProjects\Tutorials\YNP folder. We’re going to turn this into a Template.

A template is a great way to save core Components in a single project and have changes automatically propagate to projects based on that template. For example, these tutorials all focus on Yellowstone National Park, a region that shares the same Ecosystems and Environments. If we create future Yellowstone projects using this template, any changes we make to the Template project will automatically be updated in the derivative projects when they’re opened.
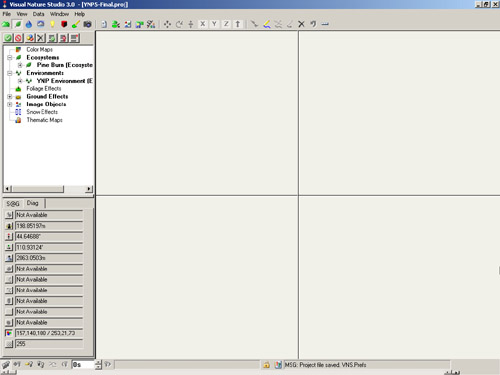
A computer screen displaying software with a project named "VNIS-Final.proj" open. The interface shows a left panel with a folder structure and a right panel with a blank grid space.

2. Switch to the free form mode in the Scene-at-a-Glance by deselecting the active Task Mode icon. Double-click the pane divider down to maximize the list.
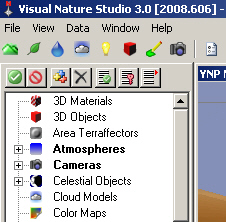
Screenshot of the Visual Nature Studio 3.0 software interface showing a menu with options such as 3D Materials, 3D Objects, Atmospheres, Cameras, and more.

3. We need to remove everything but Components directly related to Ecosystems and Environments. Select each of the following categories or Components, press the Delete key, and confirm the deletion.

Atmospheres
Cameras
Celestial Objects
Grassland Ecosystem
Grassland Plan Ecosystem
(We don’t need the Grassland Ecosystems for subsequent tutorials)
Foliage Effects
Lights
Render Jobs
Render Options
Skies
Snow Effects
Terrain Parameters
Vectors
(confirm each removal)

A software interface displaying a hierarchical list of elements such as 3D Materials, Atmospheres, Cameras, Lights, and more, categorized for 3D rendering and environment creation.
A screenshot of a software menu listing various categories including "3D Materials," "Coordinate Systems," "Environments," "Image Objects," "Planet Options," and "Terrains." Each has sub-options.

4. We could have removed the DEMs from the Scene-at-a-Glancebut VNS would have had us confirm each removal. The Database Editorwill only ask us once. Open it, select all the DEMs, and Remove.
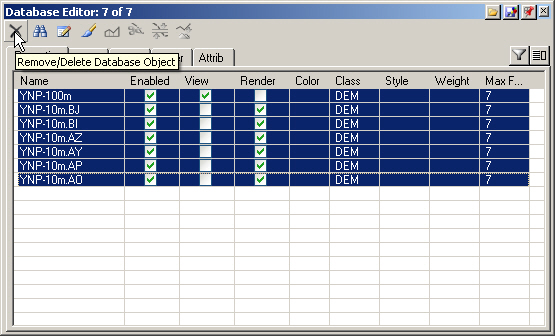
Database editor interface showing a table with columns for Name, Enabled, View, Render, Color, Class, Style, Weight, and Max F. Rows contain ticked and unticked checkboxes with data values.

5. Answer No when asked to delete the DEMs from disk as well.
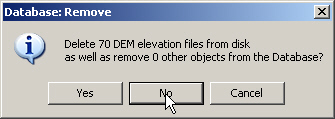
A dialog box titled "Database: Remove" asks to delete 70 DEM elevation files from disk and remove 0 other objects from the database. Options are "Yes", "No" (selected), and "Cancel".

6. Without DEMs, we have no need for Coordinate Systems or Planet Options. Delete them from the Scene-at-a-Glance. Old layers may hang around even when nothing is attached to them. Right-click the Layers category and Purge unused layers from Project.
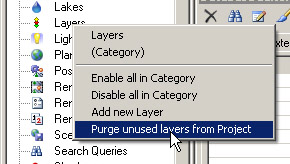
Context menu with options for layers including "Purge unused layers from Project" selected. Nearby panel lists various categories like Lakes, Layers, and Plants.

7. That leaves us with an Ecosystem, Environment, Ground Effect, and some Image Objects.
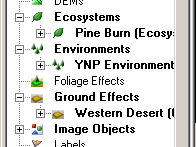
A screen displaying a hierarchical menu with options including Ecosystems, Environments, Foliage Effects, Ground Effects, and Image Objects. Each category has subcategories indicated by a plus sign.

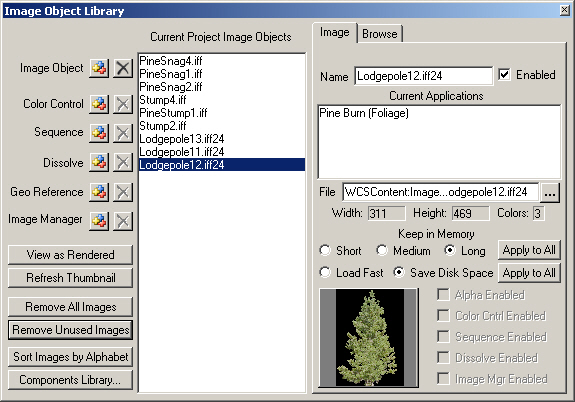
8. Open the Image Object Library. Some of these images belong to now-defunct Ecosystems so Remove Unused Images. Close the editor.
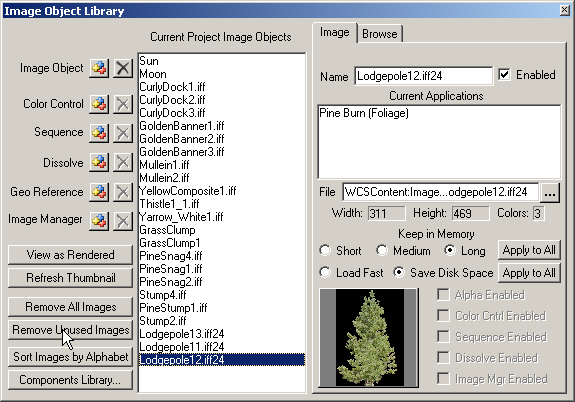
Screenshot of an image object library interface showing various image options. Highlights include a list of image files, details for the selected image, and options for managing image objects.
Screenshot of an Image Object Library interface showing a list of image files and options to edit properties like width, height, and alpha channels. A tree image labeled "Lodgepole12.#24" is selected.

9. Double-click the pane divider to return it to its previous location. Go to the File menu and Save As Template.
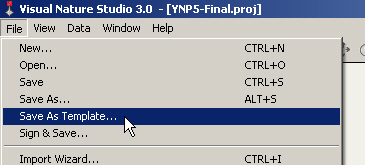
A screenshot of Visual Nature Studio 3.0 software with the File menu open and the "Save As Template..." option highlighted.

10. VNS offers you the option of making the project portable to other machines. We’ll only be using this template on this machine so answer No.

A dialog box titled "Save As Template" with text asking whether to save the template file for portability to other machines. There are three buttons: Yes, No (highlighted with a cursor), and Cancel.

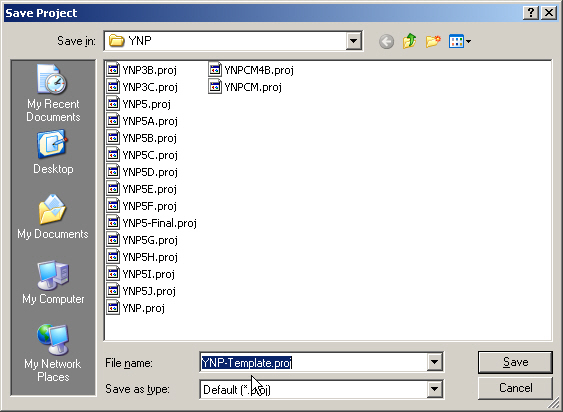
11. Save the template as YNPTemplate.

Save Project dialog window showing a directory of project files with ".proj" extensions. The file name input box is filled with "YNP-Template.proj" and the selected save type is "Default (*.*)".

12. The Multi-User Mode makes it easy to open the template project for editing. Go to the File menu and Select User.
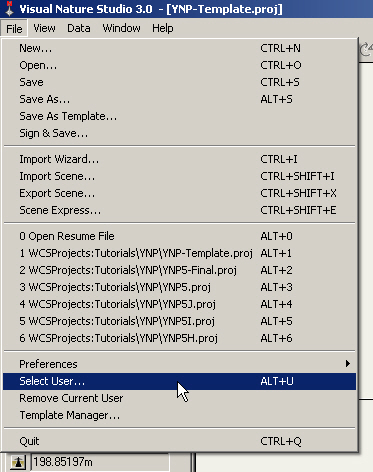
Screenshot of a dropdown menu open in Visual Nature Studio 3.0 showing various options including 'New', 'Open', 'Save', 'Import Wizard', and 'Select User', with the latter being highlighted.

13. Check the Multiple-User Mode and select New User from the User dropdown list.
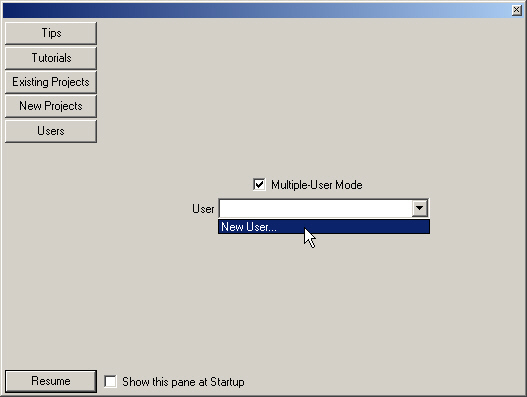
A software interface window showing options for Tips, Tutorials, Existing Projects, New Projects, and Users. The "Multiple-User Mode" checkbox is checked, and a dropdown menu is set to "New User...".

14. This is the YNP template-editing user, so name the user YNP-Template.
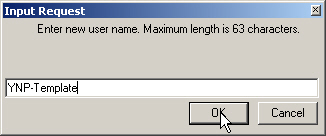
Dialog box prompting for a new username with "YNP-Template" filled in and the "OK" and "Cancel" buttons shown. Maximum length allowed is 63 characters.

15. Once you do this, you’ll notice that the user name is added to the titlebar between the VNS version and the project name brackets.

Screenshot of the toolbar in Visual Nature Studio 3.0 software, showing various icon buttons for File, View, Data, Window, and Help menus.

16. Open the YNP-Template project and save it to set the user preferences.
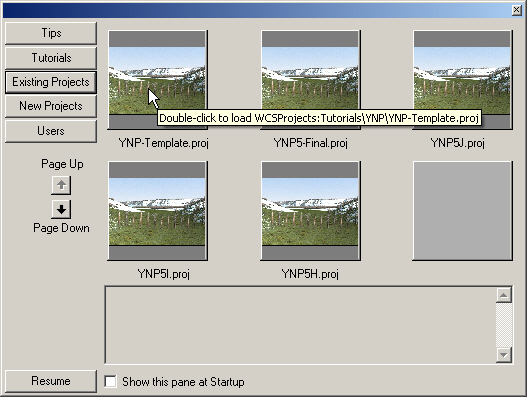
A software interface displays project thumbnails for "YNP-Template.proj," "YNP5-Final.proj," "YNP5J.proj," "YNP5I.proj," and "YNP5H.proj" with navigation options on the left. A cursor hovers over a project thumbnail.

17. Go to the menu and select File > Select User. Deselect Multiple-User Mode. This returns us to the normal mode we’ve been using.
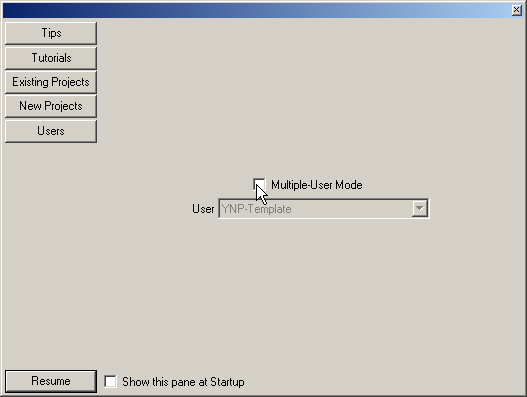
Screenshot of a software interface displaying multiple options like Tips, Tutorials, Existing Projects, New Projects, Users, and a Multiple-User Mode checkbox with a user named YNP-Template.

18. Select Existing Projects and open YNP5-Final again. Now imagine we’ve been working on this project and want to change the YNP template. Go to the File menu and Select User.
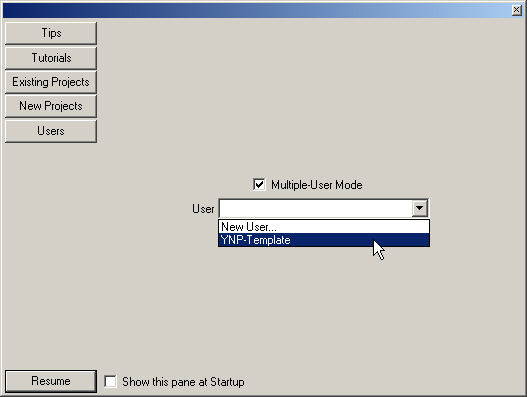
A software interface showing options for Tips, Tutorials, Existing Projects, New Projects, and Users. The User dropdown menu is selected with "YNP Template" highlighted. Multiple-User Mode is checked.

19. Check the Multiple-User Mode and select YNP-Template from the User dropdown list. Resume and the template project comes up ready to edit.
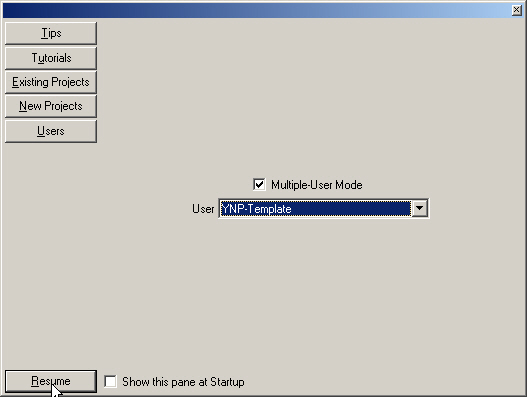
A software interface with options for Tips, Tutorials, Existing Projects, New Projects, and Users. Below, "Multiple-User Mode" checkbox is selected with "User" set to YNP-Template. "Resume" button is at the bottom.

20. Let’s get back into normal user mode. Go to the menu and select File > Select User. Deselect Multiple-User Mode.
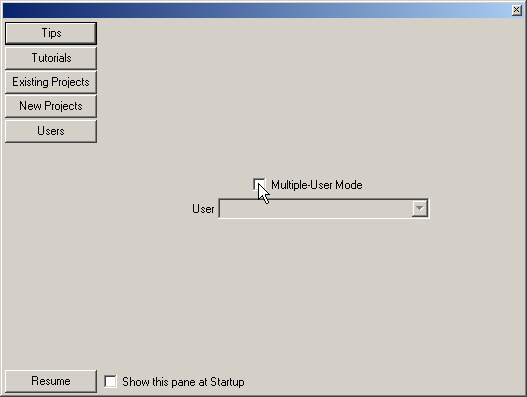
A software interface with options: Tips, Tutorials, Existing Projects, New Projects, Users. Cursor points to "Multiple-User Mode" with User field below it. "Resume" and "Show this pane at Startup" options are at the bottom.
Scroll to top
Skip to content