Part 5F. Building Ecosystems (Understory) & Distance Dissolve
Getting Started with VNS 3: Fields & Forest
Part 5F. Building Ecosystems (Understory) & Distance Dissolve
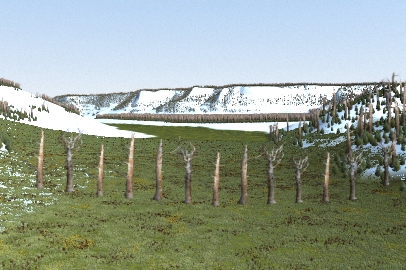
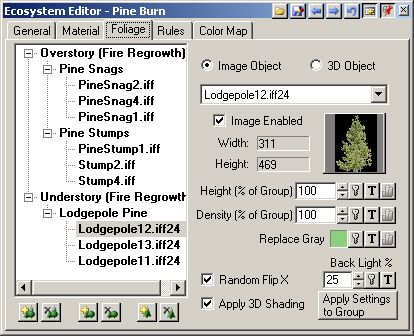
1. We have an Overstory of pine snags and stumps and an underlying texture. All we need is a young lodgepole pine Understory and the Pine Burn Ecosystem is finished. Go back to the Pine Burn Ecosystem Editor Foliage page.
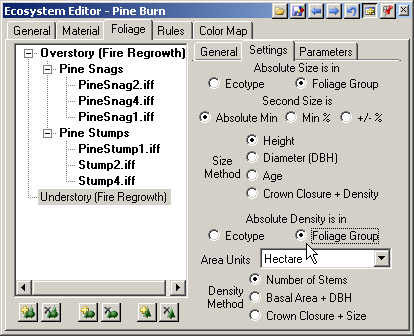
2. Select the Understory Ecotype and Add Ecotype . Turn to the Settings tab and change the Absolute Size to Foliage Group and Absolute Density to Foliage Group. Leave the Area Units at hectare.
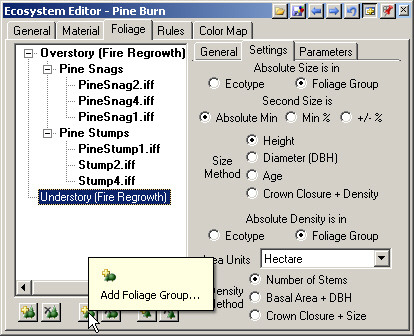
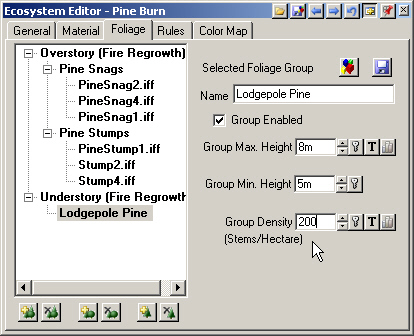
3. Add Foliage Group and name it Lodgepole Pine.
4. Set the Group Max Height to 8 meters, Group Min Height to 5 meters, and the Group Density to 200 stems per hectare.
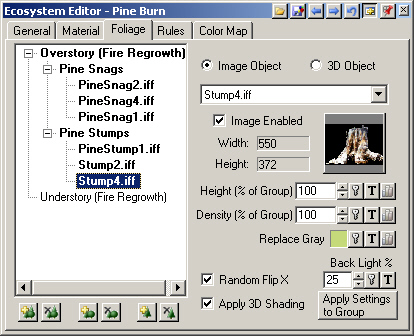
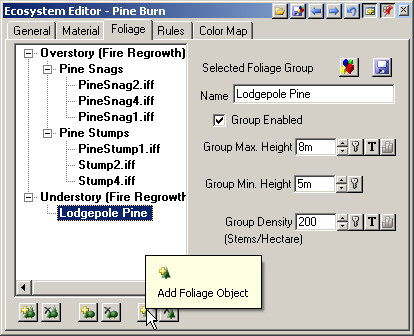
5. Add Foliage Object.
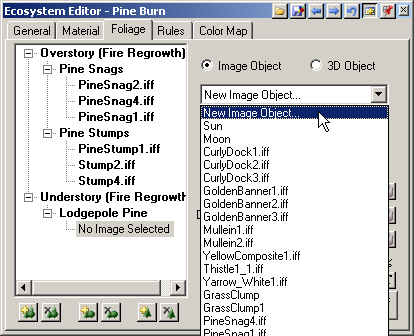
6. Choose New Image Object from the Image Object dropdown list.
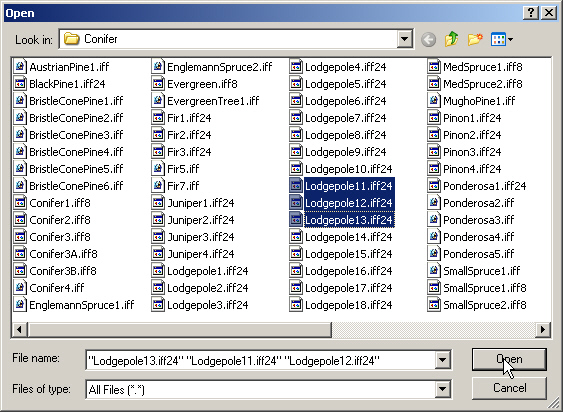
7. Go to the Components\Image\Foliage\Conifer folder. Multiple-select the Lodgepole11, Lodgepole12, and Lodgepole13 images. The image extensions may be iff or iff24. The iff24 extension is an older nomenclature used to identify 24-bit color images and set them apart from 8-bit grayscale images with the iff8 extension. Either way, VNS will load the images because it pulls image information from the file itself and doesn’t rely on the extension.
8. VNS will create Image Objects for the additional foliage images loaded.
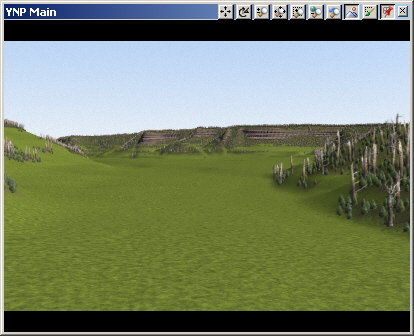
9. Save the project and render a preview.
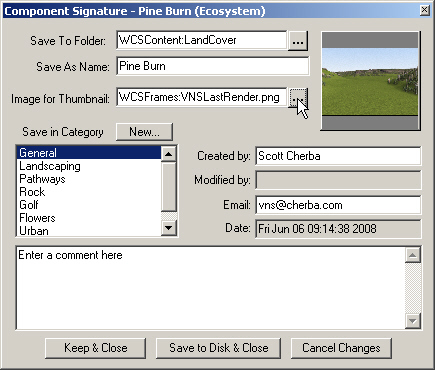
10. Save the Pine Burn Ecosystem as a Component with Save the Component.
11. Load the VNSLastRender.png thumbnail from the WCSFrames folder.
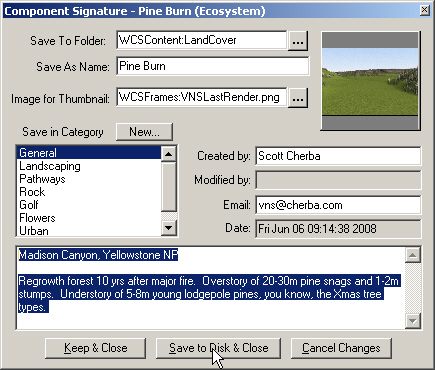
12. Add your description in the Comments section and Save to Disk & Close.
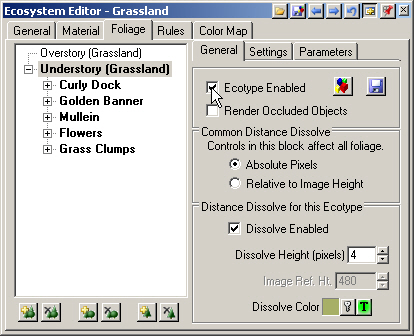
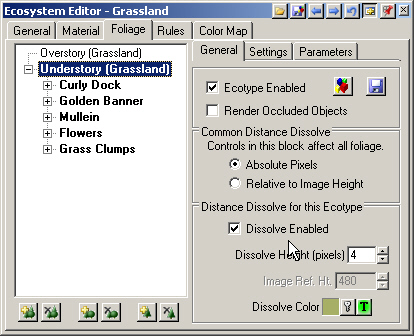
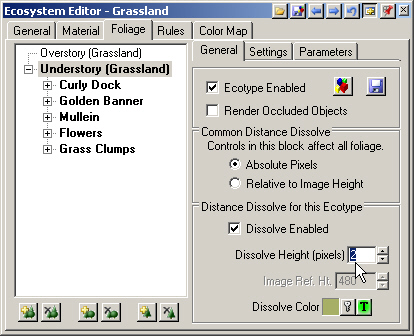
13. Move to the Grassland Ecosystem. We had disabled its Understory to speed up rendering during Ecosystem setup. Enable the Understory Ecotype.
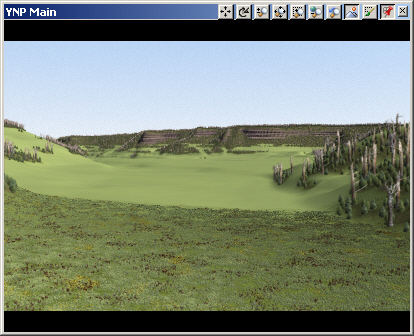
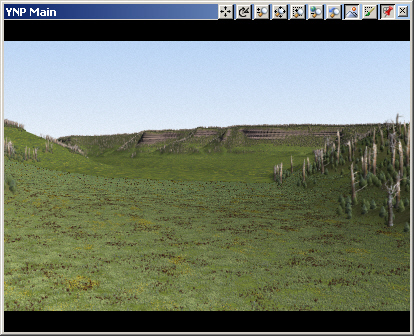
14. Save the project and render a preview.
15. The foreground Grassland foliage rendered slowly until it got to a certain point, then accelerated. The Understory has Distance Dissolve enabled, which causes Foliage Objects to be replaced by texture when the foliage renders at less than a Dissolve Height of 4 pixels. This is a render-saving option to keep VNS from rendering every stem of foliage as far as the camera can see, which can take a long time for a field of grass. When rendered Foliage Objects drop below a height of 4 pixels, Dissolve Color is rendered in place of the images.
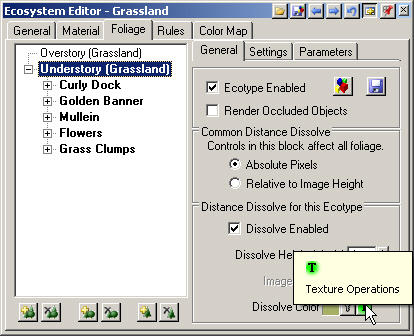
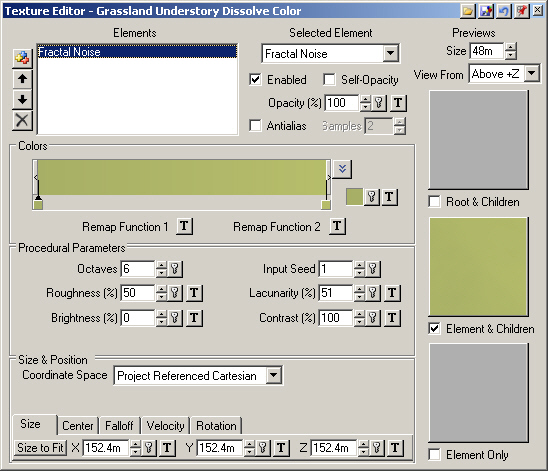
16. Select Dissolve Color Texture Operations and Edit Texture.
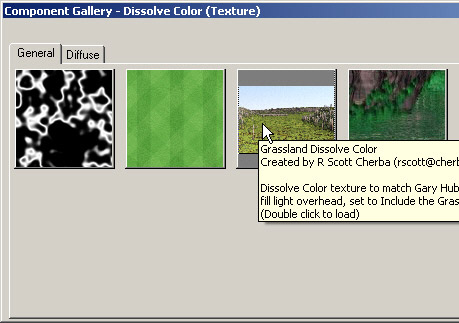
17. The texture is Fractal Noise with 2 shades of grassy green. The Grassland Ecosystem was designed for close views, so a complex Dissolve Texture wasn’t created. We just happen to have a Dissolve Texture that is more appropriate for the scene, so Load Component
18. Load the Grassland Dissolve Color from the Component Gallery.
19. Close the Texture Editor and reduce the Dissolve Height to 2 pixels. Keep in mind that a dissolve height in pixels will cause the dissolve to occur at different places in the view depending on the size of the rendered image. If you want the dissolve distance to be consistent between images of different sizes, use Relative to Image Height.