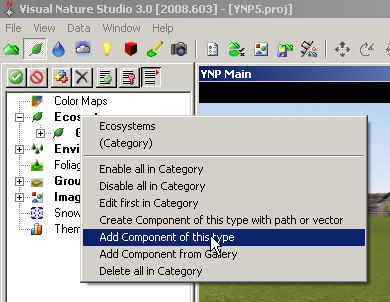
1. Select the Ecosystems category in the Scene-at-a-Glance and Add Component of this type.
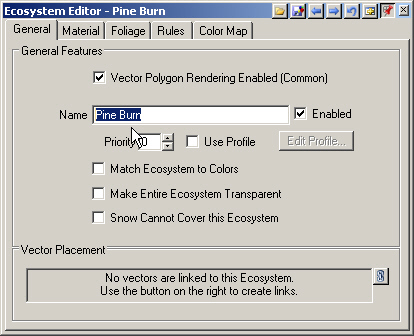
2. Name it Pine Burn.
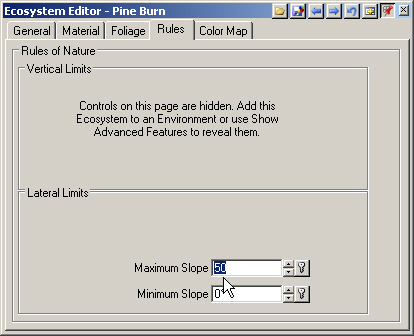
3. On the Rules page, change the Maximum Slope to 50°.
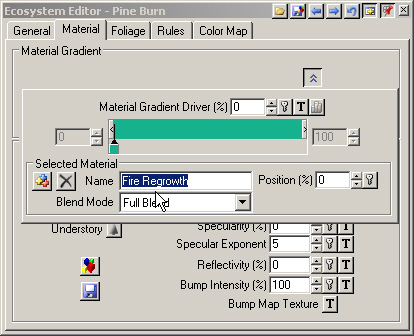
4. Go to the Material page. Show Advanced Features and Show Material Controls to bring up the Material details. Rename the Material Fire Regrowth. Close the Material Controls.
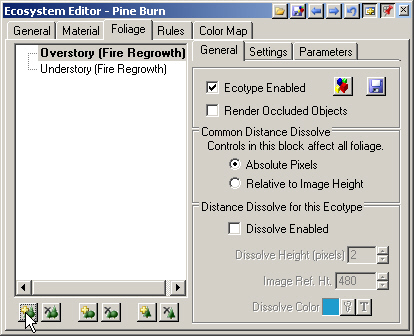
5. The Overstory Ecotype will be made up of pine snags and stumps from the burned forest. The Understory Ecotype will include the young lodgepole pine that took over after the fire. Go to the Foliage page, select the Overstory category, and Add Ecotype.
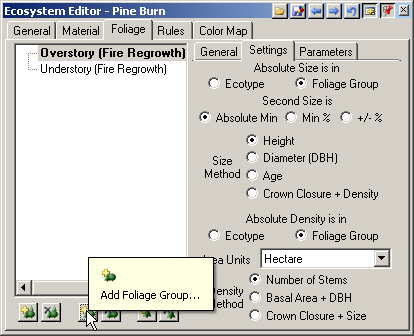
6. On the Settings page, change the Absolute Size to Foliage Group and Absolute Density to Foliage Group. This is the Forestry Edition. The standard VNS edition does not have the Size Method and Density Method controls.
7. An Ecotype is made up of one or more Foliage Groups of Foliage Objects. This Ecotype will have two groups. Add FoliageGroup.
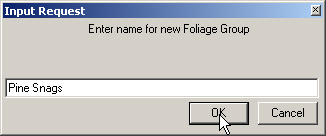
8. Name it Pine Snags.
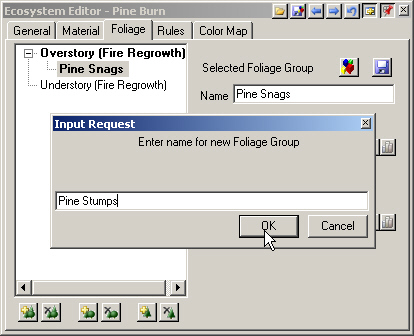
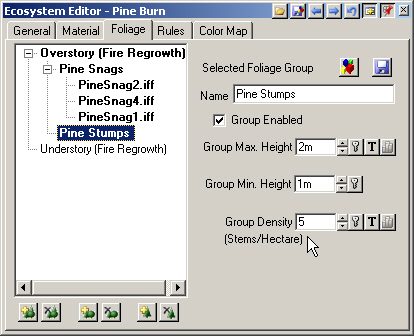
9. Add another Foliage Group and name it Pine Stumps.
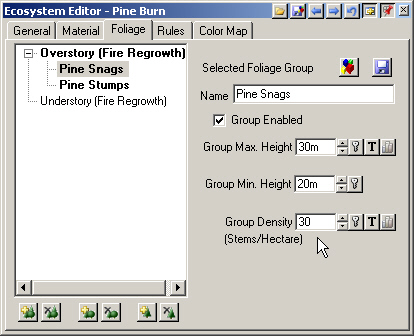
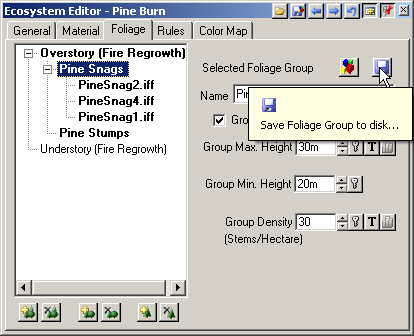
10. Select the Pine Snags Foliage Group and set the Group Max Height to 30 meters, Group Min Height to 20 meters, and the Group Density to 30 stems per hectare.
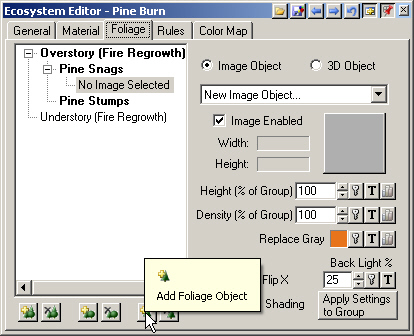
11. Add Foliage Object to insert an object placeholder, which will default to the Image Object type. We can populate the Foliage Group with Image Objects, 3D Objects, or both.
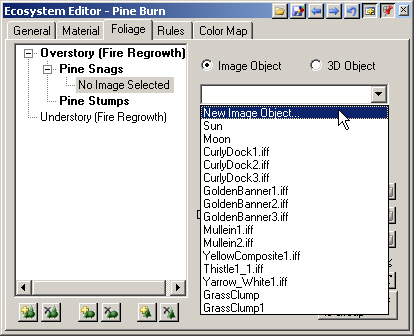
12. We’ll use Image Objects, so choose New Image Object from the dropdown list.
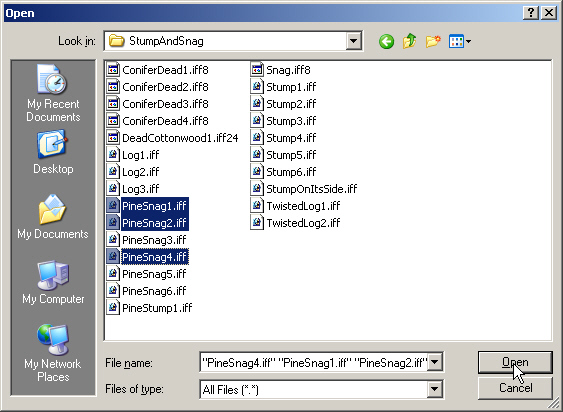
13. Make your way to the Components\Image\Foliage\StumpAndSnag folder. Select PineSnag1.iff and Ctrl+click to multiple-select PineSnag2.iff and PineSnag4.iff.
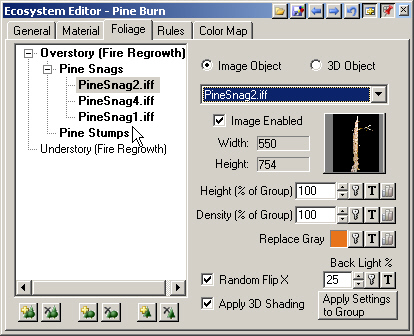
14. The Foliage Group list will update with the three Foliage Object images.
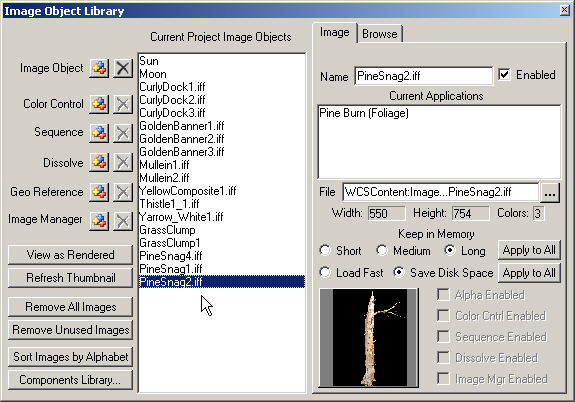
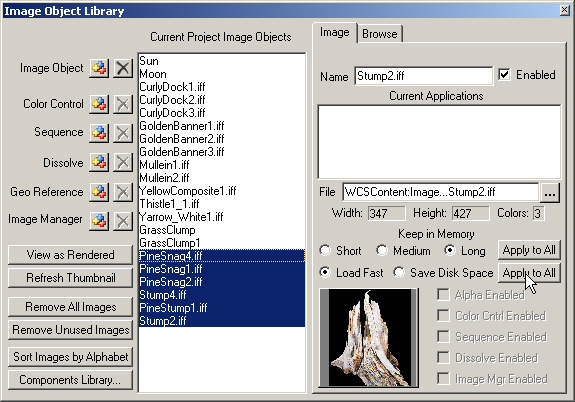
15. Open the Image Object Library. There are the pine snag images we just loaded. Let’s add the stump images we’ll use shortly.
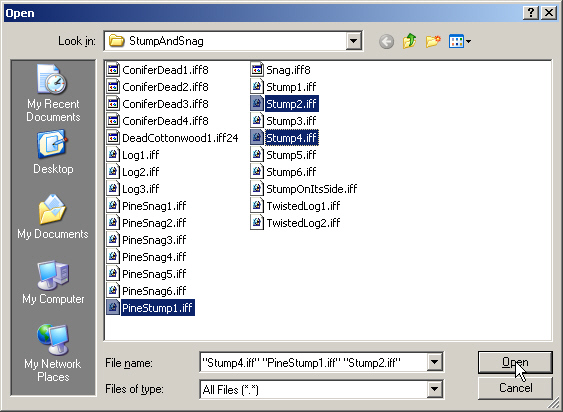
16. Add Image Object to Library and multiple-select PineStump1.iff, Stump2.iff, and Stump4.iff.
17. We’ve added new Image Objects, so Load Fast, and Apply to All. Close the Image Object Library.
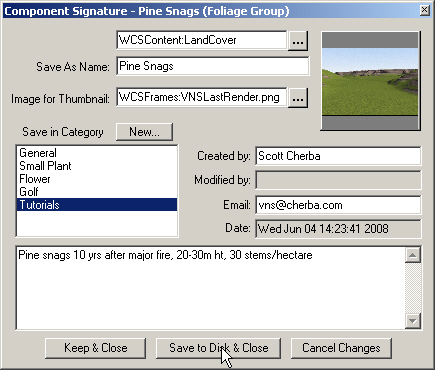
18. We’ll use this Foliage Group later, so save it as a Component. Select the Pine Snags group and Save Foliage Group to disk .
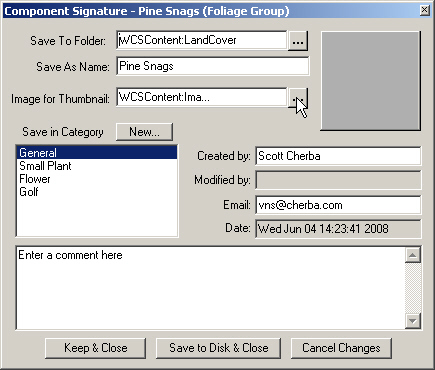
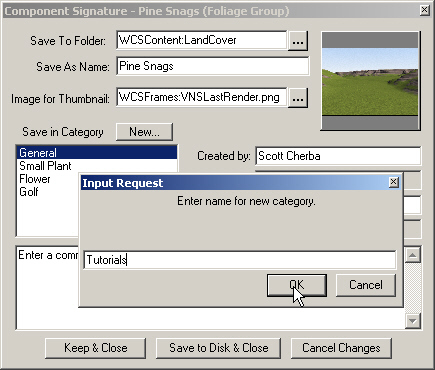
19. In the Component Signaturewindow, browse the Image for Thumbnail, navigate to the WCSFrames folder, and load VNSLastRender.png.
20. Create a new category, Tutorials.
21. Add a description in the Comments section and Save to Disk.
22. Select the Pine Stumps Group and set the Group Max Height to 2 meters, Group Min Height to 1 meter, and the Group Density to 5 stems per hectare.
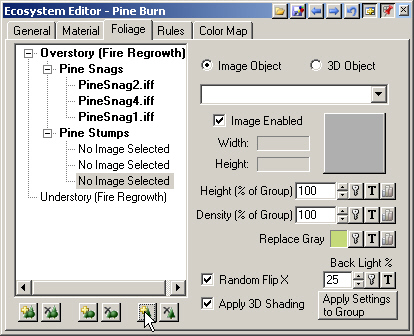
23. Add Foliage Object three times to insert 3 object placeholders. We need to add as many Foliage Objects as we need when the Image Objects are already present in the Image Object Library.
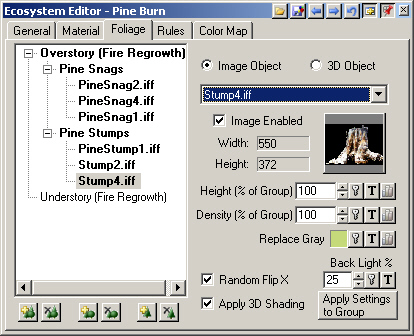
24. Replace the default “No Image Selected” objects with the PineStump1.iff, Stump2.iff, and Stump4.iff images from the dropdown list. Save the project.
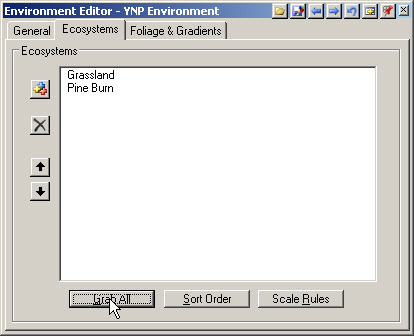
25. Open the YNP Environment. Go to the Ecosystems page and Grab All. The Ecosystems list controls render order.
26. As VNS renders each polygon, it will first look at the Grassland Rules and see if the polygon meets all the criteria. If it does, Grassland will be rendered.
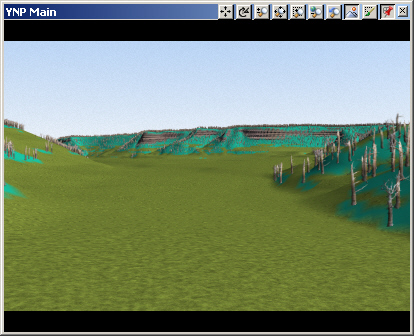
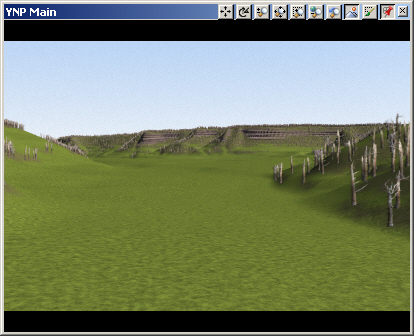
27. If not, the renderer goes to the next Ecosystem on the list, Pine Burn. If the polygon meets all the Pine Burn Rules, it renders. If not, Ground Effect is rendered. Save the project and render a preview.
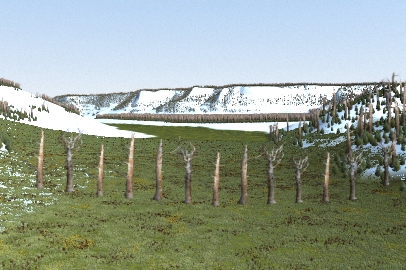
28. So far, so good. We have snags on the slopes with an occasional stump. The bright color is Pine Burn Ecosystem Material diffuse color. It was generated by VNS when the Ecosystem was first created. Your color is probably different as it’s randomly generated.
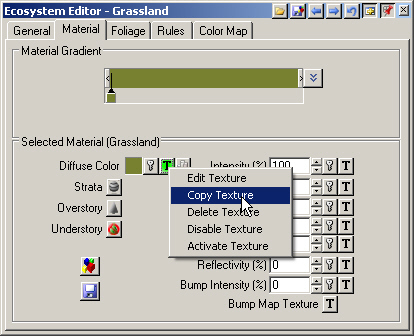
29. Let’s replace the color with a texture. A good place to start is the diffuse color of an adjoining Ecosystem. Double-click the render foreground to open the GrasslandEcosystem Editor. Turn to the Material page, select the Diffuse Color Texture Operations, and Copy Texture.
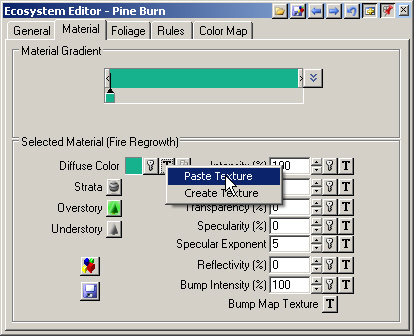
30. Return to the Pine Burn Ecosystem, select its Diffuse Color Texture Operations and Paste Texture. Confirm the operation.
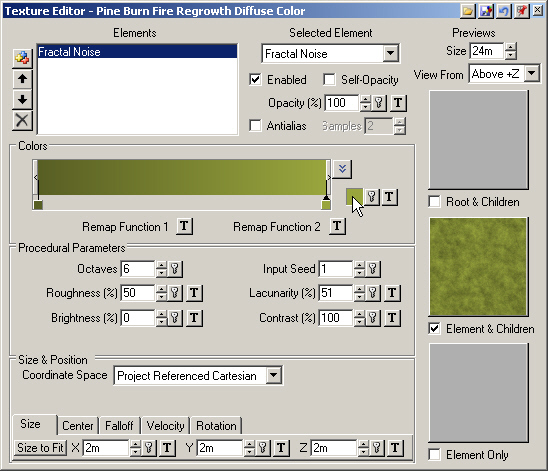
31. Select Diffuse Color Texture Operations and Edit Texture to open the Texture Editor.
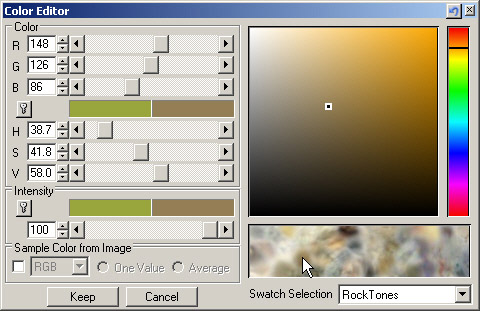
32. The Fractal Noise is a mix of dark green and lighter green, which is too green for the ground under a dense growth of pine trees. Let’s change the lighter green to a dark brown. Select the right color pin and click its color well to open the Color Editor.
33. Select the RockTones Swatch, pick a medium brown, and Keep.
34. Close the Texture Editor. Save the project and render a preview.