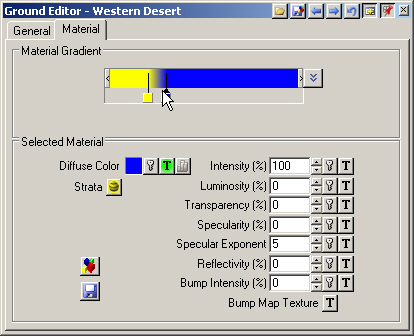
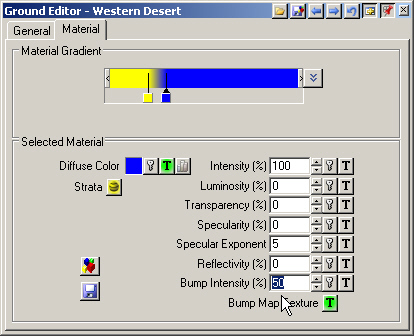
1. Let’s add a little bump mapping to the Steep Material to give it just a hint of horizontal jointing in the rock. It’s easy to overdo bump, so be subtle. Activate the Steep Material pin in the Material Gradient.
2. Select the Bump Map Texture Operations button and Create Texture.
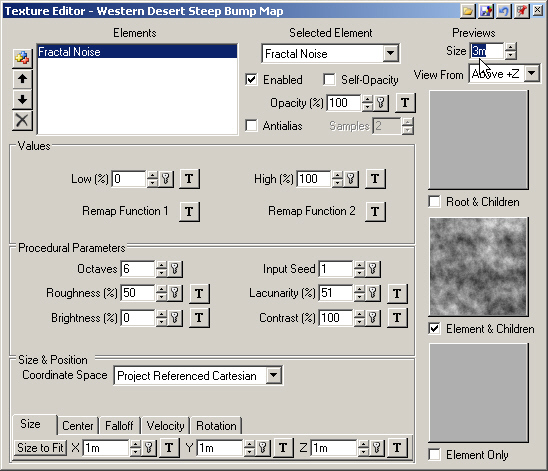
3. The Texture Editor thumbnail shows a 3-meter-wide preview of the Fractal Noise Element.
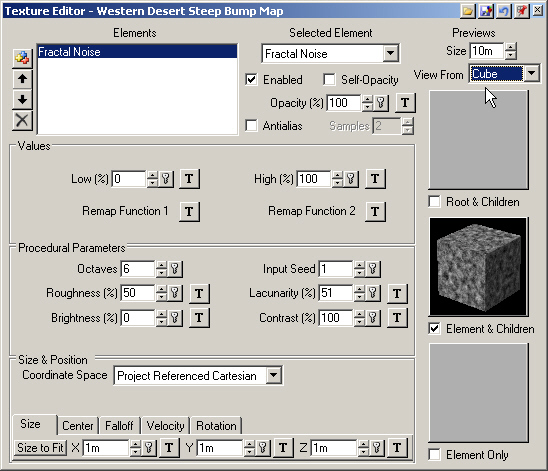
4. Increase the Previews Size to 10 meters and change View From to Cube.
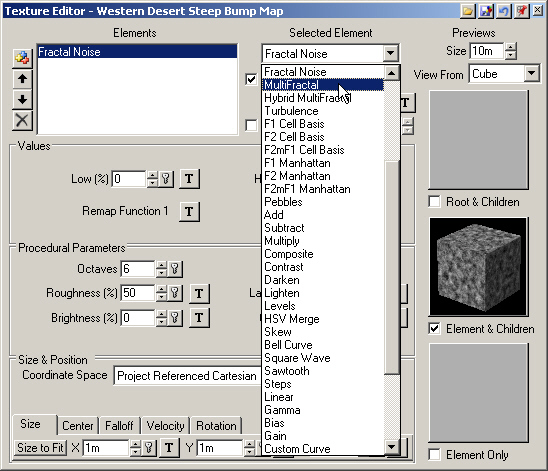
5. Change the SelectedElement to MultiFractal.
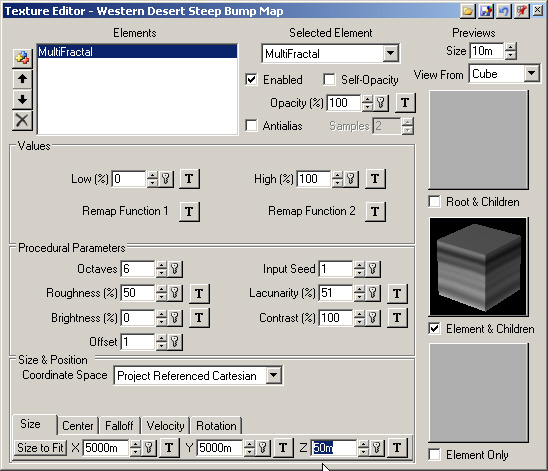
6. Increase the SizeX and Y to 5000 meters and Z to 50 meters. This will create a sheet-like texture. Close the Texture Editor.