3DNature

3D Landscape Design & Visualization Software published and supported by AlphaPixel

Menu

Part 5B. Ground Effect Materials

Getting Started with VNS 3: Fields & Forest

Part 5B. Ground Effect Materials

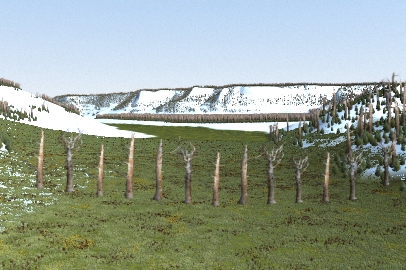
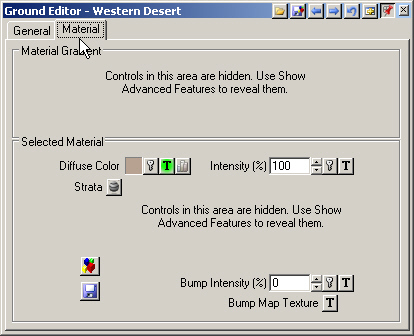
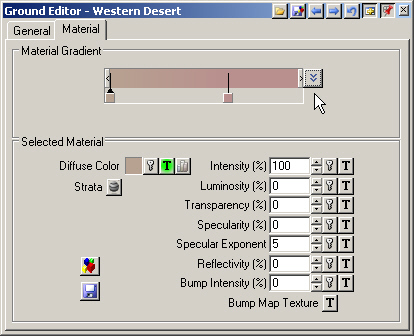
1. If we’re going to make this look like Yellowstone, we need to change the Western Desert ground to look more like a series of volcanic deposits. Go to the Ground Editor Material page.

Screenshot of the Ground Editor - Western Desert interface showing the Material tab. Options displayed include Diffuse Color, Strata, Intensity, and Bump Intensity with controls for advanced features.

2. Select Show Advanced Features on the titlebar to reveal the Material Gradient.

Screenshot of the Ground Editor - Western Desert interface showing Material Gradient, Diffuse Color, and various settings like Intensity, Luminosity, Transparency, Specularity, and Reflectivity.

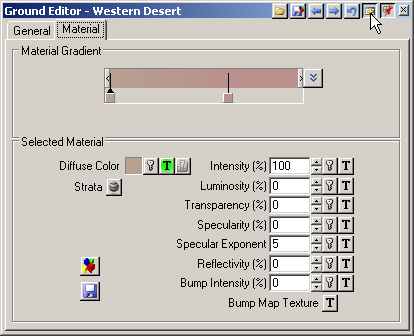
3. Click Show Material Controls at the right end of the gradient to access Material Gradient controls.

Screenshot of the Ground Editor in a graphics software, displaying settings for Material Gradient with options for blend mode, specularity, reflectivity, bump intensity, and texture.

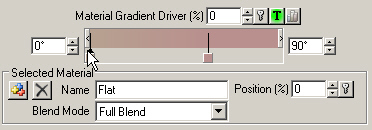
4. This Ground Effect is made up of 2 Materials, Flat and Steep, controlled by a Material Gradient. The left color pin is the Flat Material and the right pin is Steep.

Screenshot of a "Material Gradient Driver" interface with sliders for gradient angle and position, alongside dropdown menus for selecting material name and blend mode.
An interface for adjusting a material gradient driver, with options for gradient angle, material name, blend mode, and position settings.

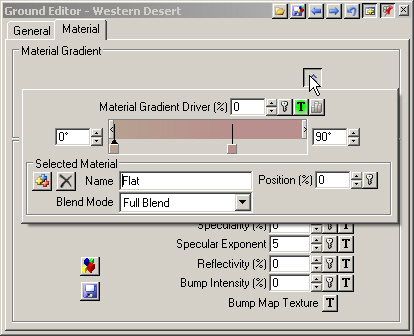
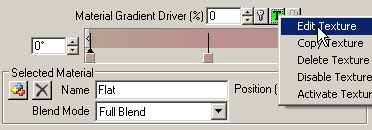
5. What controls the gradient? Click the Material Gradient Driver Texture Operations button and Edit Texture.

Screenshot of a software interface with options for editing material gradient and textures. "Edit Texture" is highlighted in the dropdown menu.

6. The texture is a Dynamic Parameter, one that changes depending on a project parameter. In this case, Slope is the Parameter controlling the texture. The slope goes from an Input Low of 0° to an Input High of 90°, which are the same numbers that appear at each end of the Material Gradient. This texture is using terrain slope to place the Flat and Steep Materials. Close the editor.

Screenshot of a Texture Editor window titled "Western Desert Material Driver (%)" with settings and parameters for dynamic elements, opacity, view options, and procedural parameters related to slope (deg).

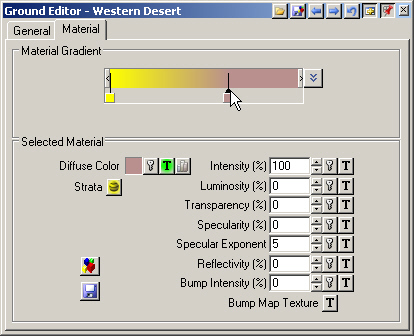
7. To see all the Flat Material properties, make its pin active and Show Material Controls to hide the controls.

A computer interface from a Ground Editor tool showing controls for Material Gradient, Diffuse Color, and various settings for material properties like Transparency and Specularity.

8. The Selected Material section shows that the Flat Material has a Diffuse Color texture. When there’s a texture, it supersedes the color well. When the texture has transparency, the color well color will show through.

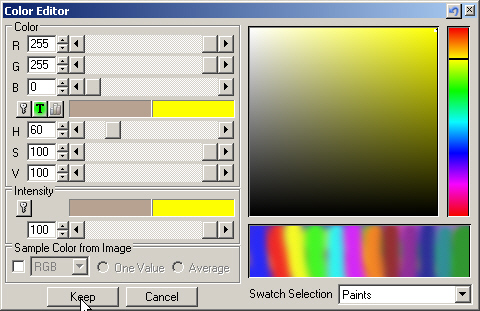
9. Select the Diffuse Color well to open its Color Editor.Change the color to yellow: Red 255, Green 255, and Blue 0. You can also pick a color from one of the Swatches, or create a Swatch of your own and add it to the Components\Image\Color Swatch folder.

A screenshot of a color editor interface showing RGB and HSI values, a color gradient box, and various sliders for adjusting colors. The interface includes buttons for keeping or canceling changes.

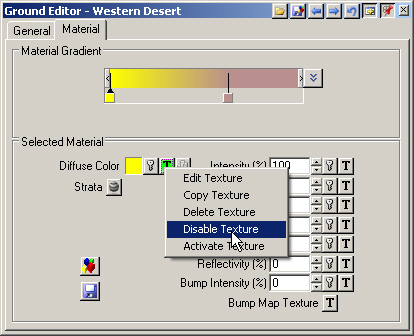
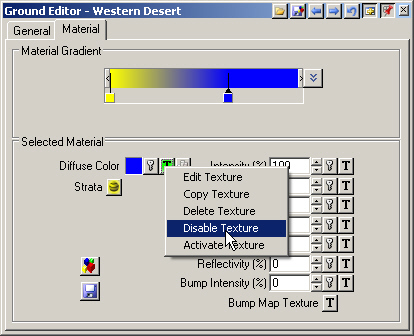
10. Keep the color and Disable the Diffuse Color texture.

Screenshot of a "Ground Editor" window showing the "Material" tab with options like Material Gradient, Diffuse Color, and Strata. A context menu with texture options is open, highlighting "Disable Texture.

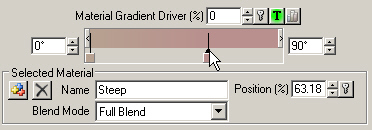
11. Click the right pin in the Material Gradient to make the Steep Material active.

Screenshot of a software interface labeled "Ground Editor - Western Desert," showing Material Gradient with a color mixer and various adjustment sliders for properties like Diffuse Color, Luminosity, and Transparency.

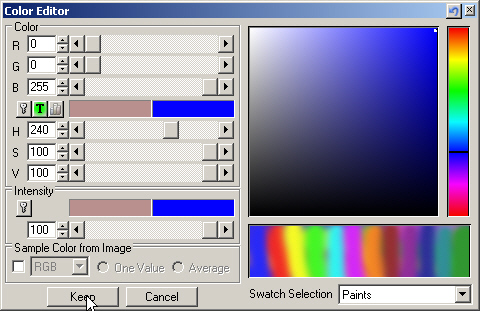
12. Change its color to blue: Red 0, Green 0, and Blue 255.

A Color Editor window with options for adjusting RGB values, hue, saturation, intensity, and color selection. The right side displays a color gradient with a selection square and sample swatches below.

13. Keep the color and Disable the Diffuse Color texture.

Screenshot of a software interface showing the "Ground Editor - Western Desert" window. A context menu is open with options like Edit Texture, Copy Texture, Delete Texture, and Disable Texture highlighted.

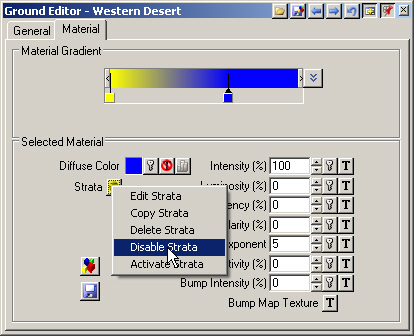
14. Disable the Strata channel.

Ground Editor interface with material gradient settings. Dropdown menu near the strata section shows options: Edit Strata, Copy Strata, Delete Strata, Disable Strata, and Activate Strata.

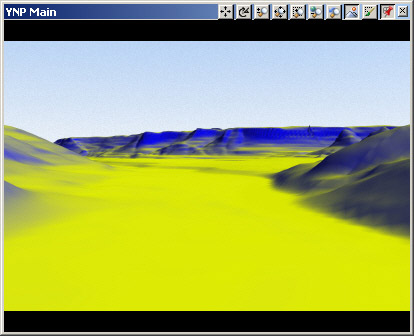
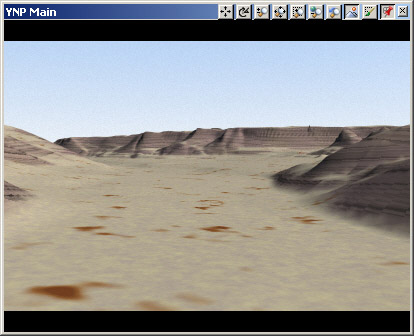
15. Save the project and render a preview. Simple colors are a good way to evaluate Ground Effect and Ecosystem coverage.

A computer-generated 3D landscape image showing a vast yellow plain with blue hills and a clear blue sky, displayed within a software interface titled "YNP Main" with toolbar icons at the top.

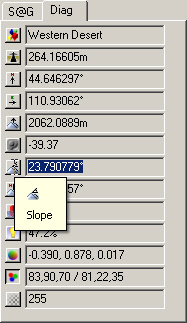
16. The blue Steep Material needs to render farther down the slope. Show Diagnostic Data and click and drag at the base of the foreground hills to see the slope values. They range from about 20° to 30°.

A software interface showing various measured parameters including elevation, coordinates, and slope with a drop-down tooltip labeled "Slope" highlighted.

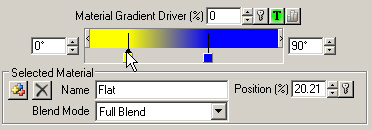
17. Show Material Controls for the Material Gradient. We’d like a sharper transition between Flat and Steep Materials somewhere around 20°. Select the yellow Flat pin and change its Position to 20%.

A graphical user interface displays a gradient slider with a cursor adjusting the transition between yellow and blue, accompanied by gradient angle and position settings, and a dropdown for blend mode selection.

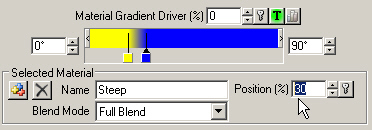
18. Select the blue Steep pin and enter a Position value of 30%. Flat Material will give way to Steep Material between 20% and 30% of 90°, or between 18° and 27°.

A software interface window showing a material gradient driver with color blend and position settings. The gradient ranges from yellow to blue. The selected material is named "Steep" with a position set to 30%.

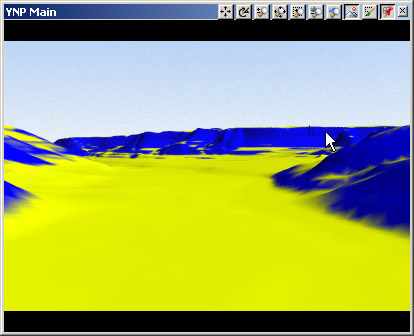
19. Hide the Material Controls. Save the project and render a preview.

3D terrain modeling software interface showing a landscape with blue and yellow coloring representing different elevation levels.

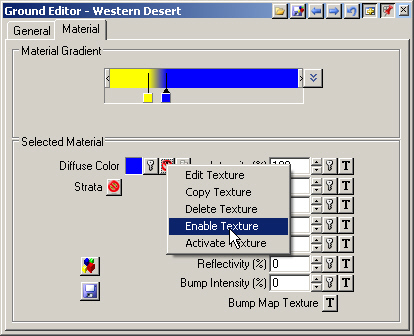
20. That’s the transition we’re looking for. Enable the Diffuse Color Texture and Strata channels. Select the Flat Material pin in the Material Gradient and enable its Diffuse Color Texture.

Screenshot of a Ground Editor software interface showing texture settings with the "Enable Texture" option selected from a dropdown menu.

21. Save the project and render a preview.

A computer-generated image of a barren, rocky landscape with flat terrain and distant cliffs.
Scroll to top
Skip to content