3DNature

3D Landscape Design & Visualization Software published and supported by AlphaPixel

Menu
A topographic map with green, orange, and gray elevations. A crosshair marks a central location.
Getting Started with VNS 3: Terrain Basics

Part 3E. DEM Painter

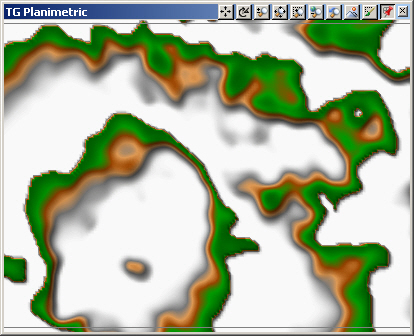
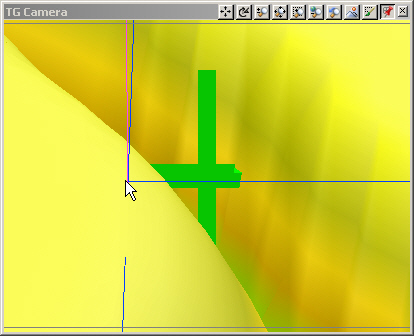
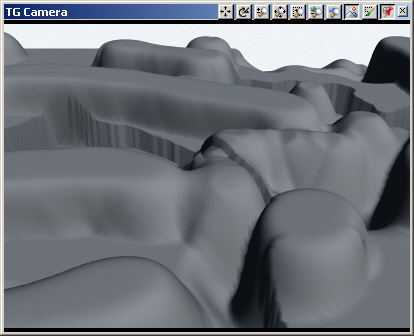
1. Open a TG Planimetric Camera view in the upper right matrix quad.

A topographic map with green, brown, and white contours displayed on a computer screen titled "TG Planimetric.

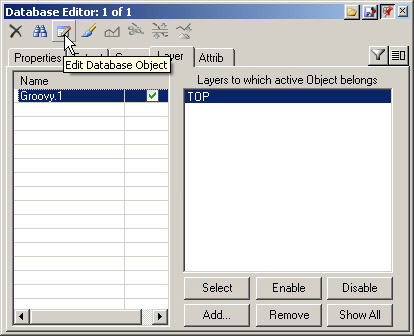
2. Select the DEM in the Database Editor and Edit Database Object . You can also open the DEM Editorby double-clicking the terrain in a view.

Screenshot of a Database Editor window showing properties for an object named "Groovy,1," with buttons for selecting, enabling, disabling, adding, removing, and showing layers.

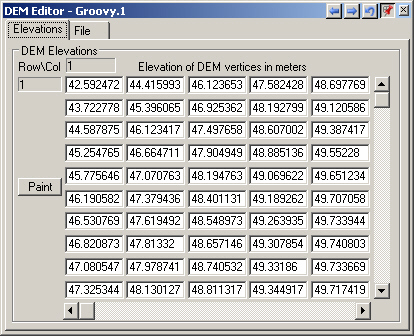
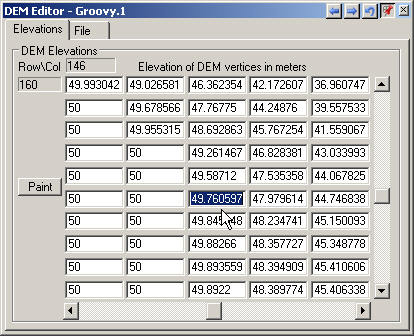
3. The Elevations page lists the elevation of all vertices in the DEM.

Screenshot of a DEM Editor software window displaying elevation data in meters for different vertices in a grid format. The interface includes options for elevations and file operations.

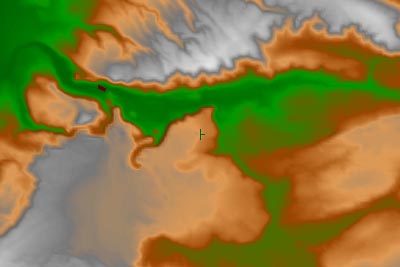
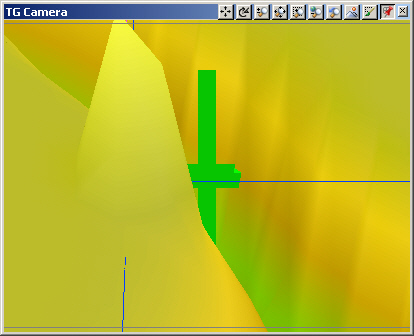
4. Zoom the TG Camera in with 3 taps of the + key. Click on the cliff to the left of the camera target.

A screenshot of a TG Camera window displaying a yellow background with green cross-shaped markers and a computer mouse cursor pointing at a pink vertical line. Various icons are present at the top.

5. The DEM Editor takes you to the nearest terrain grid vertex.

A window titled "DEM Editor - Groovy.1" displays a grid of DEM elevations in meters, showing rows and columns of numerical data. An arrow points to an elevation value of 49.760597.

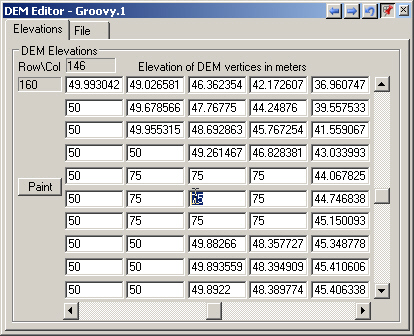
6. Change the value here and at the surrounding 8 vertices to 75 meters.

A screenshot of the DEM Editor software interface displaying a grid of elevation data values in meters with rows and columns labeled. The interface includes options like "Paint" and tabs for "Elevations" and "File".

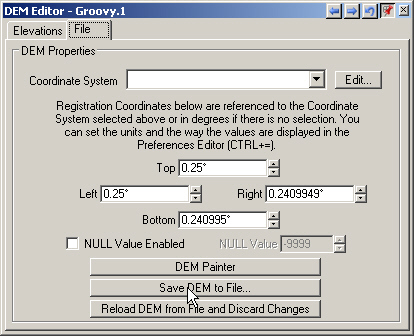
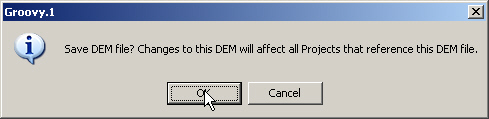
7. Go to the File page and Save DEM to File.

Screenshot of a DEM Editor software window showing options for setting the coordinate system and registration coordinates, with buttons to save or reload DEM files.

8. Confirm that you understand the ramifications of your choice; there is no undo once you overwrite the DEM.
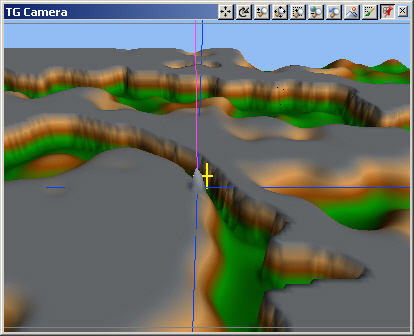
A pop-up dialog box with the message "Save DEM file? Changes to this DEM will affect all Projects that reference this DEM file." with "OK" and "Cancel" buttons. The "OK" button is highlighted.

9. The realtime TG Camera view will refresh with your changes.

A computer-generated image shows a green cross-like figure superimposed on a yellow and green background, with blue lines intersecting through the image indicating some form of graphical measurement or alignment.

10. Return the camera to its default position and save the project.

Computer-generated terrain with varying elevations and colors representing different landscape features. The TG Camera interface is visible on the top of the image.

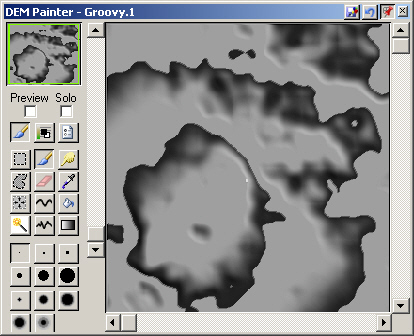
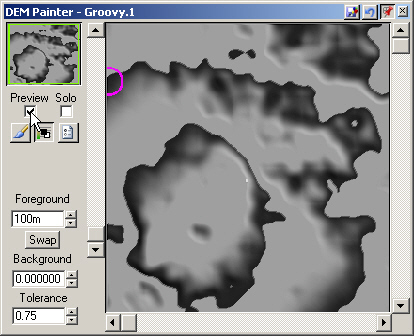
11. Suppose you want to make changes to the terrain, but something more painterly and permanent than a Terraffector or Area Terraffector. That’s where the DEM Painter comes in. Select DEM Painter in the Database Editor.Like the Database Editor, you can undock the window and expand it. The DEM Painter shows a grayscale plan view of the Groovy DEM. The top row of 3 icons controls which palette is visible: Tools, Elevations, or Options. In the default Tools Mode, the top group of 12 icons represents available tools. The lower group of 11 icons are the available brushes.

Screenshot of DEM Painter software showing a grayscale image with various brush tools and options on the left and bottom toolbars.

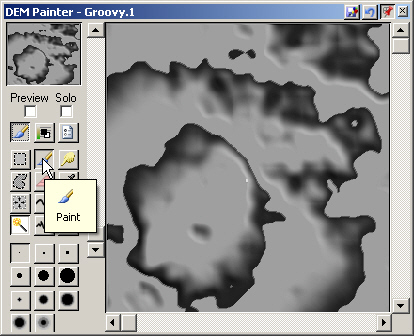
12. Let’s add some ridges to the mesa top. Select Paint from the Tools palette.

A computer interface displaying a digital painting tool with a grayscale, abstract image. Various paint tools and color options are visible on the left sidebar.

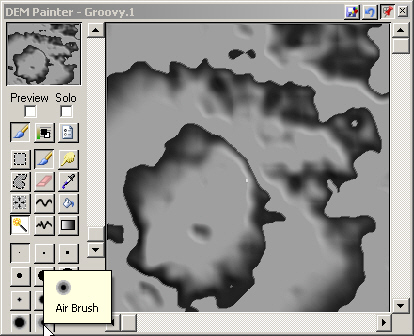
13. Select the last Air Brush .

A screenshot of a digital painting software interface, showing a grey abstract design with various tool options and an "Air Brush" tooltip displayed.

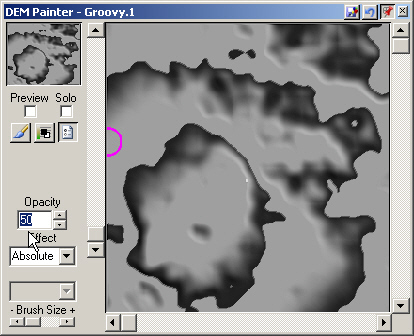
14. Show Options and reduce the Opacity to 50%. This is the strength of the paint effect, with 100% being full and 0% being none.

A software window displaying a grayscale elevation map in "DEM Painter - Groovy.1." The interface includes options for preview, opacity, and brush size.

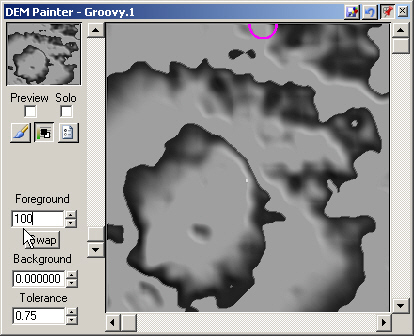
15. Show Elevations and increase the Foreground elevation to 100 meters. This is the maximum additive value of the paint effect.

A software window for DEM Painter displaying a grayscale topographic map with various editing tools visible on the interface.

16. Enable Preview to watch painting in realtime views.

A screenshot of DEM Painter software interface showing a grayscale elevation model with tool options on the left, including preview, brush, and color settings.

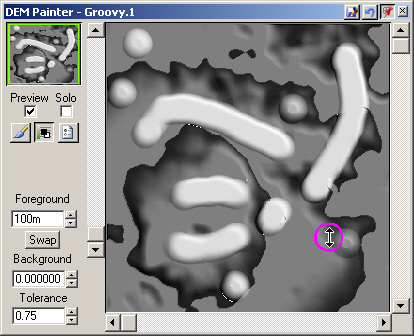
17. Click and drag to raise terrain. If you make a mistake, use the Undo Changes button on the titlebar. If you drag across a canyon, some of the underlying topography is preserved with the lower Opacity. Full Opacity would have raised everything under the brush to 100 meters.

A computer screen displaying digital elevation model (DEM) software with a gray-scale map and white markings. Interface elements and a zoomed-in preview window are visible.

18. You can also paint directly on a realtime view. The DEM Painter window may hide behind one of the other windows. If you want to see it while you’re painting, bring it forward with the Window menu item and move it to another matrix quad.

A computer-generated landscape with hills, valleys, and a segmented grid overlay is displayed on a software interface. The cursor is positioned in the center of the screen.

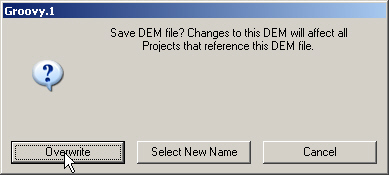
19. When you’re done, Save the DEM.

Screenshot of a software interface named "DEM Painter - Groovy.1" showing a grayscale 3D map on the right, with various toolbar buttons and settings options on the left, including Foreground, Background, and Tolerance.

20. VNS gives you the option of overwriting the existing DEM or creating a new one. Choose Overwrite.

A dialog box with the message "Save DEM file? Changes to this DEM will affect all Projects that reference this DEM file." Options: "Overwrite," "Select New Name," and "Cancel." Cursor on "Overwrite.

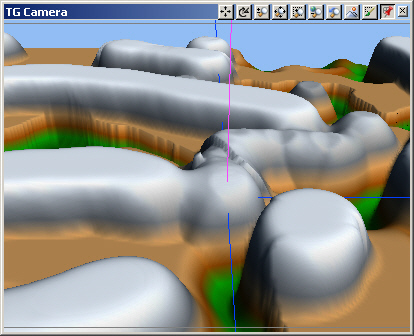
21. Realtime views will reflect the painted changes.

A 3D computer-generated terrain model showing rounded, snow-covered ridges and valleys with green patches, displayed in a TG Camera interface.

22. If you’re curious to see what the new terrain looks like, save the project and render a preview. This is a very simple application of the DEM Painter. Read more about in the Interactive Reference Manual and experiment on your own.

A 3D rendering of a hilly terrain with smooth, rounded surfaces displayed in a software window labeled "TG Camera" at the top.
Scroll to top
Skip to content