Skip to content

3DNature

3D Landscape Design & Visualization Software published and supported by AlphaPixel

Menu

Part 5C. Ground Bump Mapping

Getting Started with VNS 3: Fields & Forest

Part 5C. Ground Bump Mapping

1. Let’s add a little bump mapping to the Steep Material to give it just a hint of horizontal jointing in the rock. It’s easy to overdo bump, so be subtle. Activate the Steep Material pin in the Material Gradient.
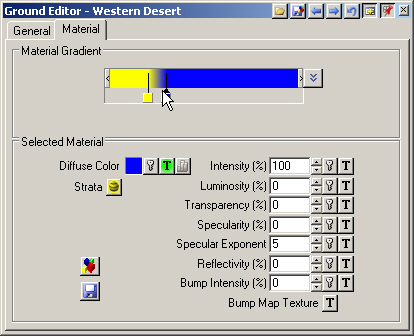
A screenshot of a Ground Editor interface showing various material settings like Material Gradient, Diffuse Color, and properties such as Intensity, Luminosity, Transparency, and Reflectivity.

2. Select the Bump Map Texture Operations button and Create Texture.
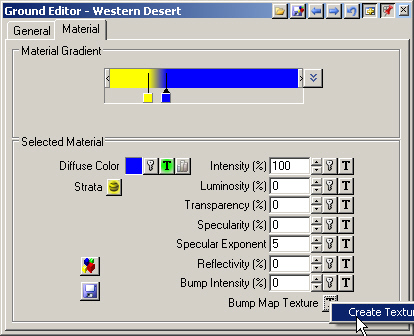
Screenshot of the Ground Editor dialog box in editing software, showing settings for material gradient, diffuse color, and various intensity and texture options. "Create Texture" button is highlighted.

3. The Texture Editor thumbnail shows a 3-meter-wide preview of the Fractal Noise Element.
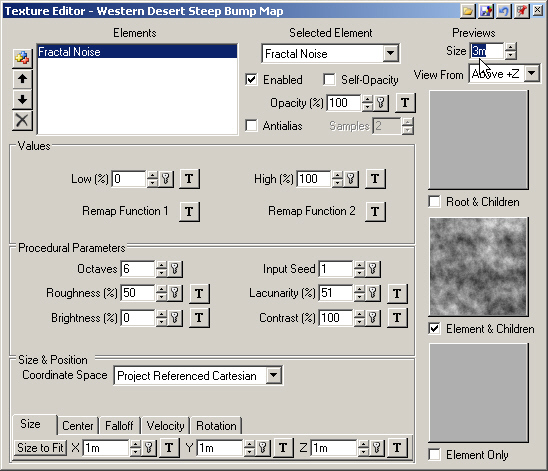
Screenshot of a texture editor interface for a western desert steep bump map. It includes options for fractal noise, values, procedural parameters, and position to space conversion.

4. Increase the Previews Size to 10 meters and change View From to Cube.
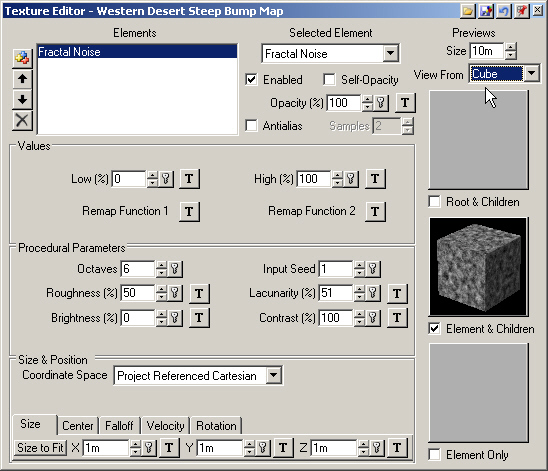
Screenshot of a texture editor interface with various elements and settings options including fractal noise, procedural parameters, values, and previews. A 3D cube texture visualization is shown on the right.

5. Change the Selected Element to MultiFractal.
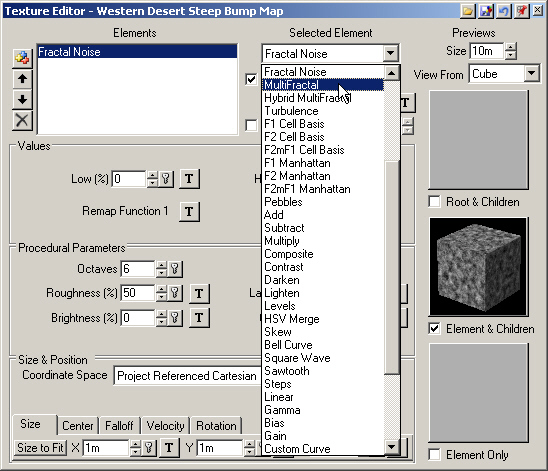
A software interface for a texture editor displaying options for procedural parameters and a list of elements, including "Fractal Noise" and others. A 3D preview of the texture is on the right.

6. Increase the Size X and Y to 5000 meters and Z to 50 meters. This will create a sheet-like texture. Close the Texture Editor.
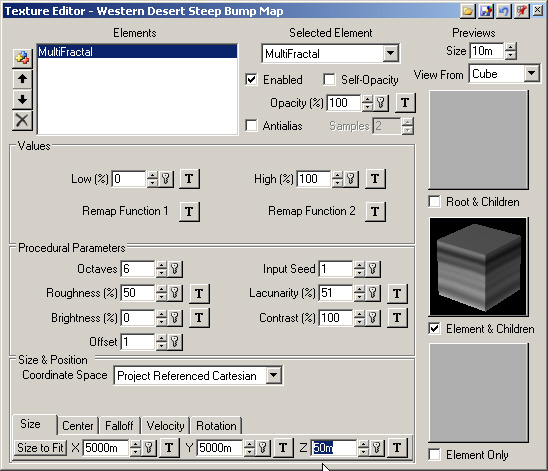
Screenshot of a texture editor with various settings for Western Desert Steep Bump Map. Options include values, procedural parameters, and position settings, displayed in a grey, multi-panel interface.

7. Increase the Bump Intensity to 50%.
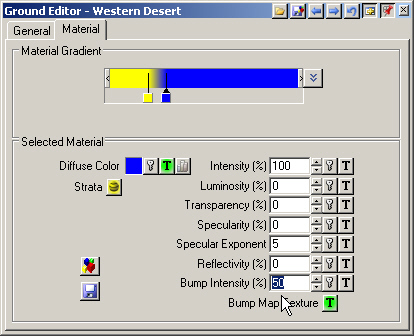
Screenshot of a Ground Editor interface labeled "Western Desert" showing material properties like gradient, diffuse color, intensity, and transparency, with various adjustable setting sliders and value fields.

8. Save the project and render a preview.
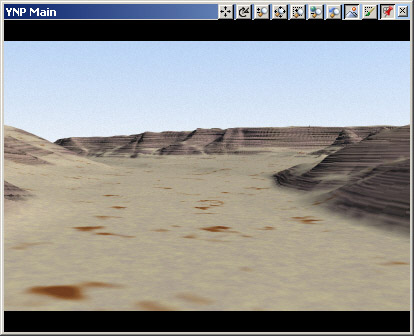
A computer simulation showing a desert landscape with canyons in the background, viewed from a low angle. The interface at the top indicates it's part of a software program.
Scroll to top