Getting Started with Scene Express 2
Part 2. VRML Export
Viewing VRML files requires a VRML viewer.
Output from this tutorial is shown with Parallel Graphics’ Cortona.
Screen captures are from the VNS 3.
Scene Express for WCS 6 does not include VNS-specific features.
1. Open Atlantis project from the WCSProjects\SX folder on your hard drive. Save the project as AtlantisVRML.
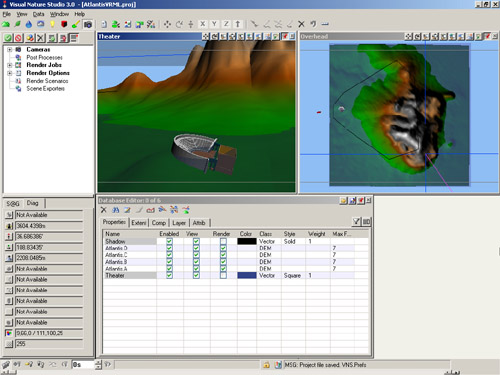
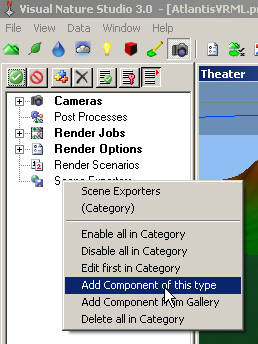
2. Go to the Render Task Mode in the Scene-at-a-Glance and add a Scene Exporter Component.
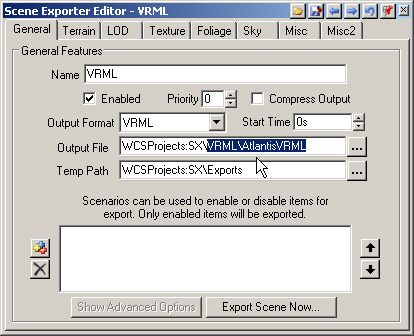
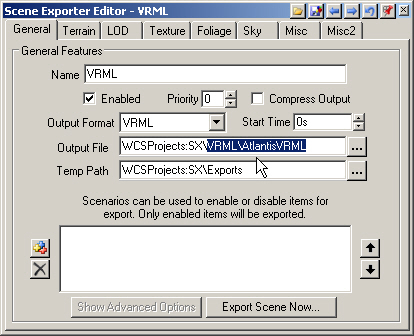
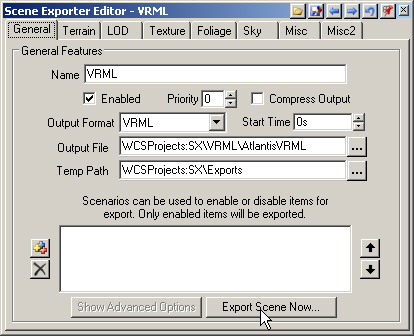
3. Name it VRML and change the Output Format to VRML. Replace Exports\AtlantisVRML at the end of the Output File target with VRML\AtlantisVRML. This will create a VRML folder in the SX project folder to hold the VRML files. Temporary files will be saved in an Exports folder.
4. VNS Only. Go to the Terrain page. Choose Geographic – WGS 84 from the Coordinate System dropdown list.
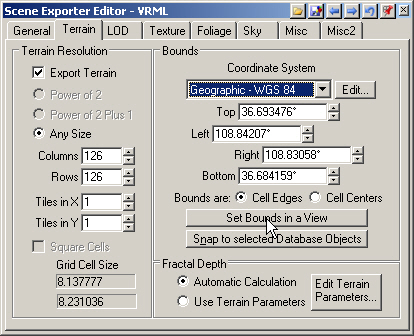
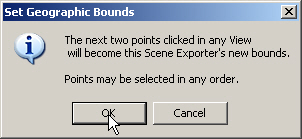
5. We’re creating a VRML file for realtime use so we’ll limit the size of exported terrain to speed VRML viewer response. Set Bounds in a View. VNS will remind you that the next two points clicked in any view will become the new bounds.
6. Left-click corners in the Overhead view near these locations.
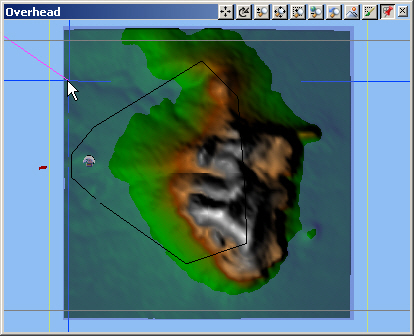
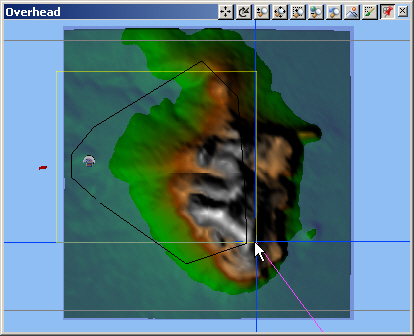
7. The Editor will update with new Top, Left, Right, and Bottom bounds. The Terrain Resolution Columns and Rows values default to 126 x 126, which is the maximum for a ‘square’ tile. The VRML format limits the number of elevation values to 16,000 per tile. You can have more than 126 Columns or Rows but the other value will be reduced to meet total value limitations.
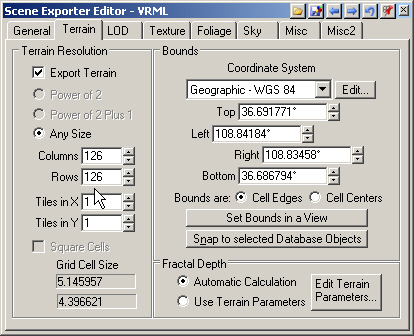
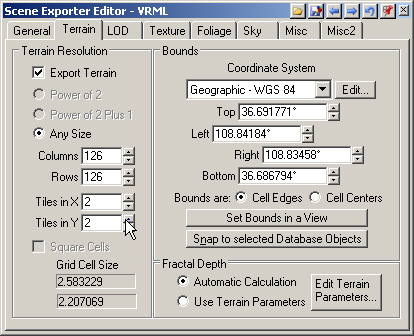
8. To export terrain at a higher resolution, increase the number of tiles. Change the Tiles in X and Tiles in Y values to 2.
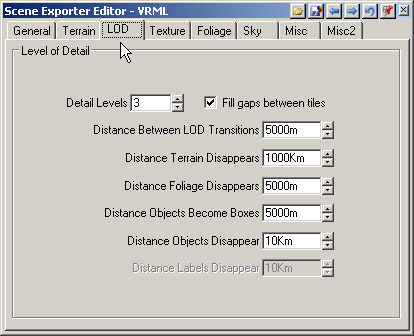
9. Go to the LOD page. Each Detail Level past 1 adds an additional copy of each DEM tile at half the resolution of the parent. For the output size of 126×126 per tile, a value of 3 creates 63×63 and 32×32 copies. With the default setting of 5000 meters for transitions, you’ll see the 126×126 tile if you’re within 5000 m of the tile center of mass and the 32×32 tile if you’re more than 15 Km away. We’ll stick with the defaults.
10. Turn to the Texture page. This controls the texture draped on the terrain. The Image Format field also applies to the sky texture. Increase the Columns and Rows to 256. These are the maximum values VRML viewers are required to handle but some can handle more. Scene Express allows up to 2048×2048. Consider your application and delivery method in choosing texture map size as higher resolution textures will result in larger texture files.
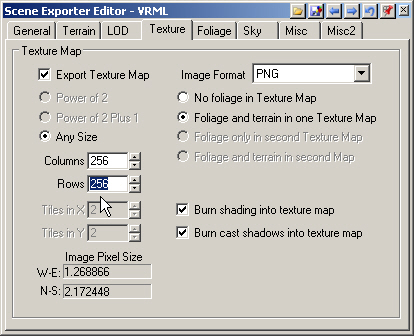
11. The PNG image format has an alpha channel for transparency control but can cause problems in some VRML viewers. To play it safe, choose JPEG as the Image Format.
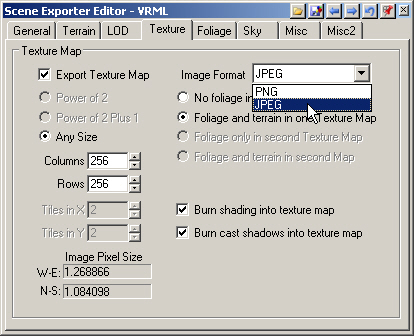
12. Go to the Foliage page. VRML accepts flipboard and crossboard foliage. Flipboards are 2-dimensional image objects and crossboards are 3-dimensional objects formed by two flipboards crossed at right angles. Crossboards will significantly slow realtime viewer interaction. Stay with the Flipboards option.
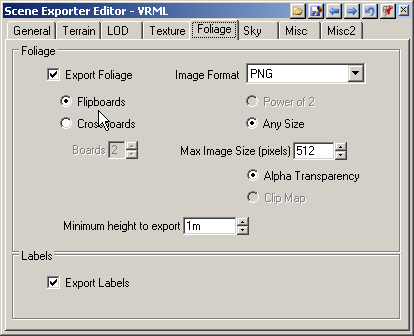
13. The Sky page defaults are good for snappy realtime interaction, so let’s leave them alone.
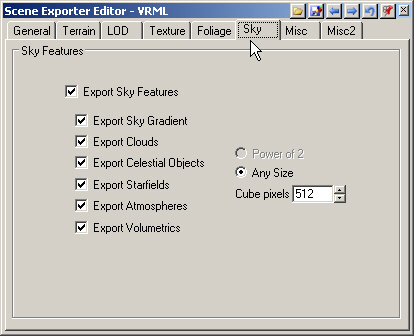
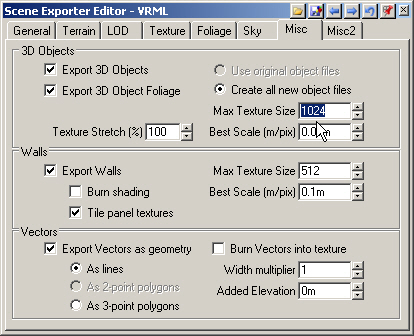
14. Go to the Misc page, 3D Objects section, and increase Max Texture Size to 1024. Keep in mind that a larger texture size will increase texture detail but will also increase file size.
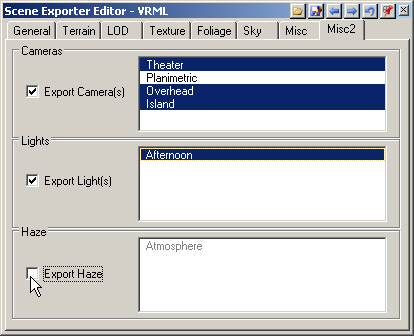
15. Go to the Misc2 page Cameras section and select the Theater, Overhead, and Island Camera. Select the Afternoon Light and deselect Export Haze.
16. Return to the General page and Export Scene Now.
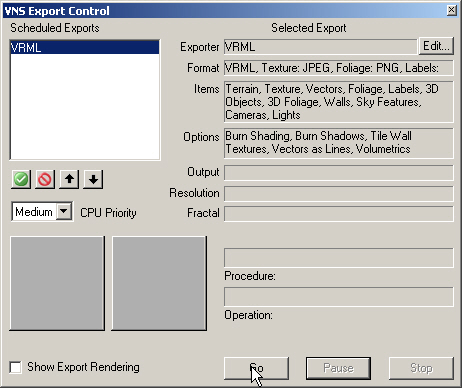
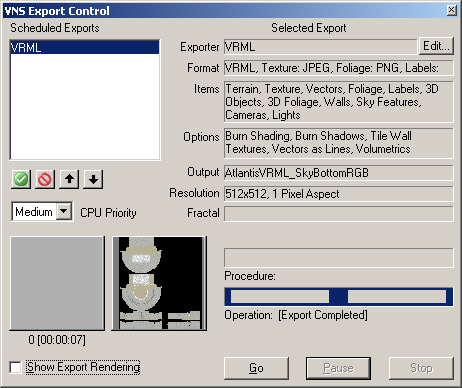
17. This will open the VNS Export Control window. Go to start exporting.
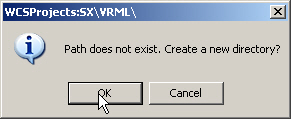
18. Confirm the creation of new directories in the SX project folder. You won’t get a WCSProjects:SX\Exports window if you’ve already done other Scene Express tutorials.
19. VNS Export Control will let you know when export is complete.
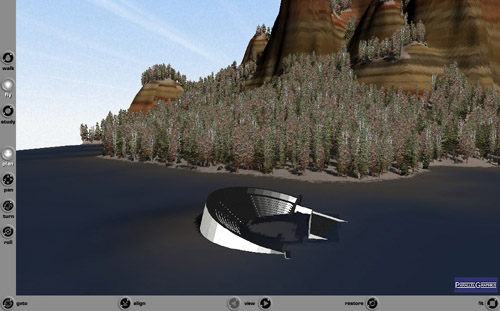
20. If you don’t have a VRML viewer installed yet, install one; there are many to choose from. Output from this tutorial was viewed with Parallel Graphics’ Cortona using its DirectX renderer.
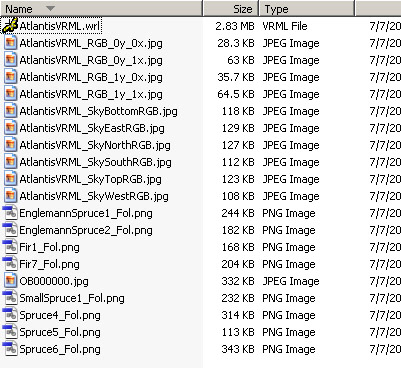
21. Go to your WCSProjects\SX\VRML folder and launch AtlantisVRML.wrl.
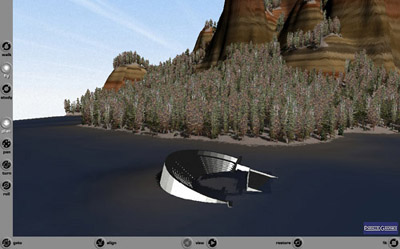
22. Here’s what the Theater viewpoint looks like in Cortona.
23. Exported files from this tutorial are in the WCSProjects\SX\Tutorial Output\VRML folder on the VNS 3 DVD. The completed project file is in the WCSProjects\SX\Tutorial Projects folder on your hard drive.
Produced by Scott Cherba for 3DNature
