3DNature

3D Landscape Design & Visualization Software published and supported by AlphaPixel

Menu

Scene Express 2 :: VNS

Getting Started with Scene Express 2

Part 8. VNS Export

The VNS export option is only available in VNS.
Screen captures are from VNS 3.

1. Open the Atlantis project from the WCSProjects\SX folder on your hard drive. Save the project as AtlantisVNS.
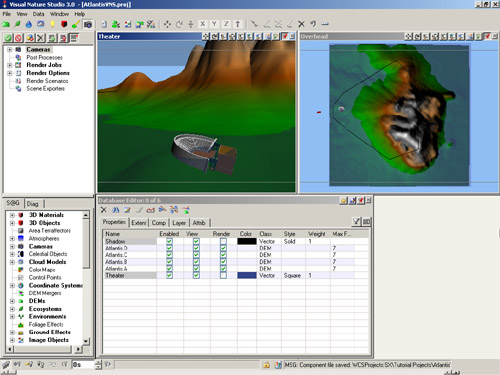
A computer screen displays a 3D rendering software interface with terrain and theater model views, settings panel, and various editing options.

2. Go to the Render Task Mode in the Scene-at-a-Glance and add a Scene Exporter Component.
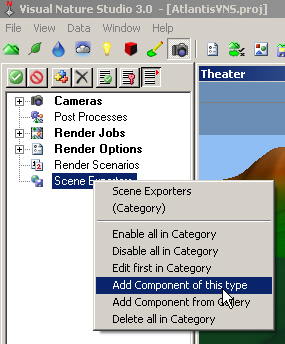
Screenshot of Visual Nature Studio 3.0 software interface. A right-click menu shows options under "Scene Exporters," including "Add Component of this type," and other category-related actions.

3. Name it VNS and change the Output Format to VNS. Edit Exports\AtlantisVNS in the Output File field to read VNS\AtlantisVNS. This will create an VNS folder in the SX project folder to hold the exported files. Temporary files will be saved in an Exports folder.
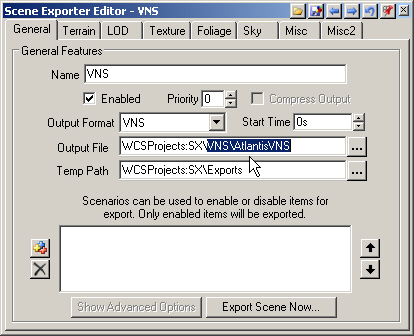
A screenshot of the Scene Exporter Editor window with fields for name, output format, start time, output file, and temp path. The "Enabled" checkbox and priority settings are also visible.

4. Go to the Terrain page. Choose Geographic – WGS 84 from the Coordinate System dropdown list.
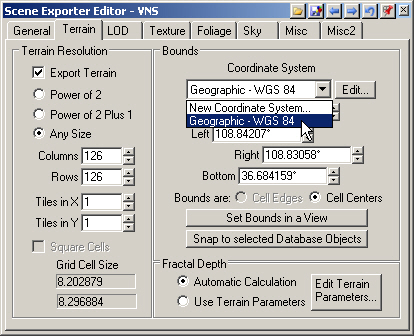
A software interface showing settings for exporting terrain with options for coordinate system, bounds, and cell properties. The coordinate system dropdown is open, displaying 'Geographic - WGS 84'.

5. We’ll export the entire scene with one DEM object with 340 Columns and Rows. That will give us a grid cell size of about 3 meters.
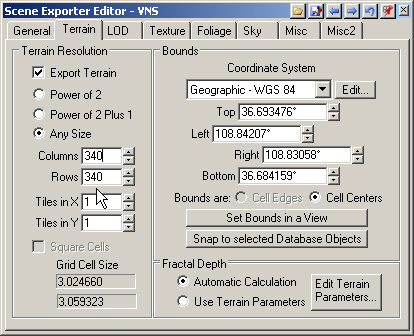
Screenshot of the Scene Exporter Editor software interface. The Terrain tab is selected, displaying settings for terrain resolution, bounds, grid cell size, and fractal depth, with editable fields and options.

6. The VNS format does not have any LOD options.
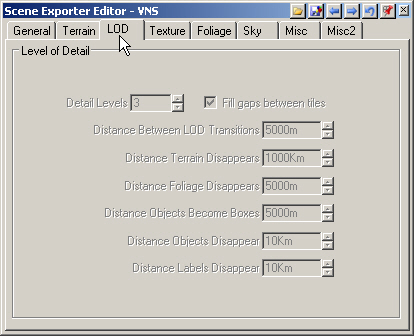
A software window titled "Scene Exporter Editor - vNS" showcases the LOD setting options such as detail levels, distances objects and labels disappear, and the option to fill gaps between tiles.

7. Turn to the Texture page. This controls the texture draped on the terrain. The Image Format field also applies to the sky texture. Increase the Columns and Rows to 1024. This will give us a terrain texture resolution of about 1 meter per image pixel.
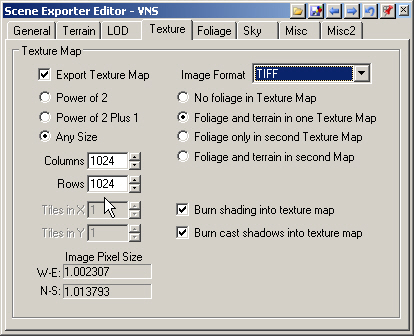
A screenshot of the Scene Exporter Editor vNS software interface, showing various settings for exporting texture maps, columns and rows, and checkboxes for additional texture and shadow options.

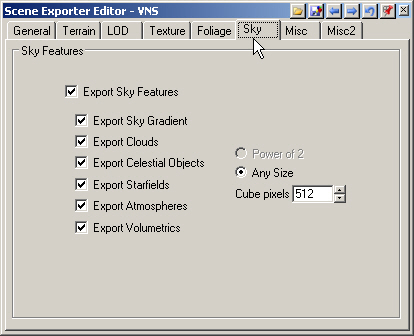
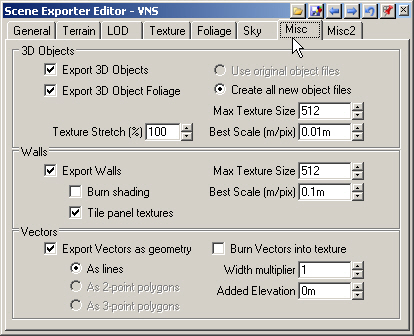
8. The Foliage, Sky, and Misc page defaults will work fine for this tutorial.
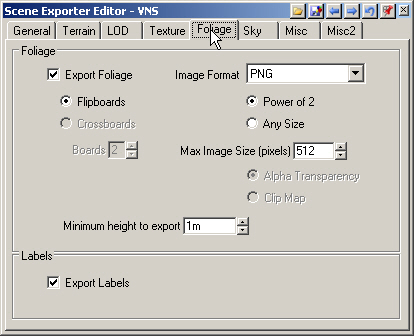
The image displays the "Foliage" tab of the Scene Exporter Editor software, showing options for exporting foliage, image format selection, size settings, and label export options.
A software interface window titled "Scene Exporter Editor - VNS" showing various export options under the "Sky" tab, including Sky Gradient, Clouds, Celestial Objects, Starfields, Atmospheres, and Volumetrics.
A screenshot of the Scene Exporter Editor vNS application showing options for exporting 3D Objects, Walls, and Vectors. Various settings for texture size, max texture size, and elevation are visible.

9. Go to the Misc2 page Cameras section and select the Theater Camera. Select the Afternoon Light and deselect Export Haze.
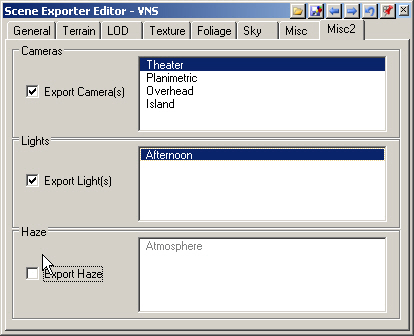
Screenshot of a Scene Exporter Editor window displaying options for exporting cameras, lights, and haze, with checkboxes for "Export Camera(s)," "Export Light(s)," and "Export Haze" selected.

10. Return to the General page and Export Scene Now.
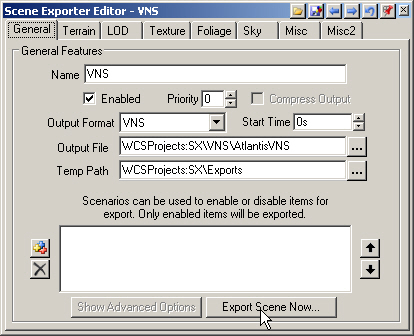
A screenshot of the Scene Exporter Editor software interface, showing fields for naming the scene, setting output formats and file paths, and buttons for advanced options and exporting the scene.

11. This will open the VNS Export Control window. Go to start exporting.
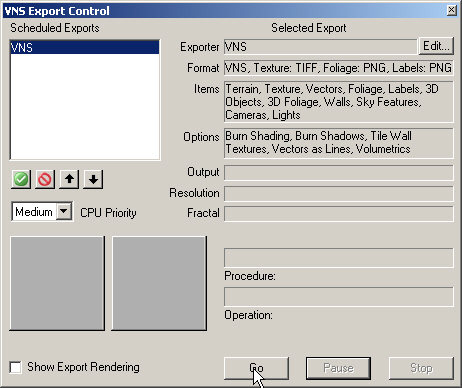
Screenshot of VNS Export Control window. Provides options for export type, format, items, effects, output resolution, and priority. Features buttons for starting, pausing, and stopping the export process.

12. VNS will ask you to confirm the creation of new directories in the SX project folder. You won’t get the WCSProjects:SX\Exports window if you’ve already done other Scene Express tutorials.
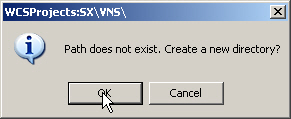
A pop-up window with the message "Path does not exist. Create a new directory?" and options to click "OK" or "Cancel.

13. VNS Export Control will let you know when export is complete.
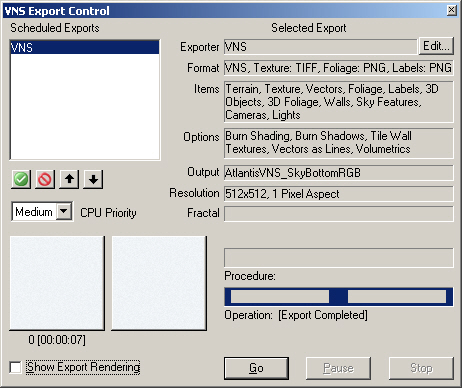
Screenshot of a VNS Export Control window showing various export options, settings, and progress information, including file format options, resolution, and procedures.

14. Your WCSProjects\SX\VNS\AtlantisVNS folder contains all the exported data files.
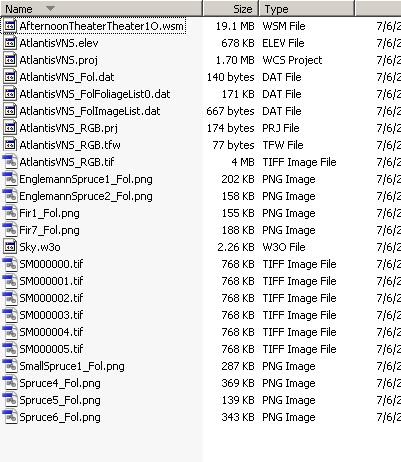
File explorer window displaying a list of files with details including name, size, and type. The files include various WSM, VNS, DAT, PRJ, TIF, and PNG formats with different sizes.

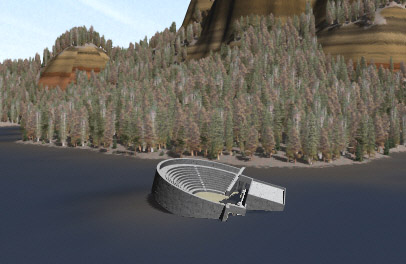
15. Here’s what the VNS project Theater camera looks like rendered in VNS 3.
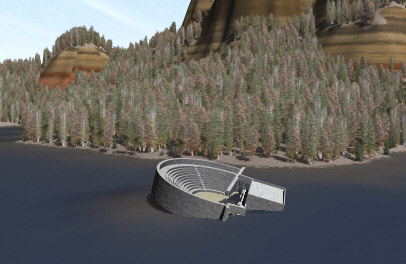
A concrete dam structure is located in a mountainous forest area, partially surrounded by water, under a blue sky.

16. Exported files from this tutorial are in the WCSProjects\SX\Tutorial Output\VNS folder on the VNS 3 DVD. The completed project file is in the WCSProjects\SX\Tutorial Projects folder on your hard drive.

Produced by Scott Cherba for 3DNature

Scroll to top
Skip to content