The GIS export option is only available for VNS. Screen captures are from VNS 3.
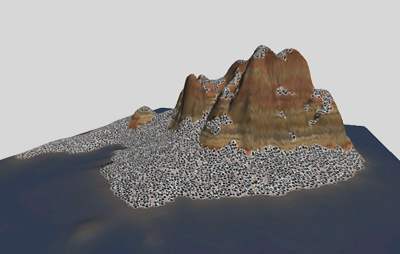
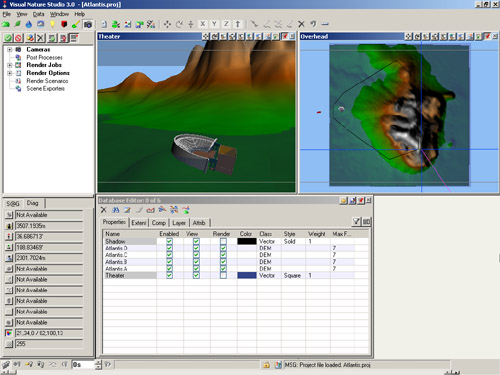
1. Open the Atlantis project from the WCSProjects\SX folder on your hard drive. Save the project as AtlantisGIS.
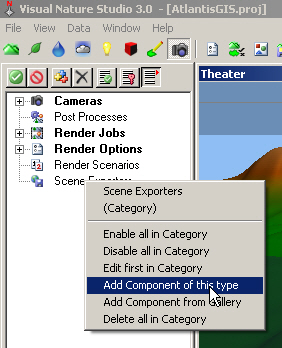
2. Go to the Render Task Mode in the Scene-at-a-Glance and add a Scene Exporter Component.
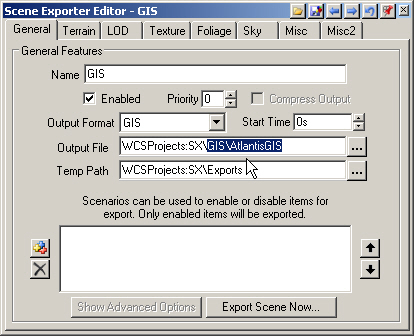
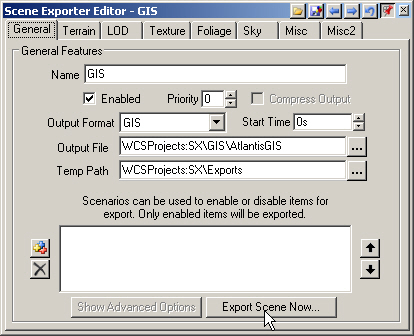
3. Name it GIS and change the Output Format to GIS. Replace Exports\AtlantisGIS in the Output File target with GIS\AtlantisGIS. This will create a GIS folder in the SX project folder to hold the exported GIS files. Temporary files will be saved in an Exports folder.
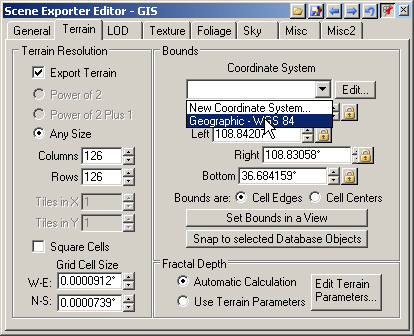
4. Go to the Terrain page. Choose Geographic – WGS 84 from the Coordinate System dropdown list.
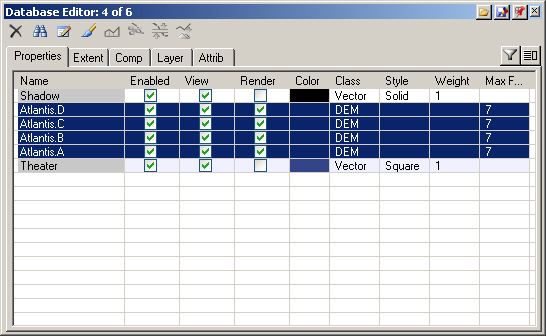
5. Open the Database Editor and select all the DEMs.
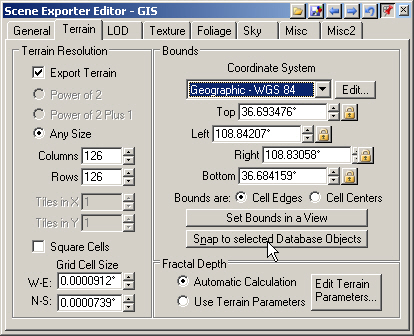
6. Back in the Scene Exporter Editor, Snap to selected Database Objects.
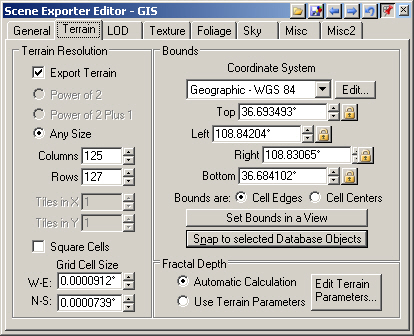
7. The Bounds: Snap to Database Objects window will appear, explaining how the process works. The desired database objects are selected in the Database Editor, so click OK. The Scene Exporter Editor will update. The Columns and Rows settings will yield a Grid Cell Size of approximately 10 meters.
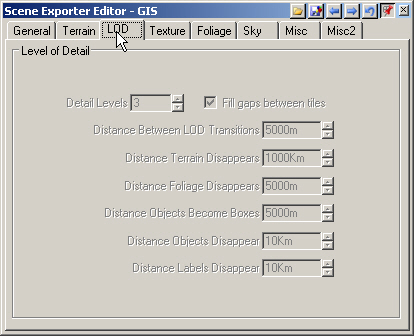
8. There are no LOD options in the GIS format.
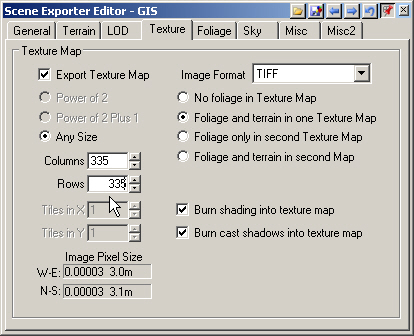
9. Turn to the Texture page. This controls the texture draped on the terrain. Change the Columns and Rows to 335. That will give us a terrain texture resolution of 3 meters per image pixel.
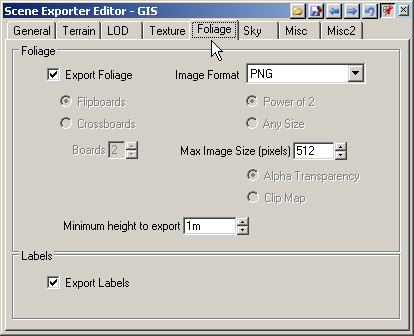
10. The Foliage page defaults to exporting foliage in the PNG image format.
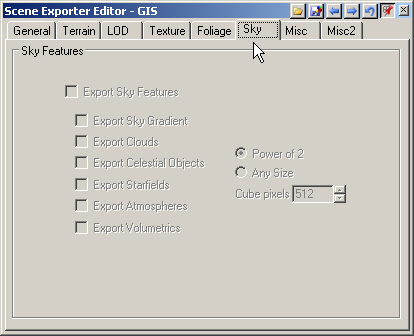
11. There are no Sky options in the GIS exporter.
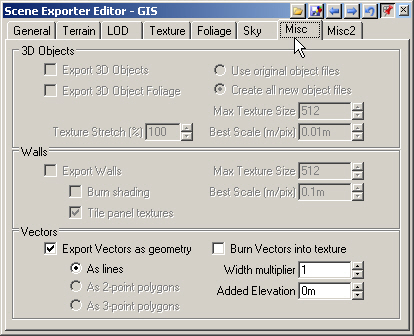
12. The Misc page only has vector options. By default, vectors are exported as a shapefile.
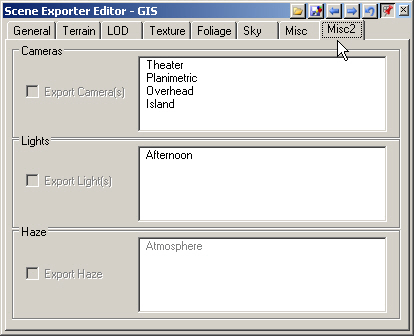
13. Misc2 page Cameras, Lights, and Haze options are not available in the GIS exporter.
14. Return to the General page and Export Scene Now.
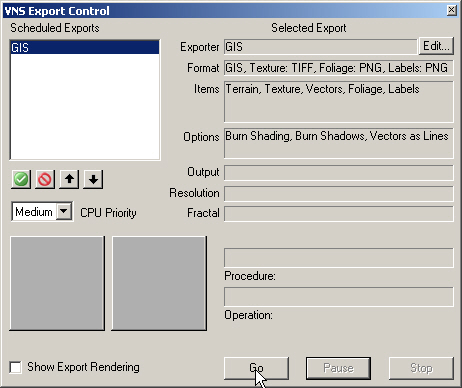
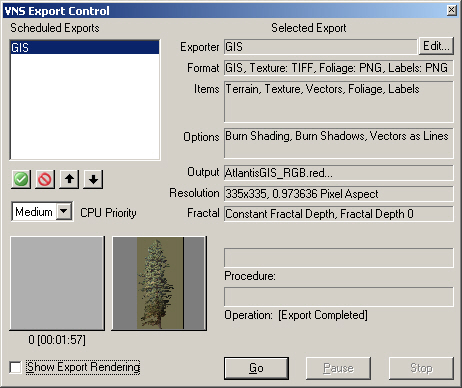
15. This will open VNS Export Control. Go to start exporting.
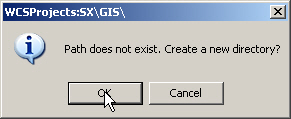
16. VNS will ask you to confirm the creation of new directories in the SX project folder. You won’t get the WCSProjects:SX\Exports window if you’ve done other Scene Express tutorials.
17. VNS Export Control will let you know when export is complete.
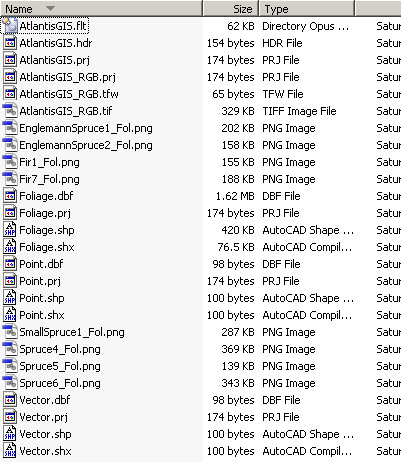
18. Your WCSProjects\SX\GIS folder contains all the exported data files.
» FLT, HDR, and PRJ files define the terrain » Foliage shapefile contains points for each stem with ID, image name, and height attributes » TIF texture drape and associated TFW file
19. Exported files from this tutorial are in the WCSProjects\SX\Tutorial Output\GIS folder on the VNS 3 DVD. The completed project file is in the WCSProjects\SX\Tutorial Projects folder on your hard drive.