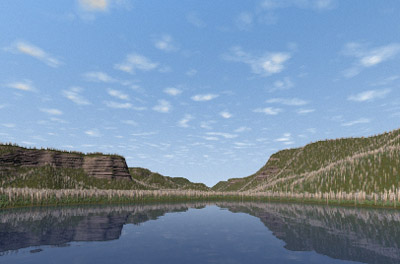
Part 9D. Volumetric Clouds
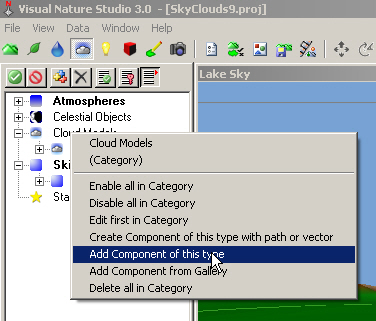
1. Go to the Scene-at-a-Glance, right-click the Cloud Models category, and Add Component of this type.
2. Rename it 3D Clouds.
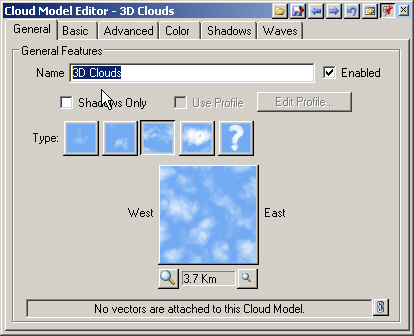
3. Show Advanced Features.
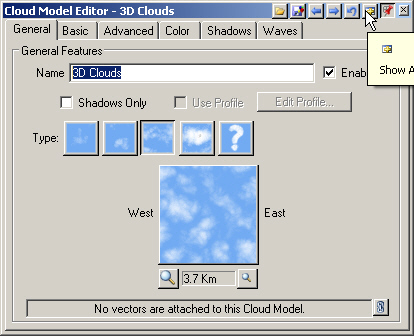
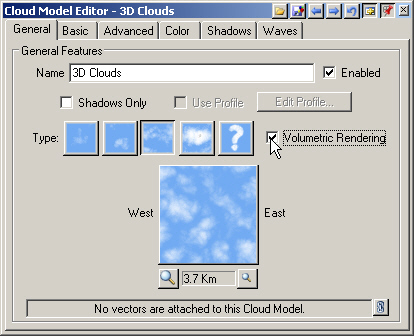
4. Enable Volumetric Rendering.
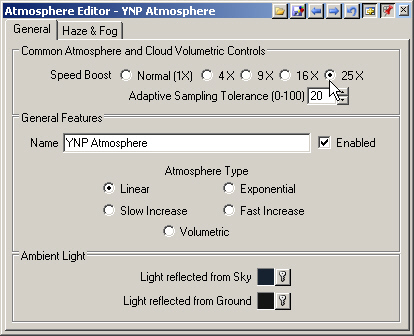
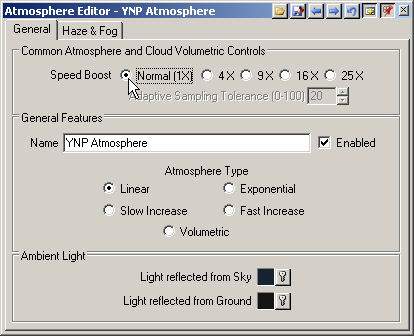
5. Open the Haze Atmosphere in the Scene-at-a-Glance. Select the 25X Speed Boost for fastest rendering. This is great for previewing cloud changes.
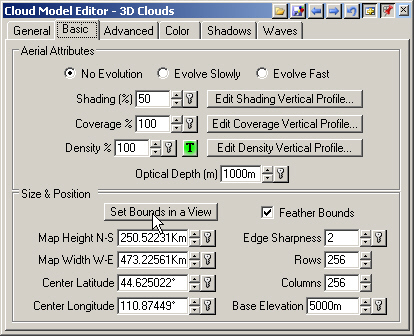
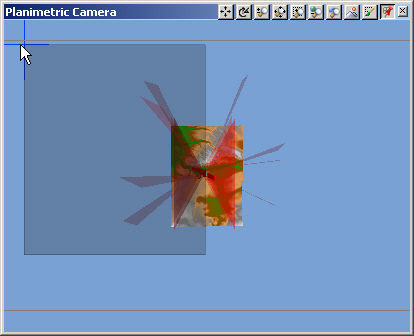
6. Go back to the Cloud Model Editor Basic page and Set Bounds in a View. Set bounds similar to the layered clouds.
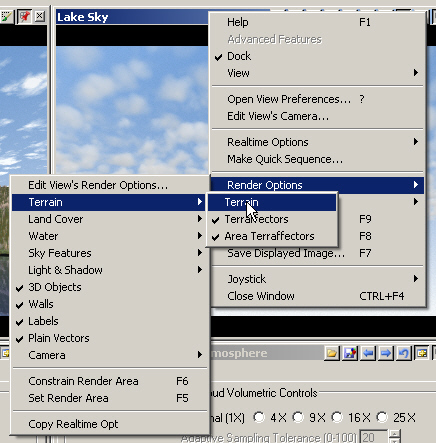
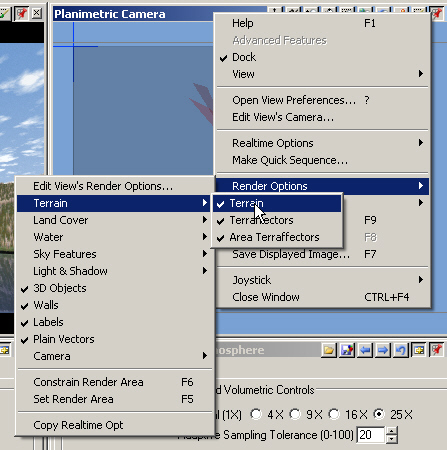
7. Open another Lake Sky Camera view in the upper right quad. Open the popup menu and select Render Options > Terrain > Terrain to disable it for rendering.
8. Save the project and render a preview.
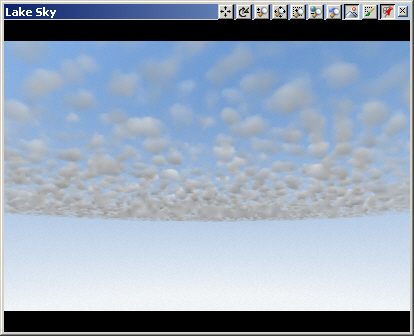
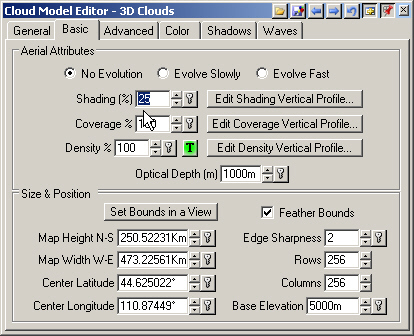
9. Let’s make the clouds look a little less ominous. Go to the Basic page and reduce the Shading to 25%. Save the project and render a preview.
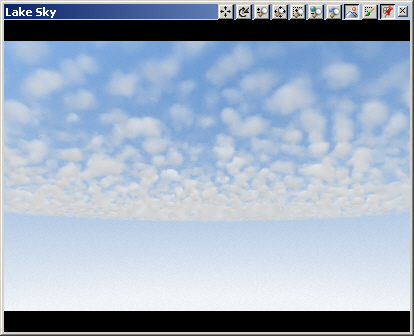
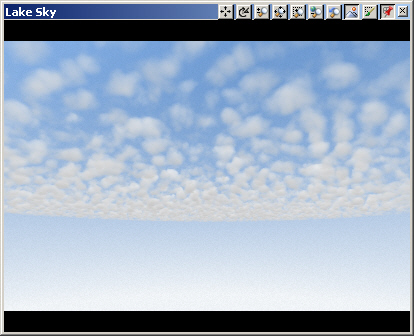
10. If you were keeping track of render time, you noticed that it took less time to render the volumetric clouds than the layered clouds at this quality setting. Go to the Atmosphere Editor and switch the Speed Boost to Normal. Render another preview. You’ll see more detail in the clouds.
11. Open the right popup menu and select Render Options > Terrain > Terrain to enable terrain again for rendering.
