1. Go to the Tutorials\GIS project folder and open GISBasics. Save it as GISBasics8 to avoid overwriting the original file.
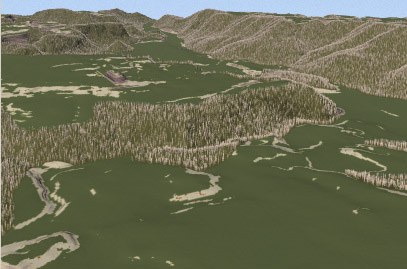
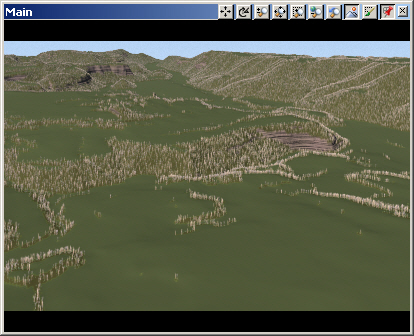
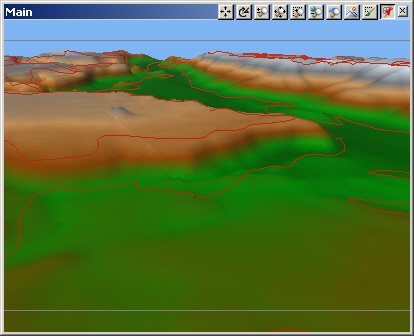
2. Render a Main preview.
3. The global Environment is composed of the two Ecosystems we’ve been working with: Grassland and Pine Burn. The Rules-of-Nature work well for rendering convincing landscapes, but reproducing actual land cover usually requires real-world data. We’re going to use vector data in the form of a shapefile to drive Pine Burn Ecosystem placement.
4. Shapefiles have the advantage of storing database information associated with vectors. Search Queries and Thematic Maps can save production time, and can dynamically update when vectors change.
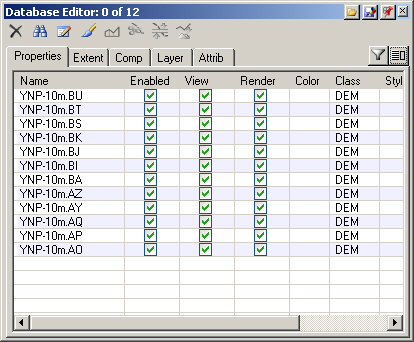
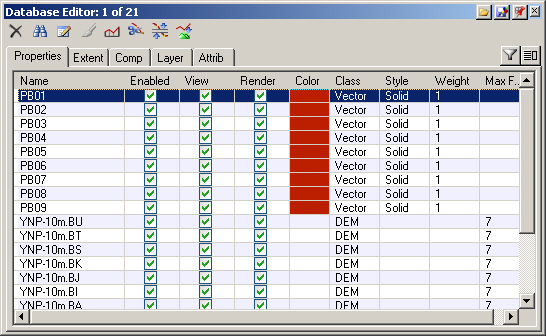
5. Open the Database Editor to see the 12 DEMs we have so far.
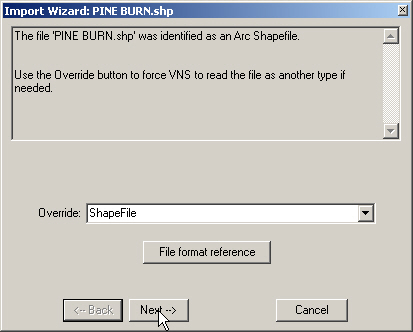
6. Launch the Import Wizard. Go to the VNS 3 DVD database folder and select the PINE BURN.shp file. The Wizard will correctly identify the file as an Arc Shapefile. Continue to the Next window.
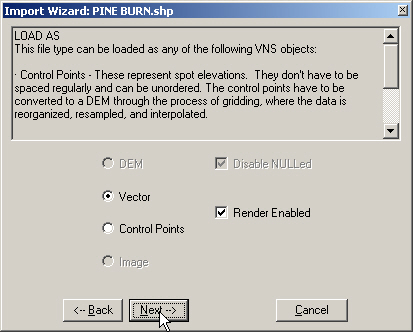
7. The LOAD AS window will load the shapefile as Vector objects enabled for rendering. Go to the Next window.
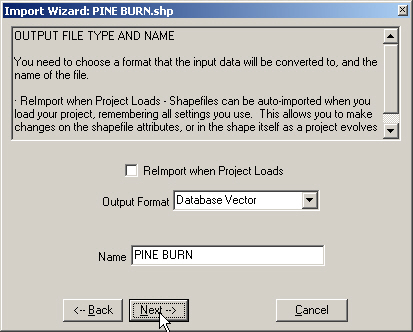
8. OUTPUT FILE TYPE AND NAME gives us the option to ReImport when Project Loads. This is for when you expect the input data to change and want it automatically updated when the project is opened. We don’t, so continue to the Next window.
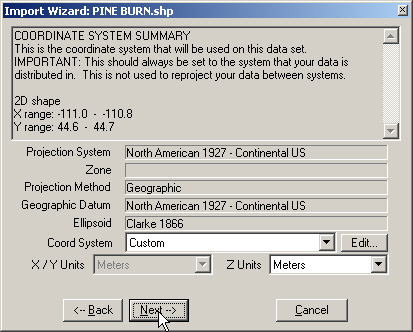
9. The COORDINATE SYSTEM SUMMARY will show a Custom Coordinate System using the Geographic NAD 27 projection method and system. Go to the Next window.
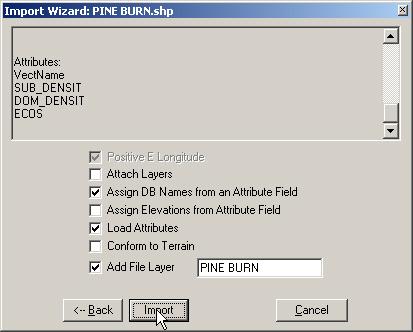
10. The Attributes section of the SHAPE OPTIONS page lists all the attributes VNS found in the shapefile. We’re going to Assign DB Names from an Attribute Field and Load Attributes, so make sure they’re checked. VNS will Add File Layer for our convenience. Import the data.
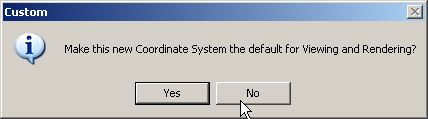
11. We’re going to stick with the Coordinate System we have, so decline the offer to change it.
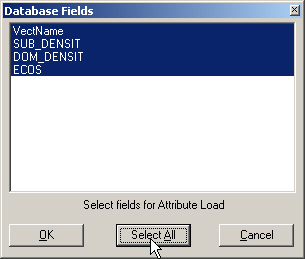
12. The first Database Fields window is looking for attributes to load. Always double-check what VNS is asking for. The request windows will depend on your choices in the last Import Wizard SHAPE OPTIONS window. We want all attributes so Select All.
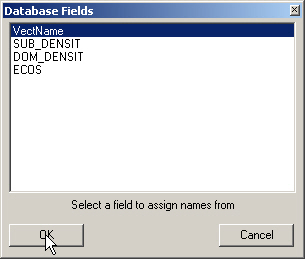
13. The next Database Fields window wants a name field to assign to each shapefile object. A unique identifier is best, so let’s use the VectName.
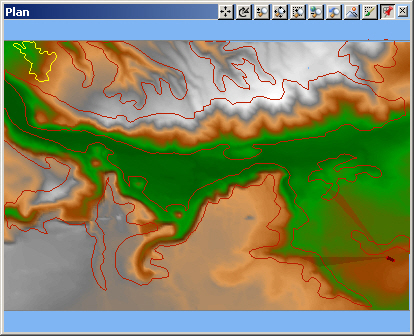
14. After the data is imported, the realtime Plan view will refresh with the vectors. The Database Editor will show 9 new objects. Save the project.
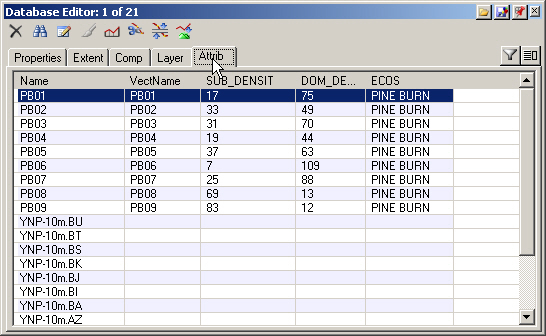
15. Go to the Database Editor and turn to the Attribute page. Here we see the subdominant and dominant foliage density values and the ecosystem type.
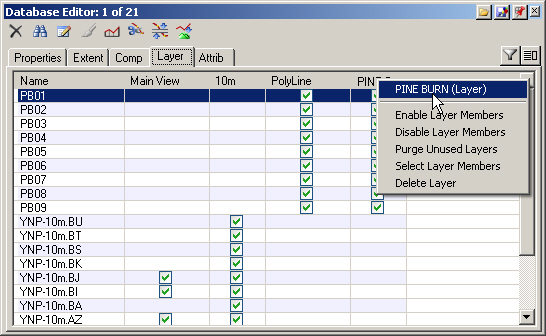
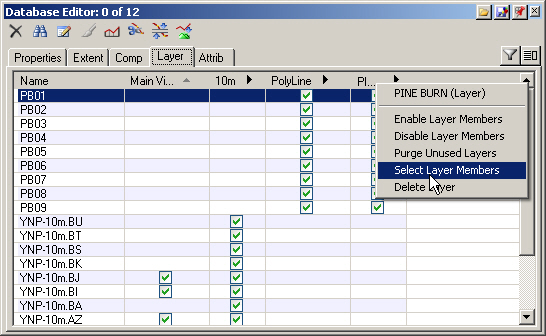
16. The Layer page shows that PB01 is a member of two Layers, including PINE BURN. If you can’t read the entire column header, click it. This gives you access to Layer operations, too.
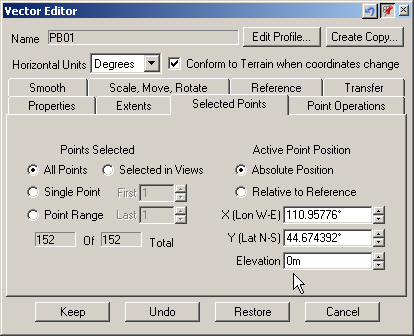
17. Switch the Main view back to realtime mode. The vectors aren’t visible, so let’s find out why. Back in the Database Editor, Edit Database Object to open the PB01Vector Editor. Go to the Selected Points page and you’ll see that the Elevation is 0 meters. That means the vectors are underground in the Main view. By design, planimetric views see vectors regardless of their elevation. Close the editor.
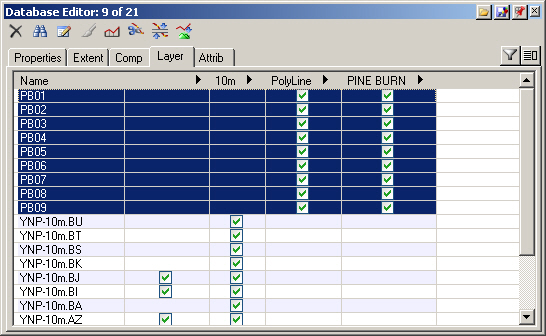
18. Go back to the Database Editor. Select the PINE BURN Layer to select all member objects.
19. The Database Editor will show 9 of 21 objects selected.
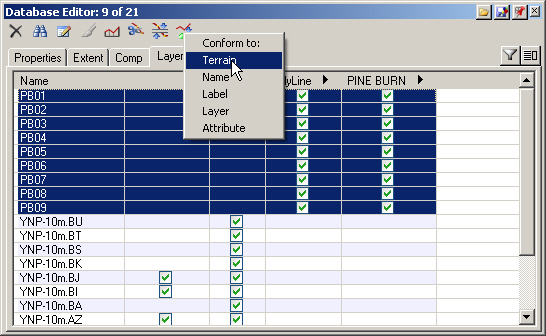
20. Conform to Terrain.
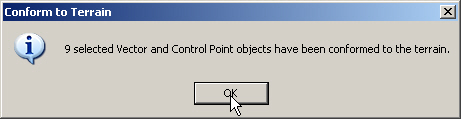
21. Confirm the operation. VNS will verify that all 9 vectors have been conformed to the terrain. The Main view will refresh and show the vectors, now that they’re at ground level. Save the project.