3DNature

3D Landscape Design & Visualization Software published and supported by AlphaPixel

Menu
Getting Started with VNS 3: Roads & Buildings

Part 7C. Building Pad

1. Before we can start placing cabins, we need to level the clearing, which means an Area Terraffector. In the upper right quad, open a Cabin Plan view and render a preview.
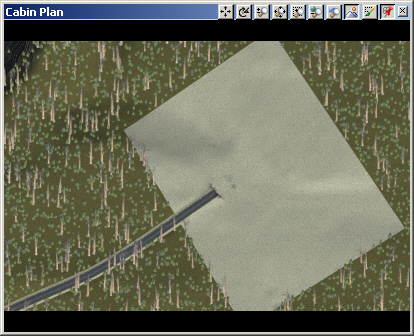
Screenshot of a virtual terrain map titled "Cabin Plan" showing a road leading into the corner of a large, square plot surrounded by forest.

2. Turn to the Diagnostic Data tab.We’ll use the terrain around the road as a basis for leveling, so click and drag to get an idea of the elevation. The uphill side maximum is about 2335 meters.

3. Go to the Terrain Task Mode and add a generic Area Terraffector.
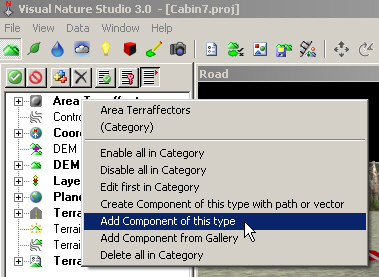
Screenshot of Visual Nature Studio 3.0 software showing a right-click context menu with the option "Add Component of this type" highlighted. Various toolbar icons are visible at the top.

4. Name it Cabin Clearing. Expand the Area Terraffectors category in the Scene-at-a-Glance.
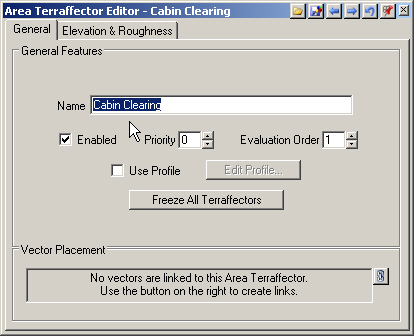
Screenshot of the Area Terrafector Editor dialog box with options for name, priority, evaluation order, profile usage, and vector placement. The name field is filled with "Cabin Clearing.

5. We’ll use the Cabin Clearing vector, so find it on the lower S@G tab. Copy it to the Cabin Clearing Area Terraffector.
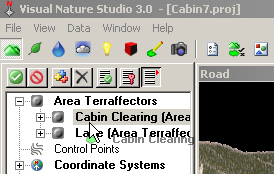
A screenshot of Visual Nature Studio 3.0 software interface displaying a project file named 'Cabin7.proj' with a mouse pointer over "Cabin Clearing (Area Terraffectors).

6. The Area Terraffector Editor will update and tell us that there is one vector hard-linked to the Area Terraffector.
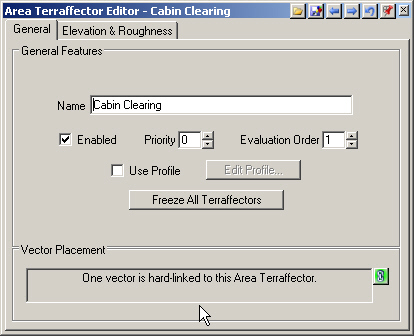
Screenshot of the Area Terraffector Editor interface displaying settings for "Cabin Clearing" with options for name, priority, evaluation order, enabled status, and vector placement information.

7. Go to the Elevation & Roughness page. Make the Elevation Absolute at 2335 meters. Smooth it out a little by reducing the Roughness to 50%.
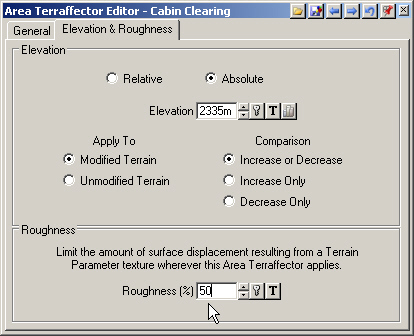
A software interface titled "Area Terraffector Editor - Cabin Clearing" with settings for elevation and roughness, including options to modify terrain and set roughness percentage. A hand cursor hovers over Roughness.

8. Go back to the General page, Use Profile, and Edit Profile.
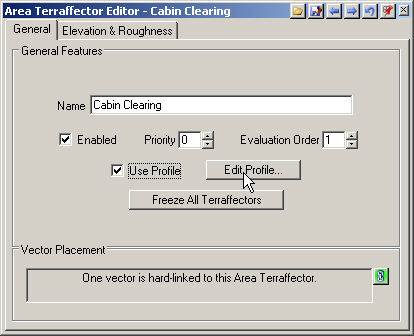
Screenshot of the Area Terrafector Editor window titled "Cabin Clearing," with options to enable, set priority, use profile, edit profile, and freeze all terrafectors. A vector is hard-linked to this area terrafector.

9. The default profile has the Area Terraffector reaching full value 10 meters in from the vector. That will work so Keep the profile.
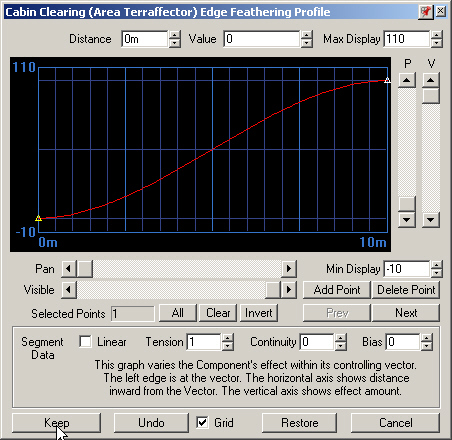
Interface for adjusting the edge feathering profile of an area terrafector in a cabin clearing scene, showing a curve graph with various control options and input fields.

10. Save the project and render a preview. The site is level and ready to build.
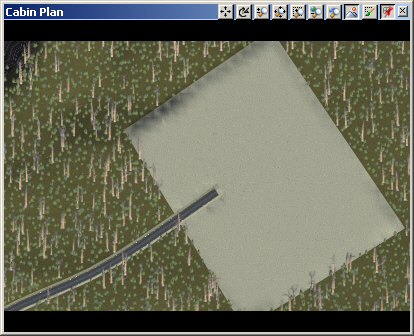
A computer-generated aerial view shows a forested area with a rectangular cleared space labeled "Cabin Plan," intersected by a single road entering from the bottom left.
Scroll to top
Skip to content