1. Now it’s time to add a road and cabins to the Yellowstone scene. Open the Cabin project from the Tutorials\YNP folder on your hard drive. Save the project as Cabin7 to avoid overwriting the existing file.
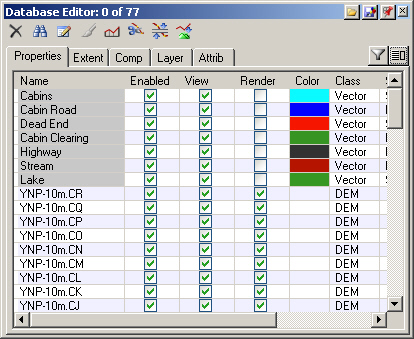
2. Open the Database Editor. In addition to the Stream and Lake vectors we created in the previous tutorial, there are 5 new ones we’ll be using.
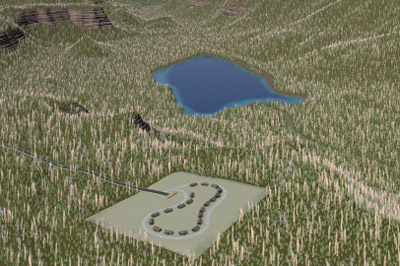
3. The new vectors are the basis of a resort development on the bluff southeast of the lake.
4. The black Highway vector leads into the development from the southwest. The green Cabin Clearing surrounds the blue Cabin Road, aqua blue Cabins points, and red Dead End vector.
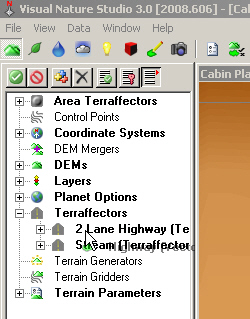
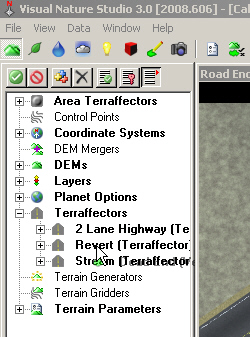
5. Go to the Terrain Task Mode. Select the Terraffectors category and Add Component from Gallery.
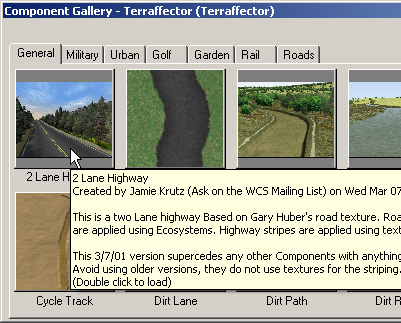
6. Load the 2 Lane Highway Component from the Component Gallery. Accept the default scaling option and expand the Terraffectors category.
. Expand the Vectors category in the lower S@G tab and copy the Highway vector to the 2 Lane Highway Terraffector.
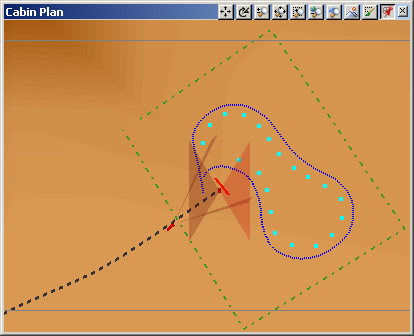
8. Save the project and render a Cabin Plan preview.
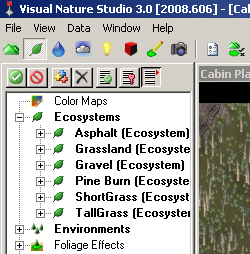
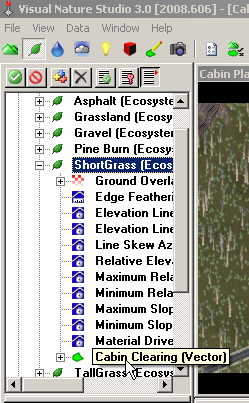
9. Go to the Land Cover Task Mode and expand the Ecosystems category. In addition to the Grassland and PineBurn Ecosystems we started with, the highway Terraffector has added more.
10. This is a new housing development, so we’ll use the ShortGrass Ecosystem to fill the clearing in the forest. Copy the Cabin Clearing vector from the lower S@G tab to the ShortGrass Ecosystem.
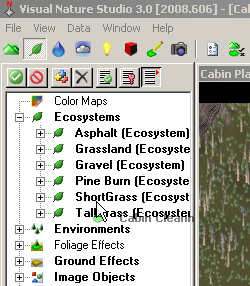
11. Expand the ShortGrass Ecosystem and you’ll see the Cabin Clearing vector at the bottom of the list.
12. Save the project and render a preview.
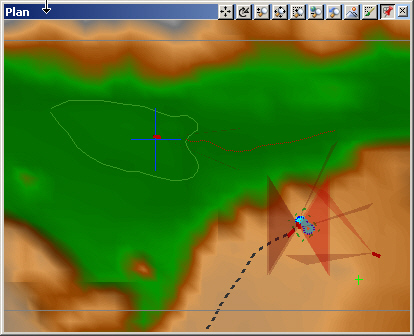
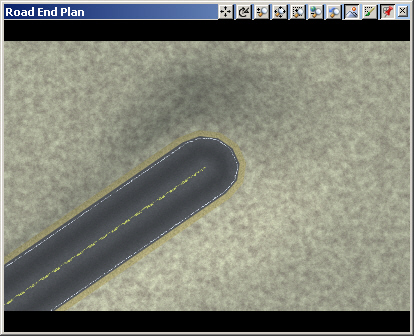
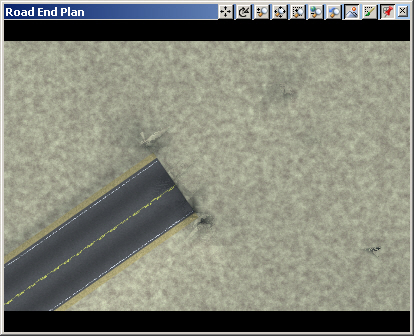
13. Open the Road End Plan Camera in the upper left view. Render a preview.
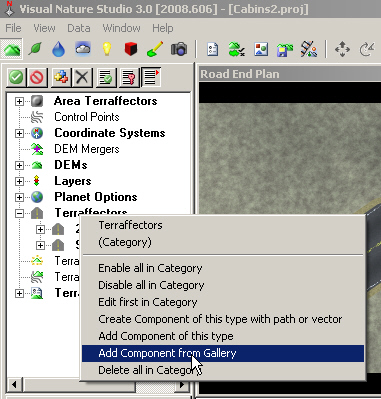
14. Terraffectors affect terrain outward from the controlling vector, including the ends. This can make for rather unrealistic road terminations. To flatten out the end of the road, we’ll use Revert, a Terraffector from the Component Gallery. Go to the Terrain Task Mode. Select the Terraffectors category and Add Component from Gallery.
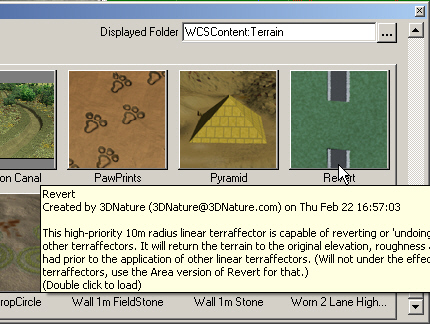
15. Load Revert from the Component Gallery.
16. Add the Dead End vector to the Revert Terraffector.
17. Save the project and render a preview.
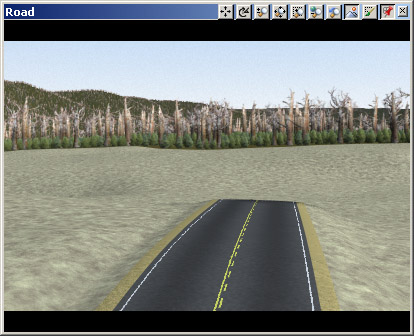
18. Open the Road Camera in the upper left view. Render a preview.
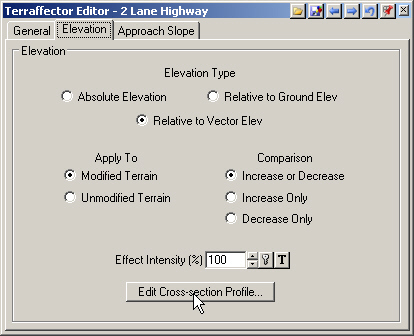
19. Switch the Terraffector Editor to the 2 Lane Highway Component. On the Elevation page, elevation is Relative to Vector Elevation, which is what we want. Edit Cross-section profile.
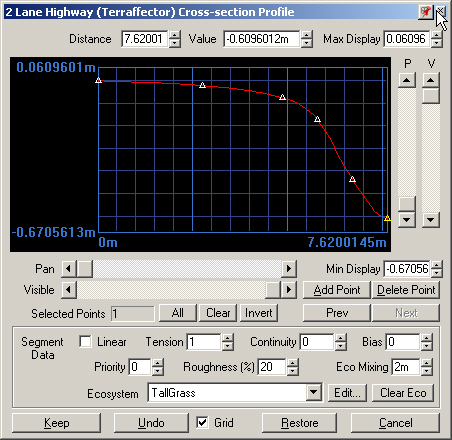
20. The centerline of the road starts at the vector elevation, at 0 meters. The associated Asphalt Ecosystem renders left of the point. The next point is about 2.7 meters away from the centerline and slightly lower. It also has the Asphalt Ecosystem, so Asphalt renders between this point and the first point. The third point renders Asphalt to the second point. Gravel comes next. Then ShortGrass. Last is TallGrass with some Ecosystem Mixing to blend the TallGrass with the surrounding Ecosystem. At about 7.6 meters the Terraffector stops and the approach slope takes over. Close the profile.
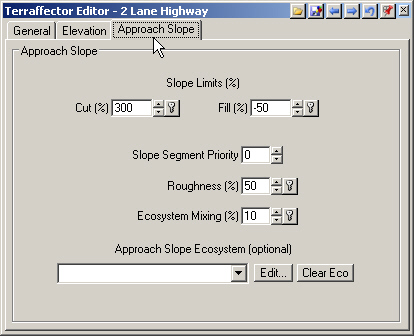
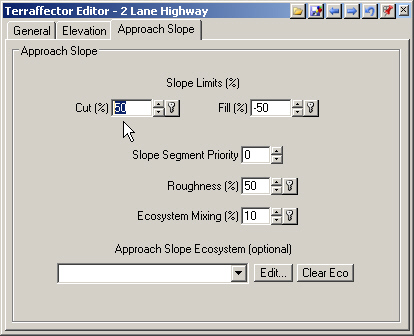
21. Go to the Approach Slope page. Cut and Fill control how the Terraffector changes the terrain between the edge of the Terraffector and the Total Effect Radius distance on the General page.
22. Change the Cut to a 50% slope.
23. Open another Road Camera in the upper right view for comparison. Save the project and render a preview. The outside bank of the left ditch is now less steep and more realistic.