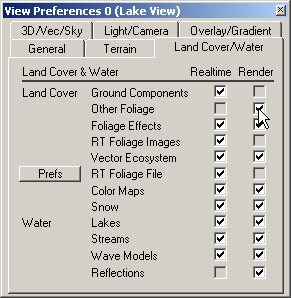
1. The stream will have foliage we’d like to see, so open the Lake ViewView Preferences. Turn to the Land Cover/Water page and enable Other Foliage to render Ecosystem foliage.
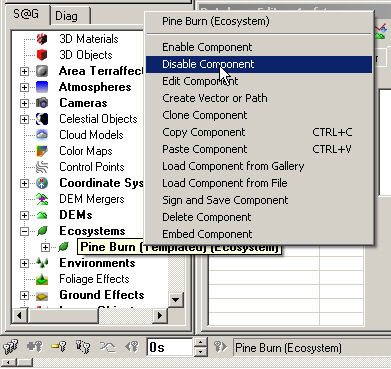
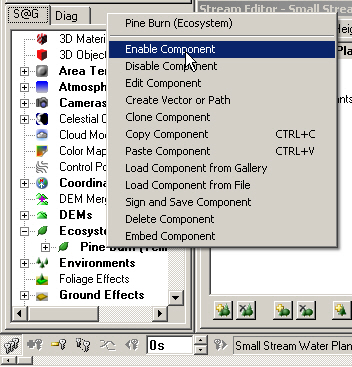
2. That will include the Pine Burn Ecosystem, which we don’t need to render yet. Expand the Ecosystems category in the lower Scene-at-a-Glance and disable it.
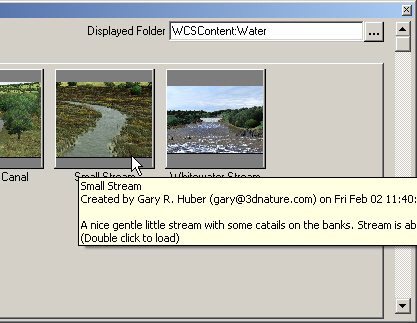
3. Go to the Water Task Mode and select the Streams category. Add Component from Gallery.
4. Load the Small Stream.
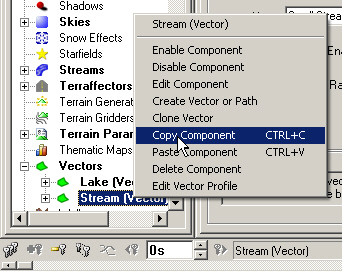
5. Find the Stream Vector in the lower Scene-at-a-Glance. Instead of clicking and dragging the vector, let’s connect it to the Stream in another way. Right-click the vector and Copy Component.
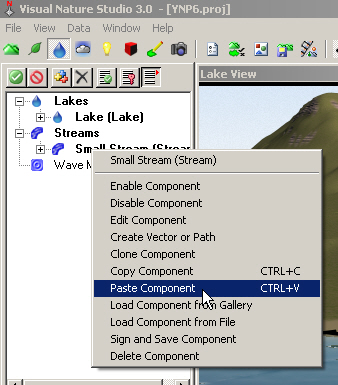
6. Expand the Streams category in the upper Scene-at-a-Glance. Select the Small Stream Component and Paste Component. Confirm the operation.
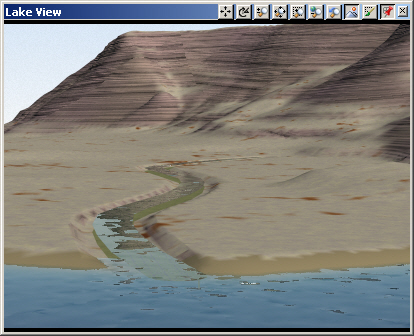
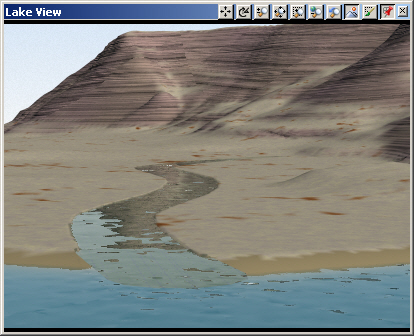
7. Save the project and render a preview. The Pine Burn Ecosystem has been disabled so all we’re seeing is Ground Effect and Stream.
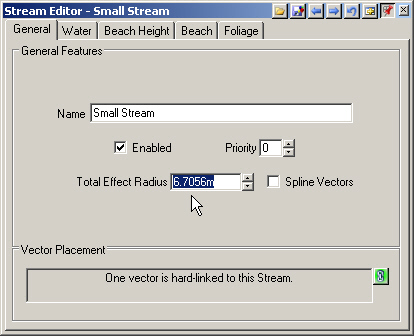
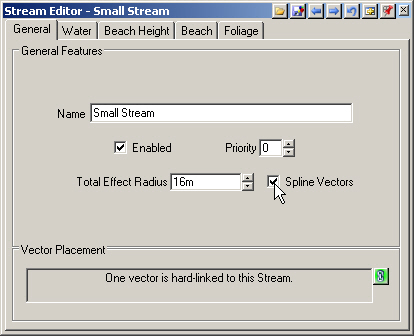
8. The stream is not rendering in the entire width of the stream bed. While the Stream Terraffector radius is 15 meters, the Small Stream Component Effect Radius is only 6.7 meters.
9. Increase it to 16 meters and Spline Vectors.
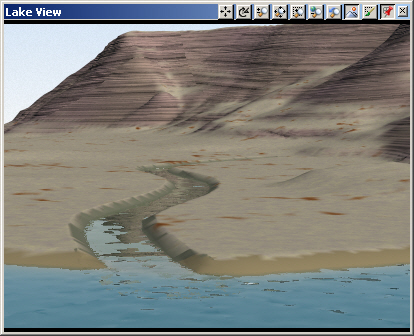
10. Save the project and render a preview.
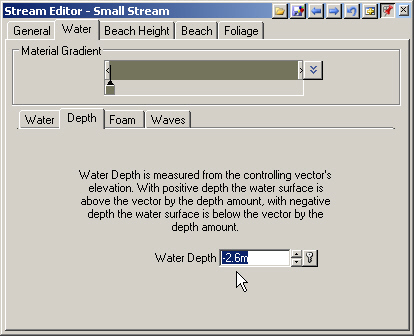
11. The Small Stream elevation is too high where it enters the Lake. According to the Diagnostic Data, the Stream elevation is about 2065.3 meters at the confluence relative to the Lake‘s is 2063. That makes the stream about 2.3 meters too high.
12. Go to the Water page Depth tab and decrease the Water Depth from -0.3 to -2.6 meters.
13. Save the project and render a preview.
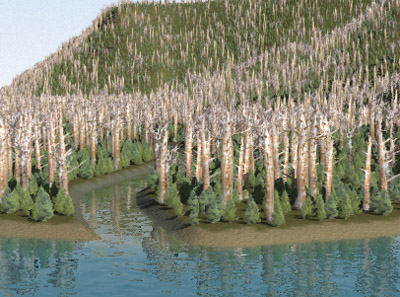
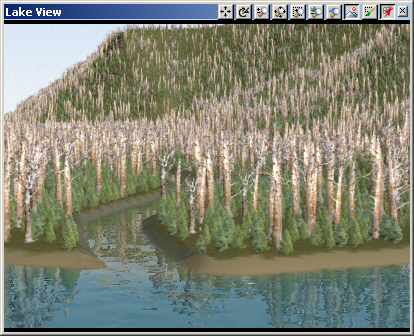
14. Enable the Pine Burn Ecosystem.
15. Let’s see how the Lake View renders with trees. Save the project and render a preview.