3DNature

3D Landscape Design & Visualization Software published and supported by AlphaPixel

Menu

Part 3A. Data Sources & Import

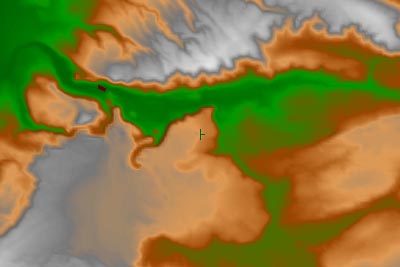
A topographic map with green, orange, and gray elevations. A crosshair marks a central location.
Getting Started with VNS 3: Terrain Basics

Part 3A. Data Sources & Import

1. As we saw earlier, the Import Wizard section of the Interactive Reference Manual lists the data types VNS can import as well as suggestions for importing them. Visit the 3D Nature web site for sources of these and other terrain data types.

2. USGS terrain data has long been a staple of landscape animators. The data is free for download and available in resolutions adequate for many applications. The USGS National Map server (http://viewer.nationalmap.gov/basic/) is a valuable source of DEMs, imagery, and shapefiles.

3. The DEMs we’re going to import are from Yellowstone National Park and are in older the USGS SDTS format. This data is readily available from the GIS Data Depot (http://gisdatadepot.com) and many state GIS data sites. The data is organized by USGS topographic quadrangle name. There are two rules to keep in mind when importing SDTS data. First, you can’t mix different resolutions during import. Second, all SDTS DEMs must be imported at the same time. That’s because the DEMs don’t match across boundaries and VNS has to fix them during the import process.

4. Create a new project and name it YNP.
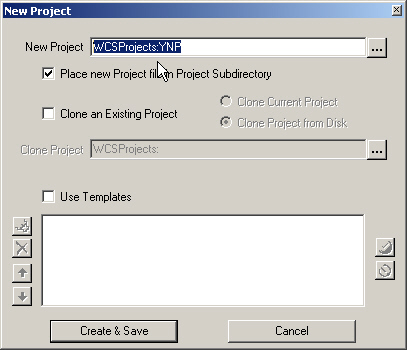
A screenshot of the "New Project" dialog box in a software application with options to name the project, place it in a subdirectory, and use templates or clone an existing project.

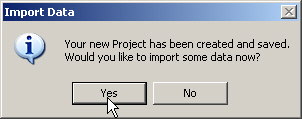
5. Import data when asked.

A prompt titled "Import Data" asks if the user would like to import some data into a newly created and saved project, with "Yes" and "No" buttons available for selection.

6. Navigate to the VNS 3 DVD dem folder. Open the Buffalo_Meadows_WY_10m folder and select any DDF file.
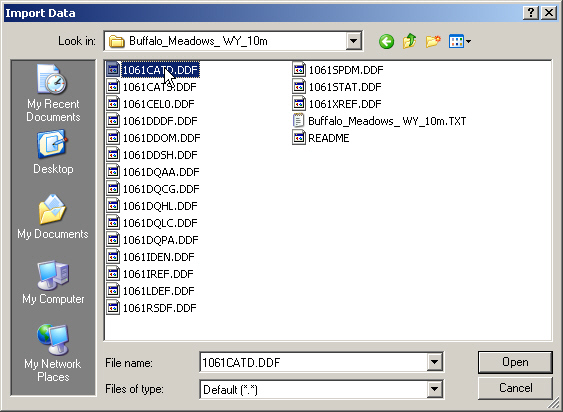
A computer screen displaying an "Import Data" dialog box with a folder named "Buffalo_Meadows_WY_10m" containing multiple files. The file "1061CATD.DDF" is highlighted.

7. When asked if you’d like to Import more SDTS DEMs from another directory, answer Yes and choose any DDF from the Lower_Geyser_Basin_WY_10m folder.
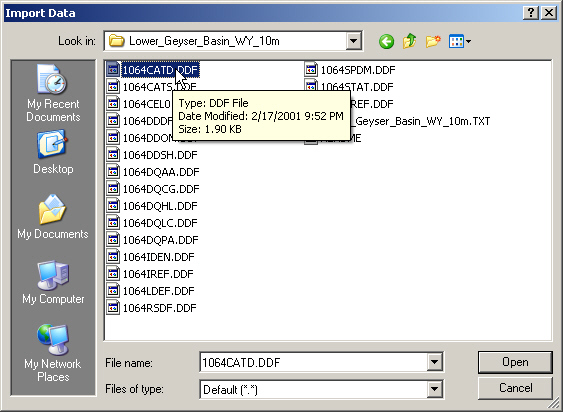
A file selection dialog box with multiple DDF files listed. The highlighted file is named "1064CATD.DDF," and its details, such as file type and size, are displayed in a tooltip.

8. Repeat the process to load the Madison Junction and Mount Jackson files. Answer No in the Import more SDTS DEMs window after loading the last of the files.
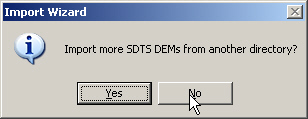
Import Wizard dialog box with the message "Import more SDTS DEMs from another directory?" contains two buttons: "Yes" and "No," with the "No" button highlighted and a cursor pointing at it.

9. This will launch the now familiar Import Wizard, which will correctly identify the files as SDTS DEMs.
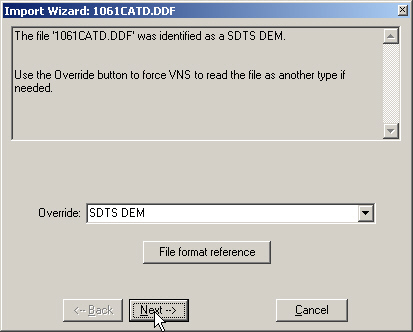
Screenshot of an Import Wizard window. Message says file identified as a SDTS DEM. It prompts the user to override if needed, with buttons for 'File format reference', 'Back', 'Next', and 'Cancel'.

10. Go Next to the LOAD AS window and accept the defaults.
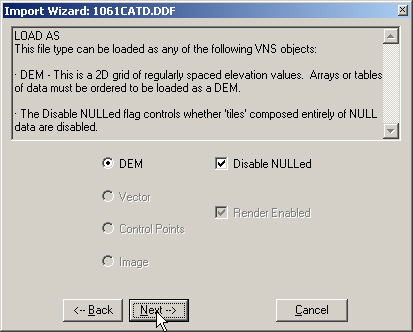
Screenshot of an Import Wizard dialog box showing selection options for loading file types as DEM, Vector, Control Points, or Image, with settings for disabling NULLed data and rendering the dataset.

11. Continue to OUTPUT FILE TYPE AND NAME. Change the name to YNP-10m, for 10 meters, and Next.
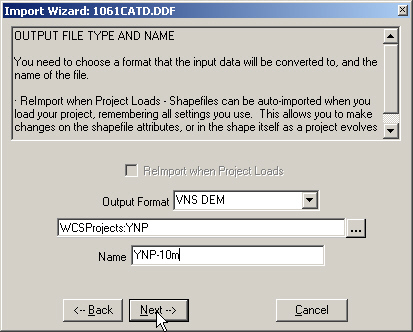
Screenshot of an Import Wizard dialog box displaying options for output file type and name. The user has selected "VNS DEM" as the output format and entered "YNP-10m" as the name. The "Next" button is highlighted.

12. The COORDINATE SYSTEM SUMMARY window will correctly identify the Projection System, UTM Zone, and Datum. Import the data.
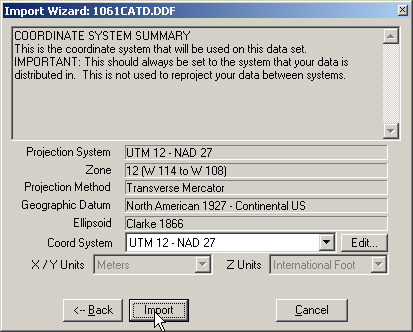
Screenshot of the Import Wizard showing coordinate system summary details, including Projection System UTM 12 - NAD 27 and the ellipsoid Clarke 1866. A cursor hovers over the Import button.

13. When asked if you’d like to make the new Coordinate System the default for viewing and rendering, answer Yes.

Dialog box prompting to set "UTM 12 - NAD 27" as the default coordinate system with options "Yes" and "No." A cursor is pointing to the "Yes" button.

14. The Status window will indicate import progress.

A screen displays elevation statistics: Maximum elevation equals 2640.49, minimum elevation equals 2133.91.
Scroll to top
Skip to content