3DNature

3D Landscape Design & Visualization Software published and supported by AlphaPixel

Menu
Getting Started with VNS 3: Post Processes

Part 10A. Setup

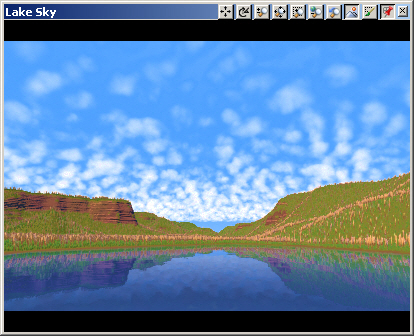
1. With Post Processes we can render many effects that were previously done in post and also use project parameters to create effects that we can’t do in post. Open the Post project from the Tutorials\YNP folder. Save the project as Post10. Render the upper left Lake Sky view.
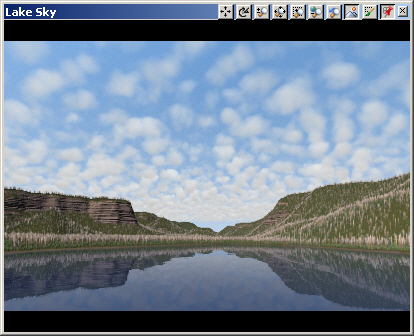
A serene lake scene with calm water reflecting a sky filled with scattered clouds, flanked by forested hills.

2. Go to the Render Task Mode. Right-click the Post Processes category and Add Component of this type.
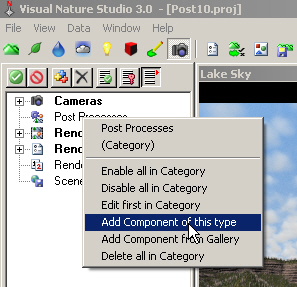
A screenshot of Visual Nature Studio 3.0 software shows a dropdown menu with options, including "Add Component of this type," against the backdrop of the program's interface and sky imagery.

3. Name it Cartoon. Add Post Process Event and the type will default to Gamma.
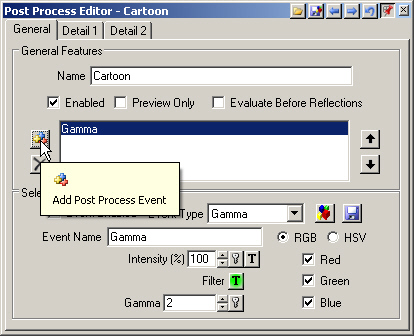
Screenshot of the Post Process Editor interface with options to enable, preview, and evaluate processing events. The "Gamma" event is selected, with settings for color type and various adjustment sliders.

4. Go to the Event Type dropdown list and select Chromax.
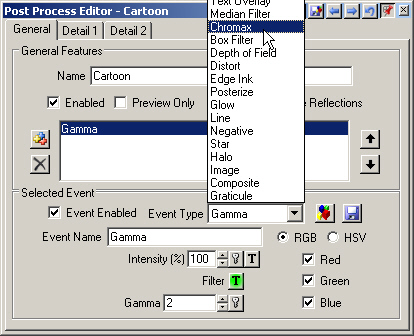
A screenshot of the Post Process Editor window for a cartoon project. The dropdown menu shows various options like Chromax, Box Filter, and others. The selected event name is Gamma with type Info.

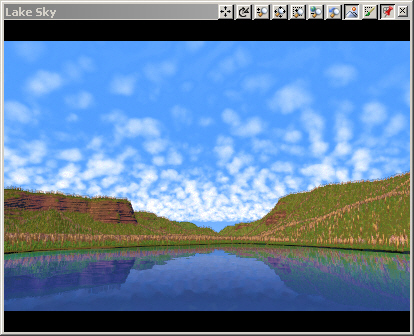
5. Select Preview Only and the render will refresh and preview the Chromax effect.
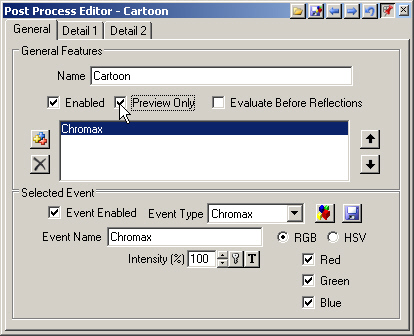
Screenshot of the Post Process Editor - Cartoon interface. Options include enabling the feature, setting event type to Chromax, and adjusting color intensities with checkboxes for RGB, red, green, and blue.
A calm lake with reflections of a clear blue sky and scattered clouds, surrounded by grassy hills and rocky terrain.

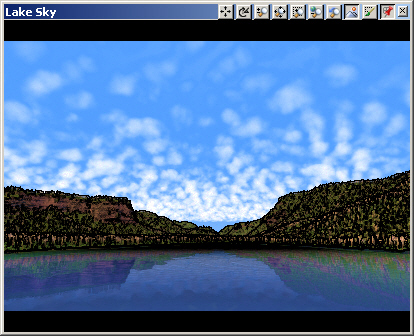
6. Add another Post Process Event. Choose Edge Ink from the Event Type dropdown list.
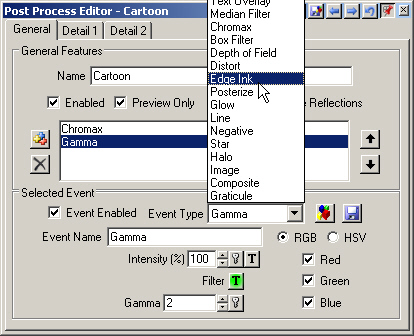
A screenshot of a software interface for a "Post Process Editor - Cartoon." A dropdown menu with various options like "Edge Ink" is open, and settings for an event named "Gamma" are visible.
Image of a digital landscape showcasing a sky with scattered clouds, distant mountains, a forest, and a reflective lake in the foreground.

7. That’s a bit too much ink, so decrease the Intensity to 20%.
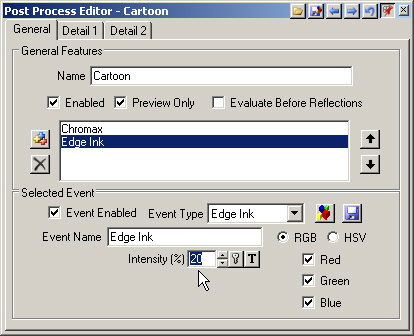
A software interface for a Post Process Editor - Cartoon. Options are set for Edge Ink with an intensity of 20%, RGB selected, and a choice of red, green, or blue enabled.
A digital rendering of a lake with calm water, surrounded by green hills under a partly cloudy sky.

8. Deselect the Event Enabled box to turn Edge Ink off.
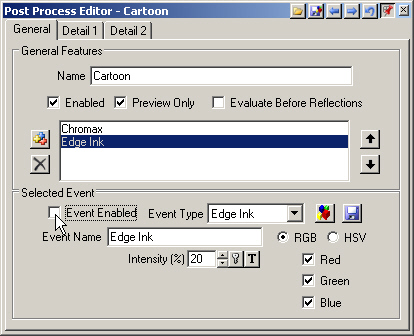
Screenshot of the Post Process Editor - Cartoon interface, showing options for Chromax and Edge Ink events with settings for RGB or HSV color modes and intensity adjustments.

9. Add another Post Process Event and select Text Overlay from the Event Type dropdown list.
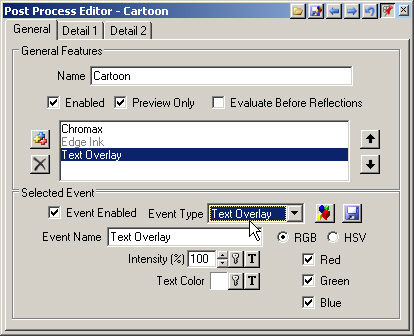
Screenshot of a Post Process Editor window titled "Cartoon." A selected event type "Text Overlay" with options for color and intensity is being configured. A cursor is pointing at the "Event Type" dropdown menu.

10. Go to the Detail 1 page and change the Y Center to 90%.
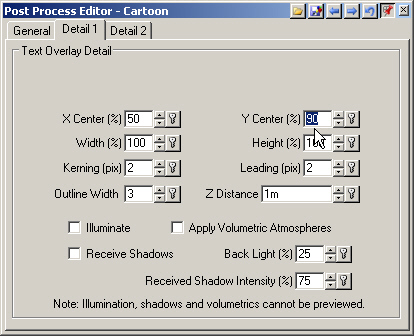
A screenshot of the Post Process Editor - Cartoon software interface displaying various text overlay detail settings, including X Center, Y Center, Width, Height, Kerning, Leading, and other options.

11. Go to Detail 2 and type Latitude: in the Text box.
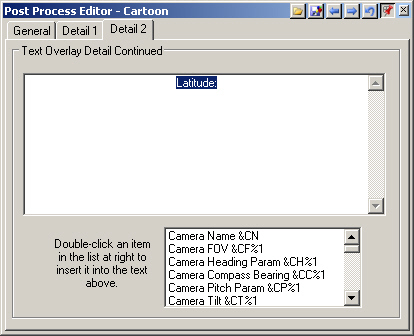
Screenshot of the "Post Process Editor - Cartoon" software showing a text overlay detail box with "Latitude:" and options like Camera Name, Field of View, and Compass Bearing.

12. Double-click Camera Latitude from the lower list to add it to the text string.
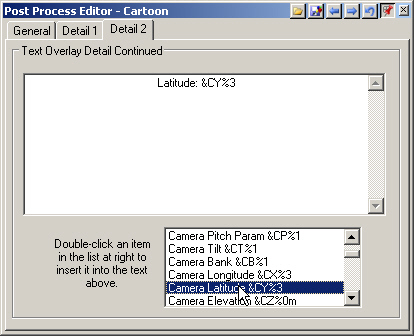
Screenshot of Post Process Editor showing a Text Overlay Detail with options for camera settings including latitude and longitude. The Camera Latitude option is selected in the list.

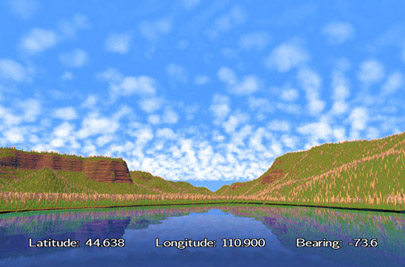
13. Type 3 spaces Longitude: and add the Camera Longitude from the lower list. Type 3 spaces Bearing: and add the Camera Compass Bearing.
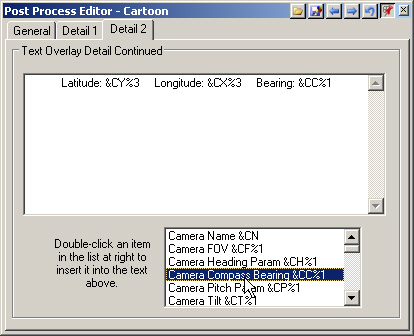
A software interface screen showing various camera parameter options for text overlay, including latitude, longitude, and bearing. The options can be inserted into the text box above by double-clicking.

14. Go back to the Detail 1 page and increase the Width to 150%. Save the project.
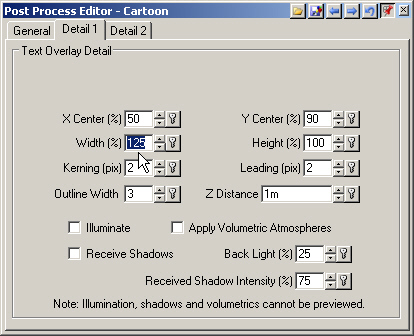
Screenshot of the Post Process Editor - Cartoon interface, showing settings including X Center, Y Center, Width, Height, Kerning, Leading, Outline Width, Z Distance, and various shadow and lighting options.
Scroll to top
Skip to content