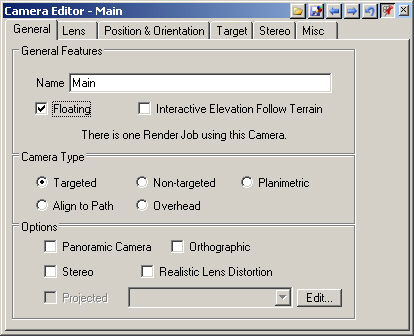
1. Double-click the IslandCamera to open its Editor. Rename it Main and Enter. By default, perspective cameras are Targeted, with the target in the center of the terrain.
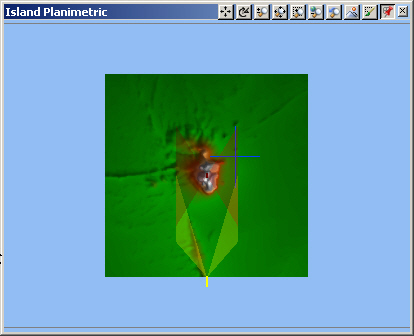
2. Activate the Island Planimetric view and use the minus (-) key to zoom back a notch. The Main camera icon is highlighted in yellow because that’s the Component we just activated by opening its Editor.
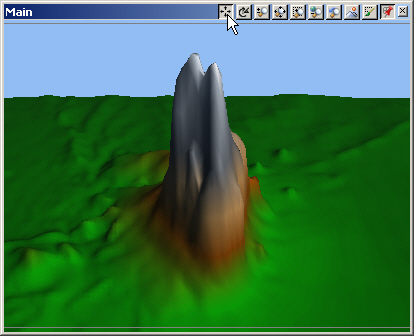
3. Go to the Main view and click the Move View button on the titlebar. Click-and-drags in the view will move the camera. Clicking outside the view turns off the function.
4. Left-click and drag left and right to move along the x-axis and drag up and down to move along the y-axis, toward and away from the target. You’ll also see the camera icon move in the planimetric view.
5. Right-click and drag up and down to move along the z, or elevation, axis. With a targeted camera, all movement is relative to the camera-to-target line of sight.
6. Click the Rotate View button on the titlebar. Left-click drag left and right to change the heading and up and down to vary the pitch.
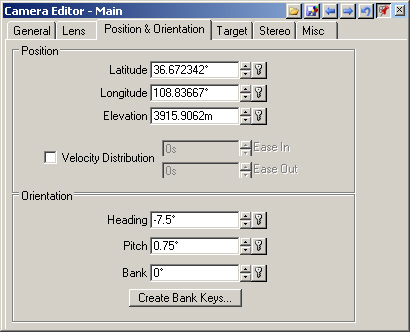
7. Turn to the MainCamera EditorPosition & Orientation page. Watch the bank value change as you right-click drag left and right to change the bank angle.
8. Select Default View Position on the titlebar to return the active camera view to its default location.
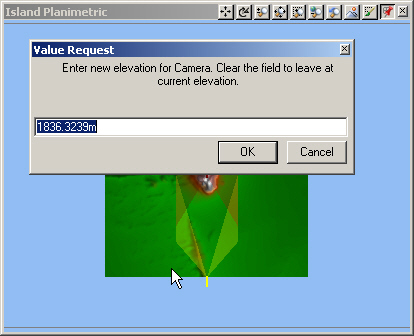
9. Let’s use another method to position a camera to a new location. Alt+click the Main camera in the Island Planimetric view to activate it. Ctrl+click a new location a little west of where it is now. A Value Request box will pop up giving you the current terrain elevation at that point.
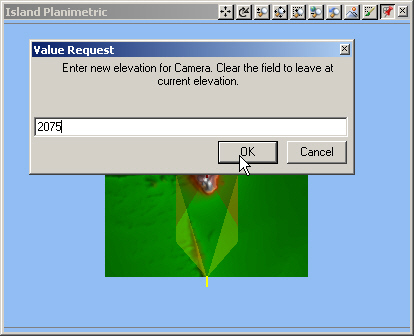
10. Place the camera a few hundred meters above the ground at 2075 meters.
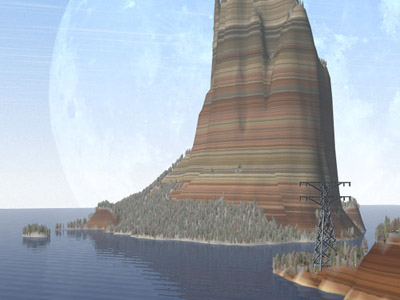
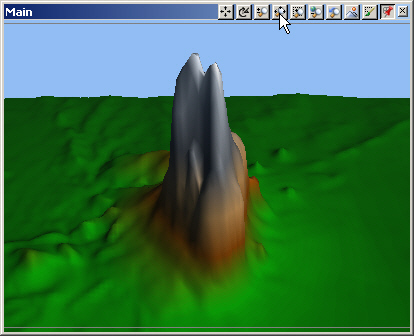
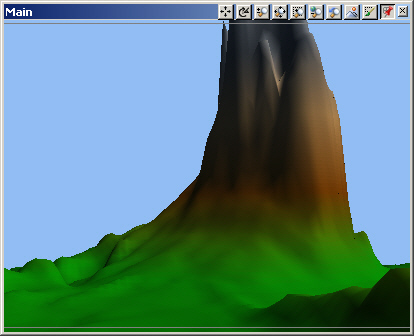
11. Rotate the Main camera so you get something like this. Save the project.
11. Rotate the Main camera so you get something like this. Save the project.
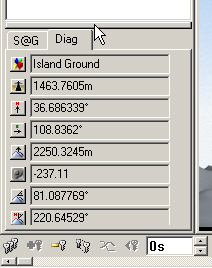
12. Render a preview. Information about the preview is shown on the Diagnostic Data (Diag) page in the lower Scene-at-a-Glance pane. If you can’t see all 13 buffers or channels, click and drag the divider bar above the pane upward.
13. Click around the rendered scene and watch the Diagnostic Data window; it’s giving us values for each pixel in the render.
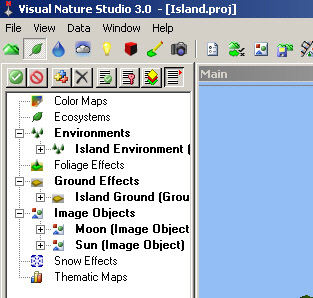
14. So far, we only have only 2 Components: Island Ground and Island Sky.
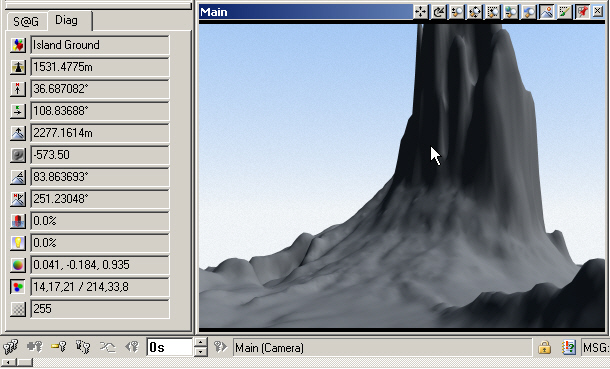
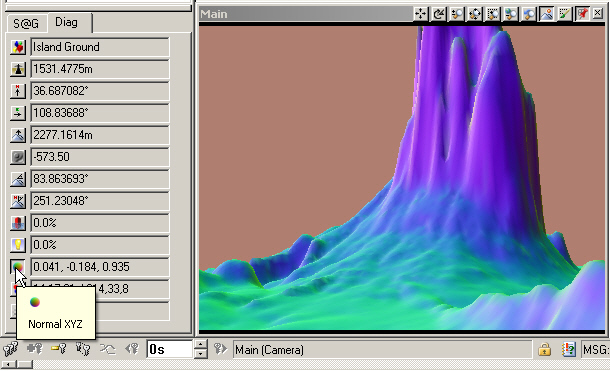
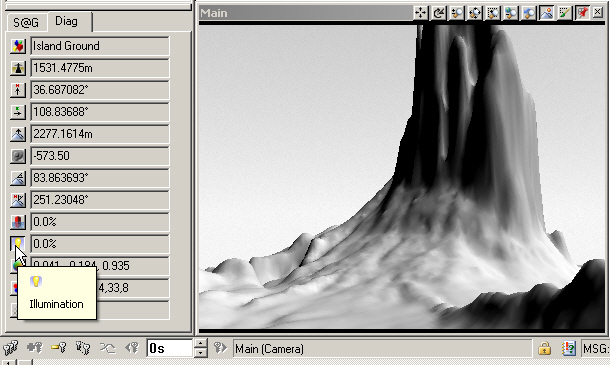
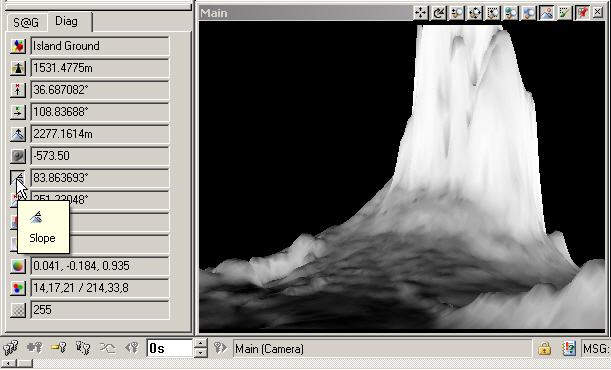
15. See the icon buttons along the left side of the window? RGB/HSV is currently selected, which is the usual color channel. We can also look at other buffers or channels in the render like Normal XYZ, Illumination, and Slope.
Normal XYZ buffer or channel
Illumination channel
Slope channel
16. Aside from seeing your renders in a different light, so to speak, these buffers give you visual terrain information. We won’t be using them just yet, so click back into RGB space.
17. Let’s do something about the default Ground Effect. Go to the Land Cover Task Mode and expand the bold categories. We have an Environment, Ground Effect, and 2 Image Objects.