3DNature

3D Landscape Design & Visualization Software published and supported by AlphaPixel

Menu

Scene Express 2 :: Google Earth

Getting Started with Scene Express 2

Part 10. Google Earth

Screen captures are from VNS 3.
Scene Express for WCS 6 does not include VNS-specific features.

Notes on Google Earth

» Terrain is supplied by Google Earth. You cannot replace it with your own. Terraffected terrain will only add to Google Earth terrain, not remove it.

» Due to terrain export limitations, 3D Object elevations may not be correct in Google Earth.

» Perspective camera locations will not be accurate in Google Earth. You’ll have to correct them in Google Earth.

» Foliage can dramatically slow Goggle Earth response. Don’t export it unless you really need it.


1. Open the Cabin project from the SX folder on your hard drive. Save the project as CabinGE.
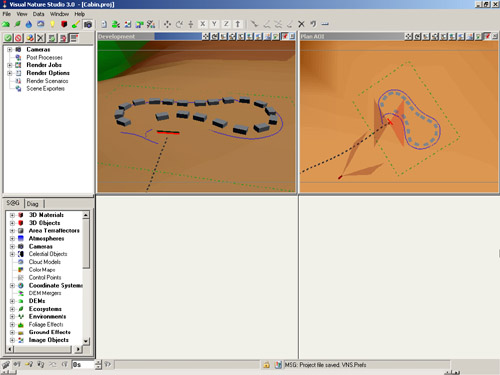
Screenshot of Visual Nature Studio 3.0 software interface, displaying a 3D landscape with objects forming paths. The left panel shows a list of scene components, and the right panel shows objects on the terrain.

2. Go to the Render Task Mode in the Scene-at-a-Glance and add a Scene Exporter Component.
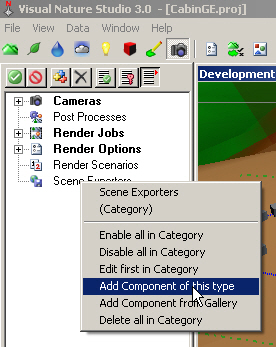
Screenshot of Visual Nature Studio 3.0 software interface showing a menu with options related to rendering. The selected option is "Add Component of this type" under the Render Options category.

3. Name it GE and change the Output Format to GoogleEarth. Edit the Output File to read SX\GE\CabinGE. Temporary files will be saved in the SX\Exports folder.
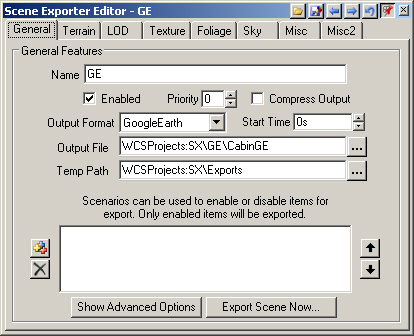
A screenshot of the Scene Exporter Editor - GE interface showing options for exporting scenes, with various tabs and settings for output format, file location, and more.

4. VNS Only. Go to the Terrain page. Deselect Export Terrain as Google Earth uses its own. Choose Geographic – WGS 84 from the Coordinate System dropdown list.
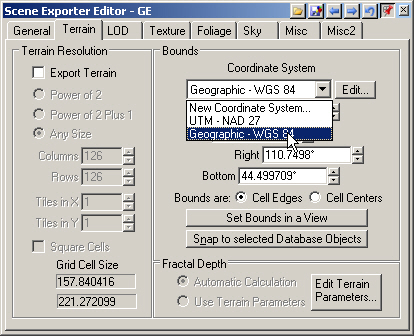
A screenshot of the Scene Exporter Editor software interface showing terrain resolution options, coordinate system selection, and grid cell dimensions settings.

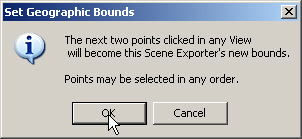
5. Set Bounds in a View. You’ll be reminded that the next two points clicked in any view will become the Scene Exporter’s new bounds.
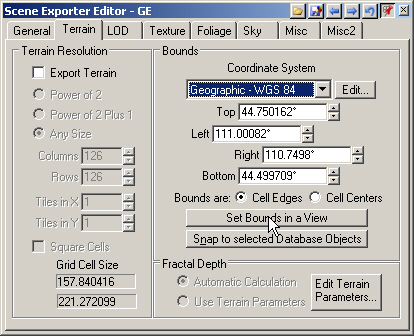
Screenshot of the Scene Exporter Editor - GE with options for terrain resolution, bounds, coordinate system, and cell type settings. There are "Set Bounds in a View" and "Edit Terrain Parameters" buttons.
Dialog box titled "Set Geographic Bounds" instructing the user to click two points to set new bounds and allows selection in any order. It has two buttons: "OK" and "Cancel." A cursor is clicking "OK.

6. Click corners of a box enclosing the cabin development in the Plan AOI view.
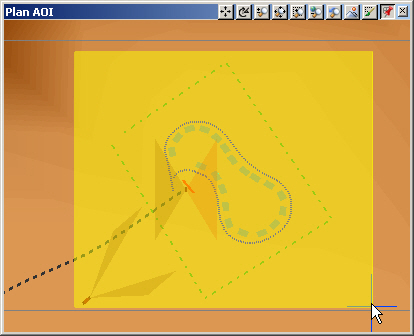
Screenshot of a software interface showing a planning area with a highlighted path, arrows indicating direction, and various toolbar icons at the top for tools and options.

7. There are no LOD options with Google Earth export.
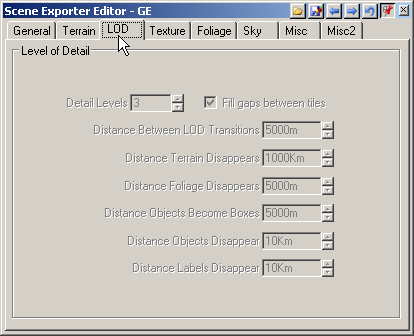
A software interface labeled "Scene Exporter Editor - GE" with various tabs and settings for adjusting detail levels, tile gaps, and distances for terrain, foliage, objects, and labels.

8. Turn to the Texture page. This controls the texture draped on the terrain. Change the Columns and Rows values to 400. This will yield a terrain texture resolution of about 1 meter per image pixel.
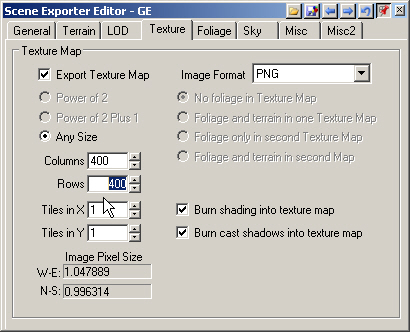
A screenshot of the Scene Exporter Editor dialog box with various options for texture map, image format, and pixel size settings. The Columns and Rows are both set to 400. The Image Format is PNG.

9. Deselect Export Foliage on the Foliage page. Foliage can dramatically slow Goggle Earth response. Don’t export it unless you really need it.
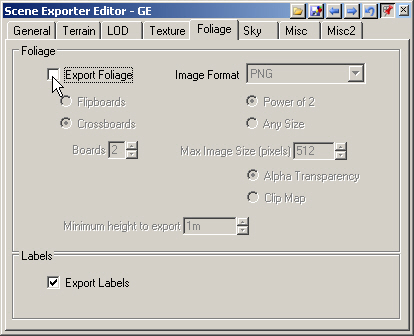
Screenshot of the Scene Exporter Editor window showing settings for exporting foliage, including image format, board types, image size, labels, and other preferences. A mouse cursor points to "Export Foliage.

10. We have no Sky options in this format.
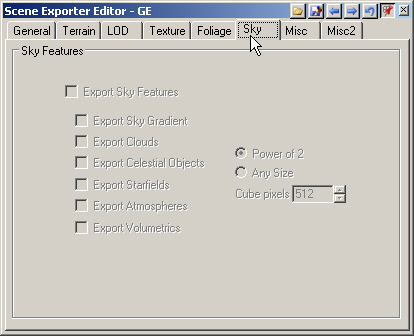
Screenshot of the "Scene Exporter Editor - GE" software interface, showing the "Sky" tab selected with various export options including Sky Gradient, Clouds, Celestial Objects, and Starfields.

11. The Misc page defaults are fine for this tutorial.
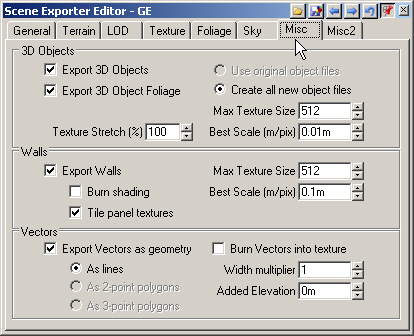
A software interface titled "Scene Exporter Editor - GE" with various options for exporting 3D objects, walls, and vectors, along with texture and size settings under the "Misc" tab.

12. Go to the Misc2 page Cameras section and select the Plan AOI and Development Cameras.
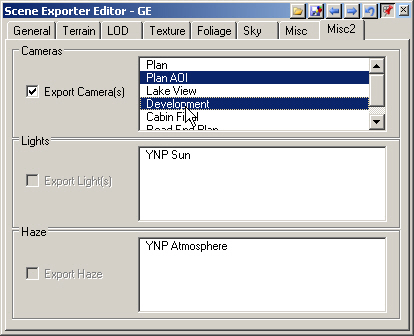
A screenshot of the Scene Exporter Editor interface in GE. It shows options under Cameras with "Export Camera(s)" checked, and "Development" selected. Fields for exporting lights and haze are present.

13. Return to the General page and Export Scene Now.
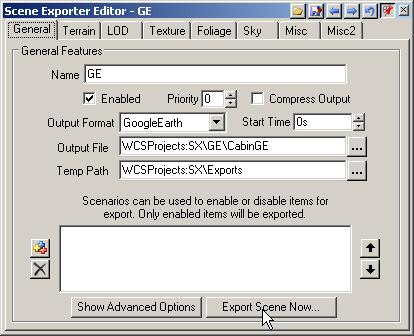
Screenshot of the Scene Exporter Editor with options to configure outputs including name, format, and file paths. A button labeled "Export Scene Now..." is at the bottom right.

14. This will open the VNS Export Control window. Save the project and Go to start exporting.
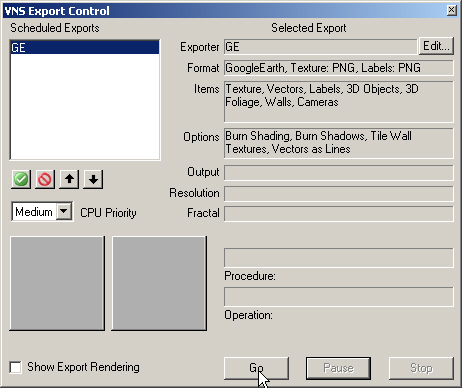
A software interface displaying export options, including exporter name, format, items, options, output, resolution, and fractal. Buttons labeled 'Go,' 'Pause,' and 'Stop' are located at the bottom.

15. You will be asked to confirm the creation of new directories in the SX project folder. You won’t get the WCSProjects:SX\Exports window if you’ve already done other Scene Express tutorials.
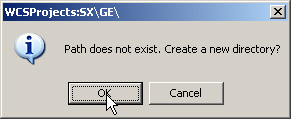
Dialog box displaying "Path does not exist. Create a new directory?" with options to click "OK" or "Cancel." A cursor is pointing at "OK.

16. VNS Export Control will let you know when export is complete.
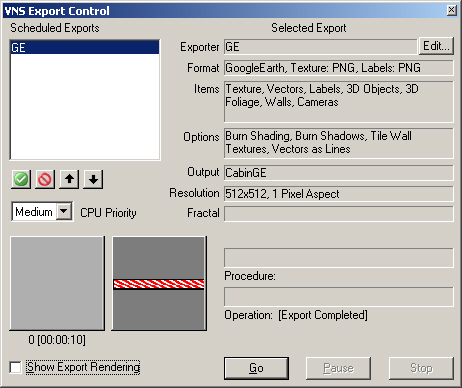
Screenshot of the VNS Export Control window showing settings for exporting a scene to Google Earth, with options for textures, shading, and resolution. Exporter is set to GE; status: Export Completed.

17. Your WCSProjects\SX\GE folder contains all the exported data files.

A file directory window showing two folders, "images" and "models," and one file "CabinGE.kml" with a size of 15.6 KB.

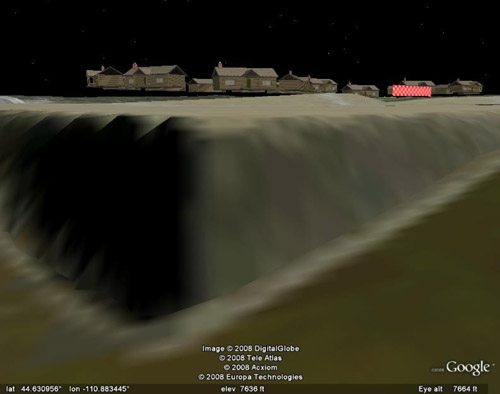
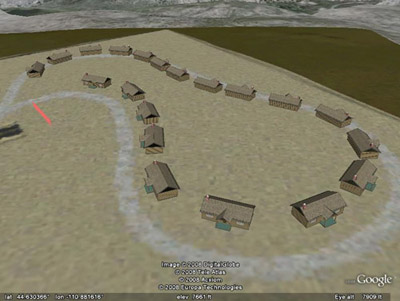
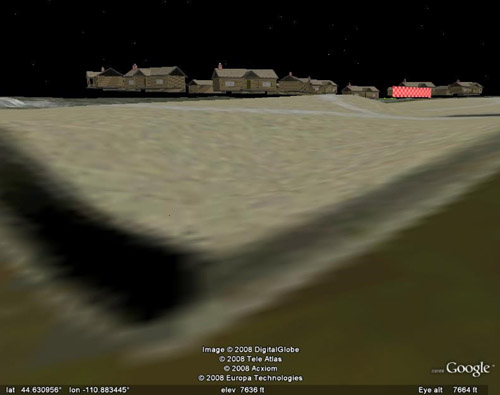
18. Here’s how the scene looks in Google Earth 4.3. The cabins appear out of position in the perspective view because most of them are floating above the terrain. We have a texture map showing a terraffected building pad but the terrain is all Google Earth’s.
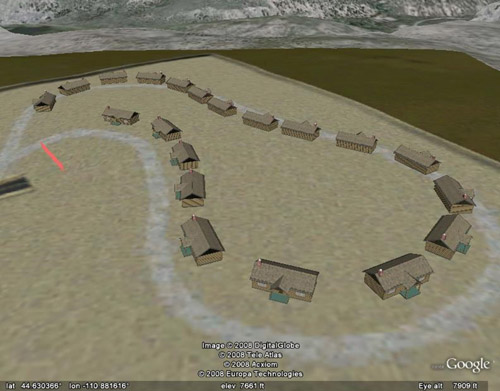
Aerial view of a series of small building structures arranged in a loosely serpentine formation on a flat, barren terrain. Rugged landscape in the background.
Night-time image of a rural area with several houses in the distance and a field in the foreground. Coordinates and elevation details are shown at the bottom. Image courtesy of Google Earth.

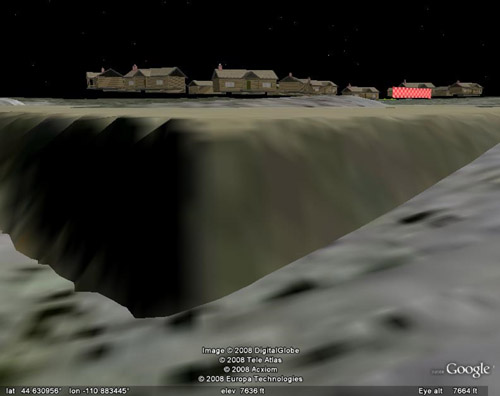
19. If we export terrain, this is how Google Earth displays it (see the WCSProjects\SX\Tutorial Output\GE2 folder on the VNS 3 DVD). Terrain is added but not removed and the texture image is only applied to the added terrain.
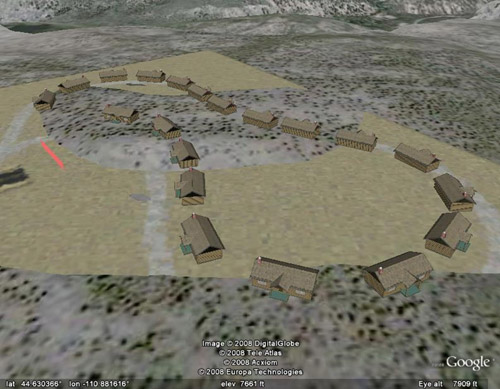
Aerial view of a settlement with numerous small buildings arranged in a loop, surrounded by a mountainous landscape. Image data from DigitalGlobe and other sources.
A 3D rendering of a landscape with a large, dark canyon in the foreground. In the background, there are several houses and a red checked object with black sky above.

20. Loading both scenes in Google Earth shows the added terrain and a complete texture drape.
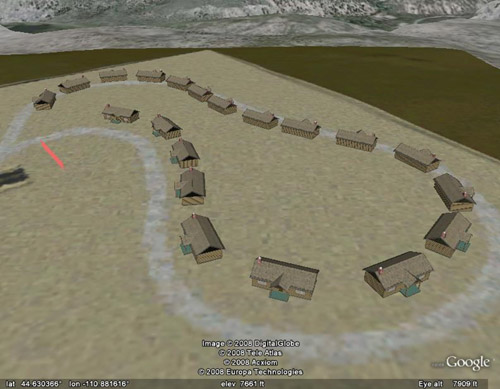
Aerial view of a looped gravel road lined with small rectangular buildings in an open field surrounded by mountains.
A distorted satellite image shows several houses on a flat landscape with a large dark crater-like anomaly in the foreground.

21. The exported Google Earth files are in the WCSProjects\SX\Tutorial Output\GE folder on the VNS 3 DVD. The completed project file is in the WCSProjects\SX\Tutorial Projects folder on your hard drive.

Produced by Scott Cherba for 3DNature

Scroll to top
Skip to content