3DNature

3D Landscape Design & Visualization Software published and supported by AlphaPixel

Menu

Part 5I. Realtime Foliage

Getting Started with VNS 3: Fields & Forest

Part 5I. Realtime Foliage

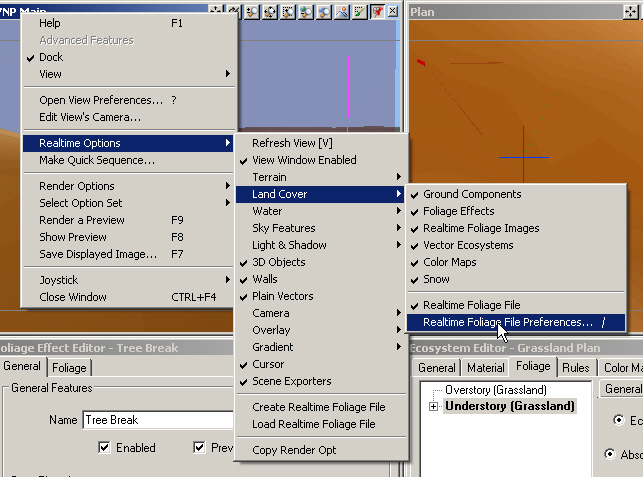
1. There may be times when you want to see Ecosystem foliage in realtime views. Because of the possible resource load involved, it’s not recommended that you enable Ecosystem Realtime Foliage without first changing the Preferences. Open the popup menu and select Realtime Options > Land Cover > Realtime Foliage File Preferences.

A computer screen displaying a menu navigation process in a software program related to terrain features and foliage file preferences. Multiple dropdown menus and options are visible.

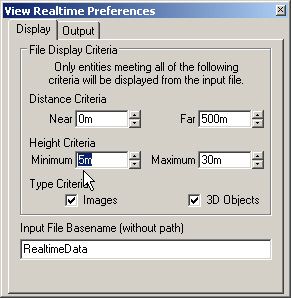
2. Change the Distance Criteria Far value to 500 meters and the Height Criteria Minimum to 5 meters. Close the window.

A software dialog box titled "View Realtime Preferences" with options for display criteria including distance and height, alongside type criteria with checkboxes for "Images" and "3D Objects.

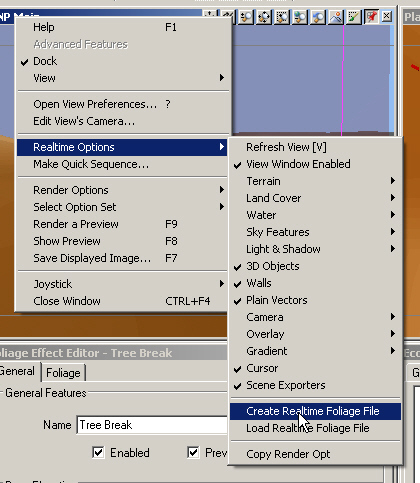
3. Open the YNP Main popup menu, and select Realtime Options > Create Realtime Foliage File.

Screenshot of a software interface showing a dropdown menu with the "Realtime Options" heading, and sub-options including "Create Realtime Foliage File" highlighted. Other options are visible but not selected.

4. VNS will render a preview, less sky, to generate the foliage file.

A computer-generated landscape with green terrain and distant hills under a black sky, displayed on a software interface.

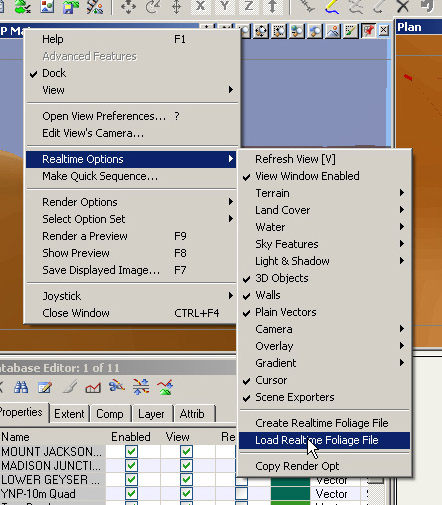
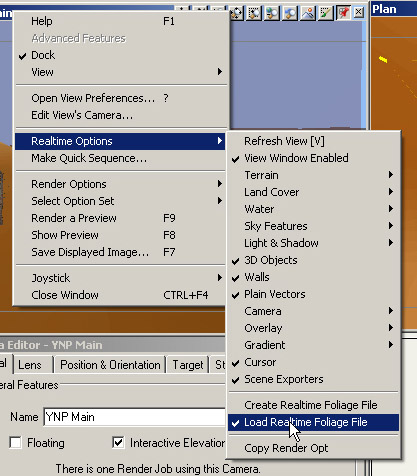
5. When the render is finished, switch the YNP Main view back to realtime mode. Open the popup menu again and select Realtime Options > Load Realtime Foliage File.

A computer screen displaying a software menu. The cursor is hovering over "Select Realtime Foliage File" under the Realtime Options submenu. Other various options are also visible.

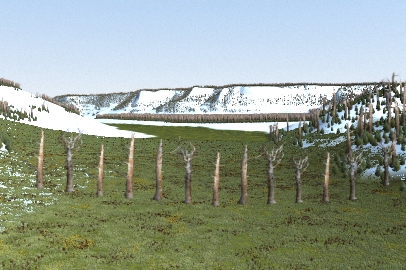
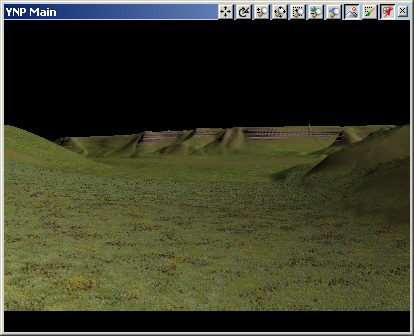
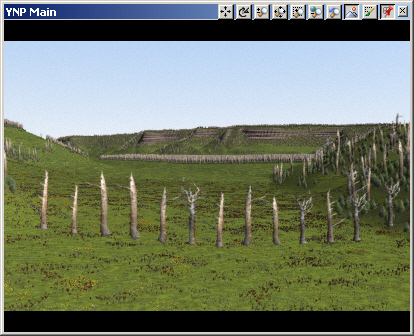
6. The view will refresh with realtime foliage.

A computer-generated image of a desert landscape with scattered trees and a green rectangular tower in the background. GUI elements are visible at the top of the screen.

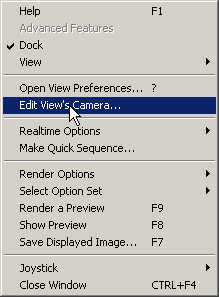
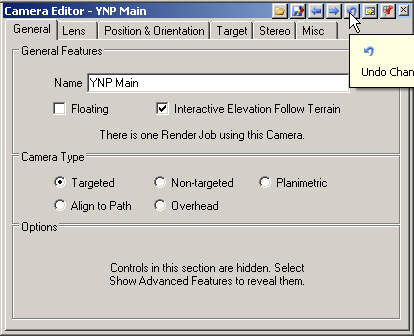
7. Open the popup menu and Edit View’s Camera to open the YNP Main Camera Editor. This will set an undo point for the camera moves we’re about to make.

A dropdown menu with options: Help, Advanced Features, Dock, View, Edit View's Camera (highlighted), Realtime Options, Render Options, Joystick, and Close Window (CTRL+F4).

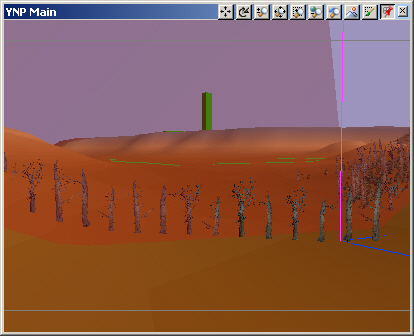
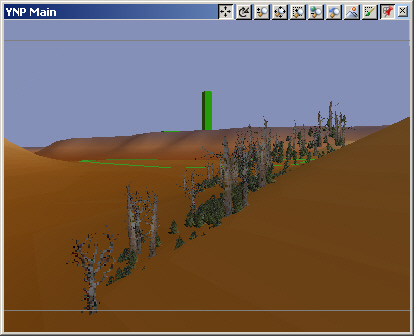
8. Slowly move the camera forward. Your view response will probably be sluggish.

9. Realtime Ecosystem Foliage can be handy for knowing where foliage is going to render. Use it judiciously, though; the resource cost is high

A computer-generated landscape with brown terrain and sparse vegetation, featuring a tall green cylindrical object in the background.

10. Go to the Camera Editor and Undo changes to return your camera to where it was when the editor was opened.

Screenshot of a Camera Editor software interface. The Current tab is "General" and options for name, camera type, and additional features are visible. The top menu displays icons for various functions.

11. Open the YNP Main popup menu and select Realtime Options > Load Realtime Foliage File to unload the foliage file.

A screenshot showing a dropdown menu with "Realtime Options" selected and "Load Realtime Foliage File" highlighted. Various other options are visible in the background.

12. Save the project and render a preview.

A computer screen displaying an open field with rows of standing dead trees under a clear sky, framed by hills in the background.
Scroll to top
Skip to content