1. As we saw earlier, the Import Wizard section of the Interactive Reference Manual lists the data types VNS can import as well as suggestions for importing them. Visit the 3D Nature web site for sources of these and other terrain data types.
2. USGS terrain data has long been a staple of landscape animators. The data is free for download and available in resolutions adequate for many applications. The USGS National Map server (http://viewer.nationalmap.gov/basic/) is a valuable source of DEMs, imagery, and shapefiles.
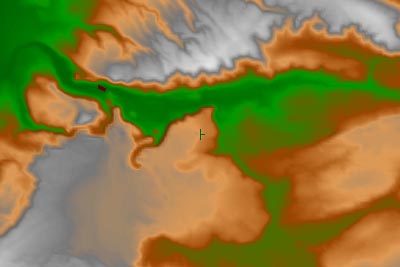
3. The DEMs we’re going to import are from Yellowstone National Park and are in older the USGS SDTS format. This data is readily available from the GIS Data Depot (http://gisdatadepot.com) and many state GIS data sites. The data is organized by USGS topographic quadrangle name. There are two rules to keep in mind when importing SDTS data. First, you can’t mix different resolutions during import. Second, all SDTS DEMs must be imported at the same time. That’s because the DEMs don’t match across boundaries and VNS has to fix them during the import process.
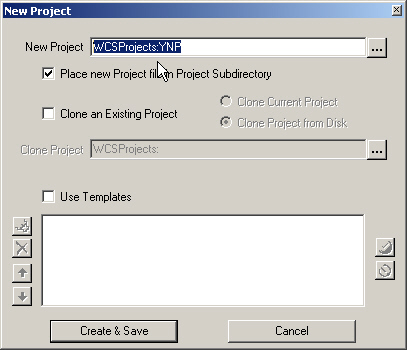
4. Create a new project and name it YNP.
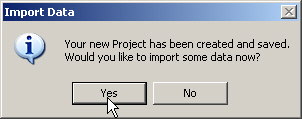
5. Import data when asked.
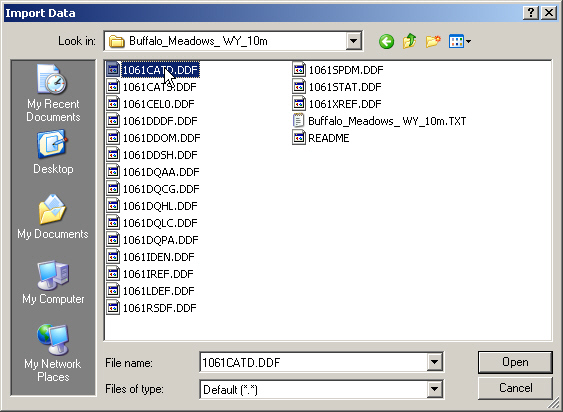
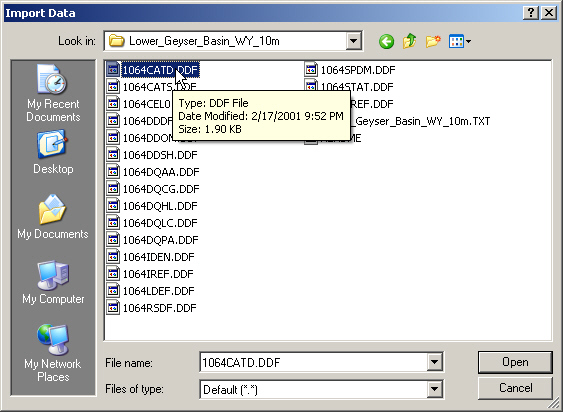
6. Navigate to the VNS 3 DVD dem folder. Open the Buffalo_Meadows_WY_10m folder and select any DDF file.
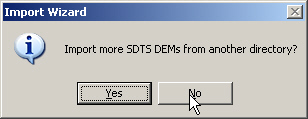
7. When asked if you’d like to Import more SDTS DEMs from another directory, answer Yes and choose any DDF from the Lower_Geyser_Basin_WY_10m folder.
8. Repeat the process to load the Madison Junction and Mount Jackson files. Answer No in the Import more SDTS DEMs window after loading the last of the files.
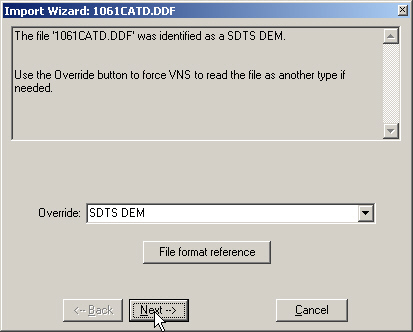
9. This will launch the now familiar Import Wizard, which will correctly identify the files as SDTS DEMs.
10. Go Next to the LOAD AS window and accept the defaults.
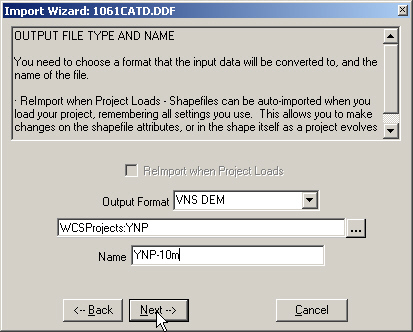
11. Continue to OUTPUT FILE TYPE AND NAME. Change the name to YNP-10m, for 10 meters, and Next.
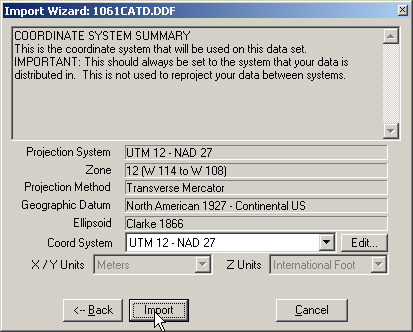
12. The COORDINATE SYSTEM SUMMARY window will correctly identify the Projection System, UTM Zone, and Datum. Import the data.
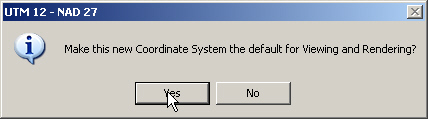
13. When asked if you’d like to make the new Coordinate System the default for viewing and rendering, answer Yes.
14. The Status window will indicate import progress.