3DNature

3D Landscape Design & Visualization Software published and supported by AlphaPixel

Menu

Part 2E. Rendering Animation

Part 2A. Animating the Camera
Getting Started with VNS 3: Animation Basics

Part 2E. Rendering Animation

1. We’re done animating the scene and are ready to render. We’ll create two Render Jobs. The MainTest Render Job will be a fast rendering animation to check for mistakes. The MainFinal Render Job will be the final frame sequence.

2. Go to the Render Task Mode. Right-click the Render Jobs category and Add Component of this type.
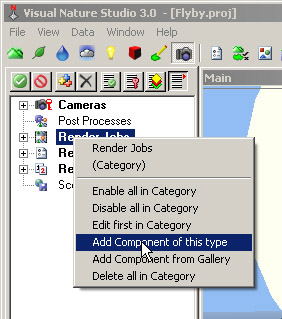
Screenshot of Visual Nature Studio 3.0 interface with a right-click menu open, showing options related to rendering jobs, specifically highlighting "Add Component of this type.

3. Name the job MainFinal. This Render Job will use the Main camera and new Render Options, so select New Render Options.
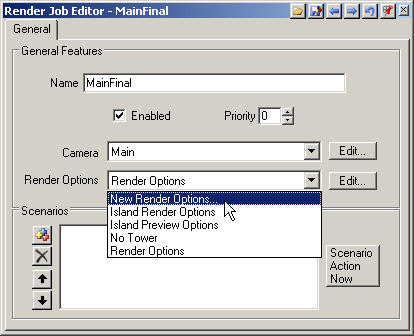
Screenshot of the Render Job Editor with options for naming, enabling, setting priority, selecting camera, and choosing render options via a dropdown menu. Scenarios section is on the lower right.

4. Edit the Render Option to open the Render Options Editor.
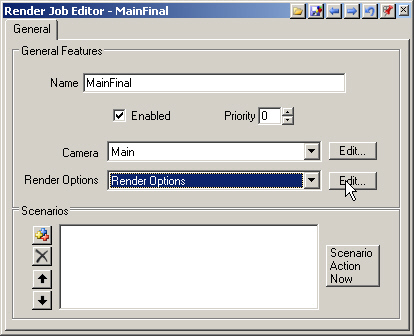
A screenshot of the Render Job Editor for a project named "MainFinal" with settings for enabling, prioritizing, and editing render options, as well as scenario actions.

5. Name the options MainFinal to match the Render Job. To render the entire animation, change the End Time to 20 seconds.
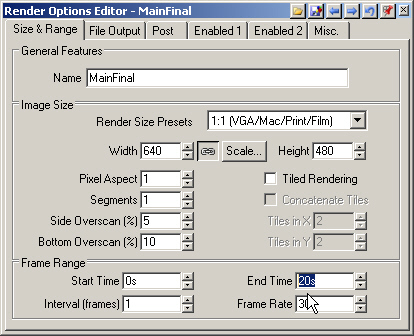
Screenshot of the Render Options Editor window showing settings for general features, image size, and frame range, with the end time set to 20 seconds and the frame rate set to 30.

6. Go to the File Output page and Add Output Event. PNG is the default format and a good lossless one. We could render the animation directly to AVI or QuickTime output, but these formats have limitations and are not recommended for final output. AVIs and QuickTime movies cannot be rendered on several machines and may lose rendered output if the computer crashes before the Render Job is complete. These formats are best used for tests, as we will see shortly.
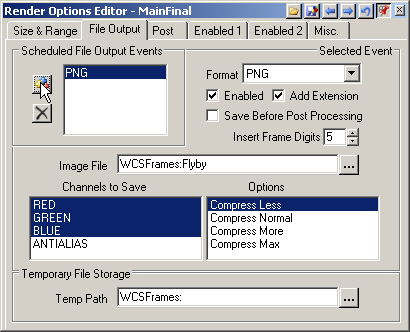
Screenshot of the Render Options Editor window showing settings for file output events, image file, channels to save, compression options, and temporary file storage path.

7. Enter MainFinal as the Image File name and the job is ready for rendering.
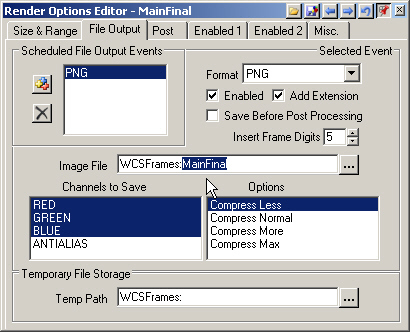
Screenshot of Render Options Editor window. It shows options for PNG output, including checkbox selections and fields for file naming, channels to save, compression levels, and temporary file storage path.

8. We have a MainFinal Render Job with its MainFinal Render Options. Let’s clone them for MainTest use. Expand the Render Jobs in the Scene-at-a-Glance and clone MainFinal.
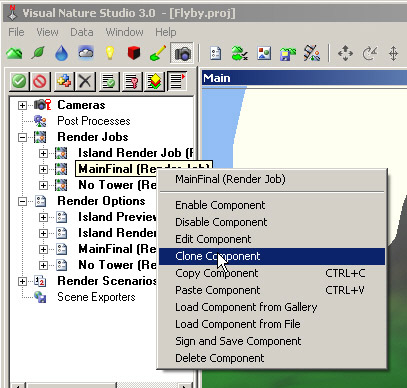
A screenshot of Visual Nature Studio 3.0 software highlighting the "Clone Component" option in the context menu for a selected render job in the project tree.

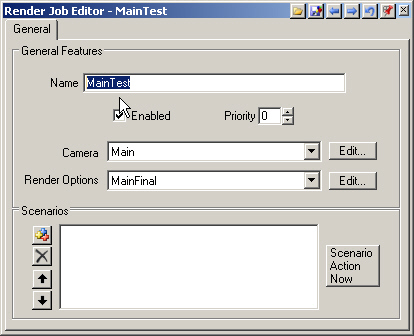
9. Rename the clone MainTest.

Screenshot of the Render Job Editor window. The name is set to "MainTest," enabled status is checked, priority is 0, and render options are set to "MainFinal." There's an "Edit" button for Camera.

10. Select the MainFinal Render Options in the Scene-at-a-Glance and clone it.
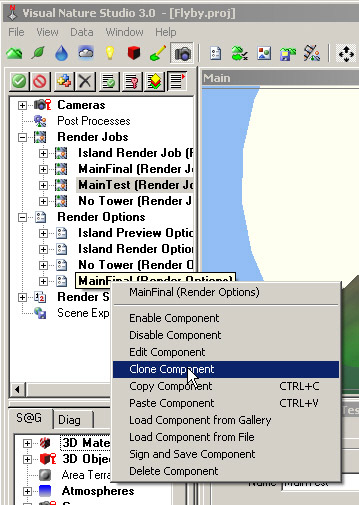
A computer screen displays Visual Nature Studio 3.0 software with a context menu open, showing options like "Clone Component" and "Edit Component." The interface has a hierarchical list of components.

11. Rename the clone MainTest. To reduce the frame size, click Scale and enter h for half size.
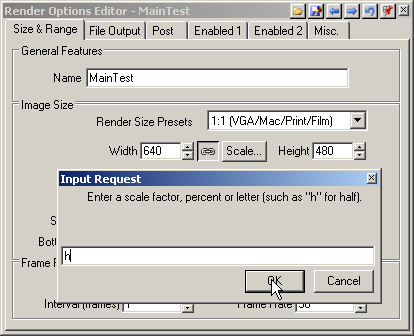
A Render Options Editor window is open with fields for Image Size. A smaller Input Request box is overlaid, prompting for a scale factor, containing the letter "H", and has cursor selecting OK.

12. Reduce the Frame Rate to 6 frames per second.
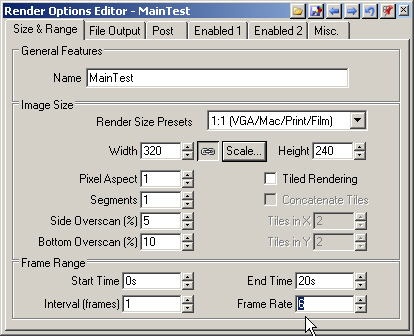
Screenshot of a software interface showing the Render Options Editor with fields for name, image size presets, frame range, and frame rate settings. The frame rate is set to 6 fps.

13. On the File Output page, change the Format to AVI. Rename the Image File MainTest.
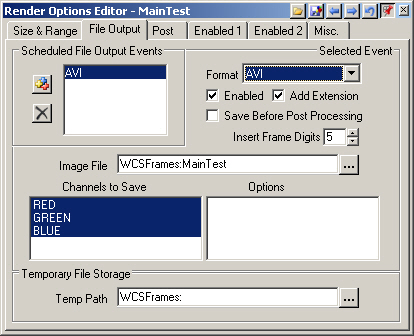
Screenshot of the Render Options Editor window displaying settings for Scheduled File Output Events, including format selection, image file path, channels to save, and temporary file storage location.

14. Go to the Scene-at-a-Glance and click and drag the MainTest Render Options to the MainTest Render Job. Confirm the operation.
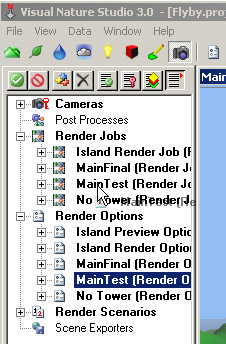
Screenshot of the Visual Nature Studio 3.0 user interface, showing various menu options and render job settings in a hierarchical list format on the left side.

15. We’re ready to render the test animation, so close the editors and open Render Control . We don’t need the Island or No Tower Render Jobs so disable them.
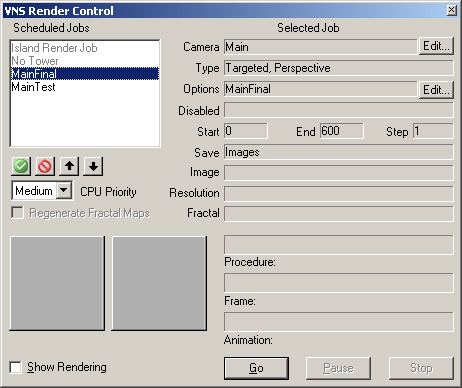
Screenshot of VNS Render Control software showing scheduled jobs list on the left and job settings on the right, with options for camera, type, options, and frame rate settings.

16. We’ll render just the MainTest Render Job the first time around, so select MainFinal and disable it. Go to start rendering.
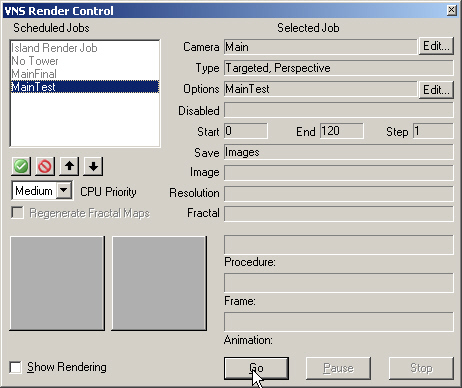
Screenshot of VNS Render Control software showing settings for a rendering job, including camera type, options, priority, image size, resolution, and animation controls, with a "Go" button selected.

17. VNS warns us that the Terrain Parameters are currently set to render using Variable Fractal Depth, which is the default method and appropriate for rendering single images. It is not appropriate for terrain animation, which we’ll talk about in the next tutorial. For now, take my word for it and select Depth Maps.
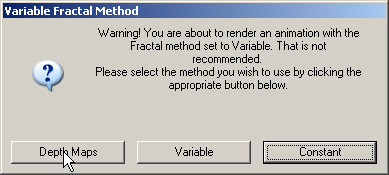
Dialog box titled "Variable Fractal Method" with a warning about rendering an animation with the Fractal method set to Variable. It advises against this and offers three options: Depth Maps, Variable, and Constant.

18. Answer Yes to generate Fractal Depth Maps.
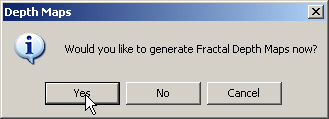
A dialog box titled "Depth Maps" with a message asking, "Would you like to generate Fractal Depth Maps now?" and three buttons labeled "Yes," "No," and "Cancel." A cursor is pointing at "Yes.

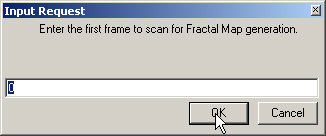
19. Start with frame 0.

A dialog box titled "Input Request" asking for the first frame to scan for Fractal Map generation, with an empty text field and "OK" and "Cancel" buttons.

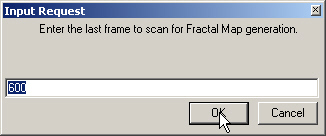
20. End with frame 600.

A dialog box titled "Input Request" prompts the user to enter the last frame to scan for Fractal Map generation, with the number 600 typed in the input field and the cursor over the "OK" button.

21. Generate maps every 5 frames. In a nutshell, VNS will go through the animation and keep track of which terrain polygons pass near the camera and which ones stay distant. The rendering engine will use the resulting map to subdivide terrain polygons, which optimizes rendering time and terrain detail.
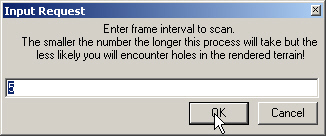
A dialog box with the title "Input Request" asks for a frame interval number for scanning. A smaller number increases scan time but reduces holes in the terrain. Typed input is "5" with "OK" and "Cancel" buttons.

22. The Status Window will show progress as Fractal Depths Maps are calculated.

A software interface displays "Frame 425/600" with a series of blue segments and a red 'X' button on the right.

23. We’re rendering the test animation to the AVI format, so the Video Compression window opens asking for a Compressor. Let’s go with Full Frames.
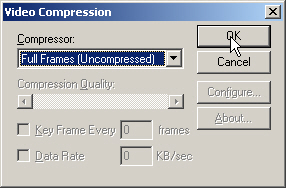
A video compression settings window with options to select a compressor, adjust compression quality, enable keyframes, and set data rate. A cursor points to the "OK" button.

24. Render Control will show rendering progress.
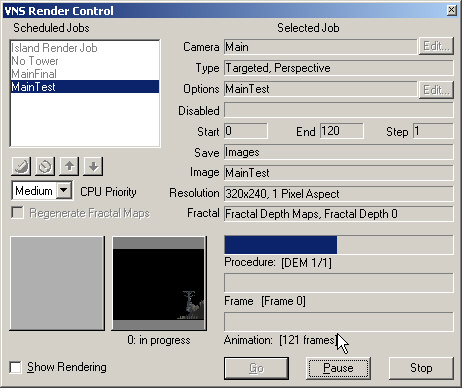
Screenshot of VNS Render Control software window showing scheduled jobs with the "MainTest" job selected. Render details include type, resolution, frames, and status options like Start, Pause, and CPU Priority settings.

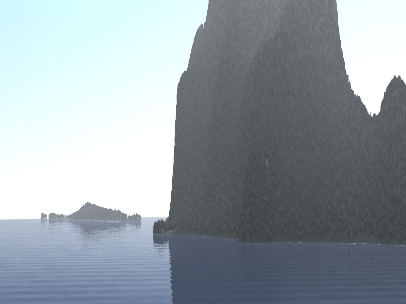
25. The MainTest AVI can be found in the animation folder on the VNS 3 DVD.
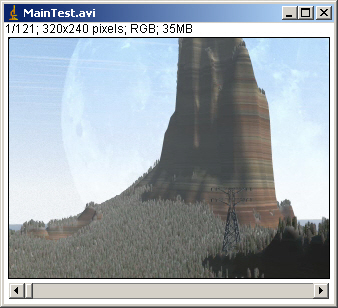
A screenshot of a video file named "MainTest.avi" showing a landscape with a large, towering rock formation, a forested area below, a power line, and a partially visible moon in the sky.

26. Everything looks good in the test animation, so it’s back to Render Control for MainFinal rendering. Disable the MainTest Render Job and enable MainFinal. Make a last check of the render settings and start rendering. This will take many hours, so take the rest of the day off and we’ll check back later.
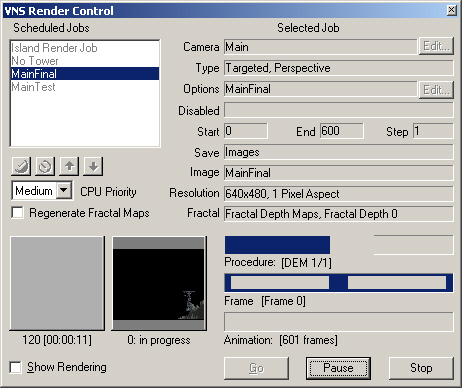
Screenshot of VNS Render Control interface showing settings for rendering a selected job named "MainFinal" with options for image resolution, format, destination, and procedural details.

27. It took about 3 hours to render the 601 frames. The assembled MainFinal QuickTime movie is in the animation folder on the VNS 3 DVD.

Scroll to top
Skip to content