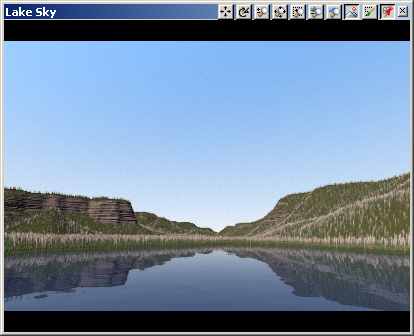
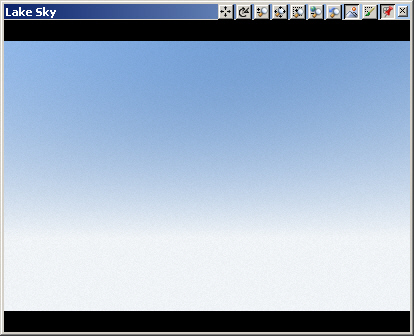
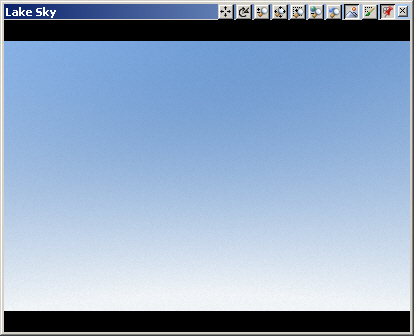
1. Open the Cabin Final popup menu and change to the Lake Sky Camera. Save the project and render a preview.
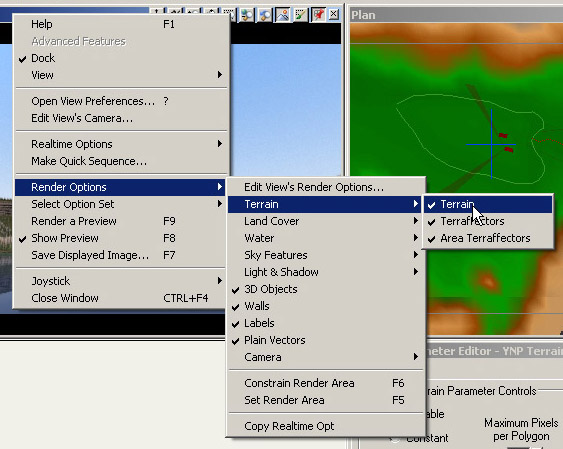
2. While it’s nice to see terrain in renders, it takes time to render and we don’t need it while we’re working with the sky. Open the Lake Sky popup menu and select Render Options > Terrain > Terrain to deselect it.
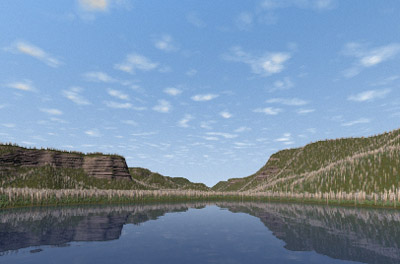
3. Save the project and render a preview.
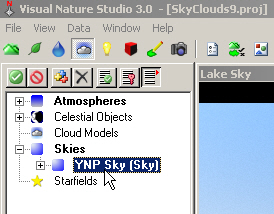
4. Let’s make the blue sky a bit bluer to bring out the clouds. Go to the Sky Task Mode and expand the Skies category. Open the YNP Sky Component.
5. Rename it Blue.
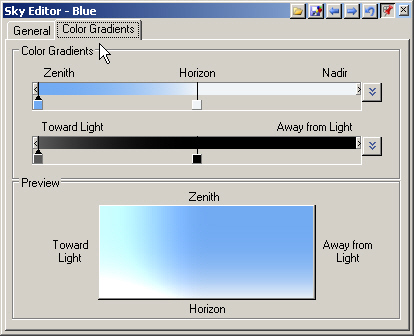
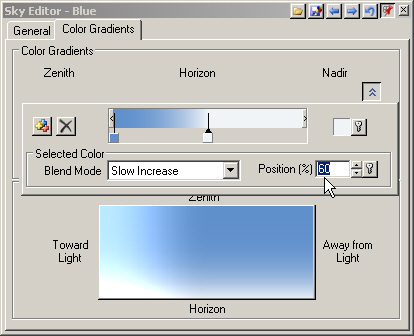
6. Go to the Color Gradients page. The Color Gradient controls color and blending from the Zenith directly overhead, through the Horizon, and down to the Nadir, opposite the zenith on the other side of the planet.
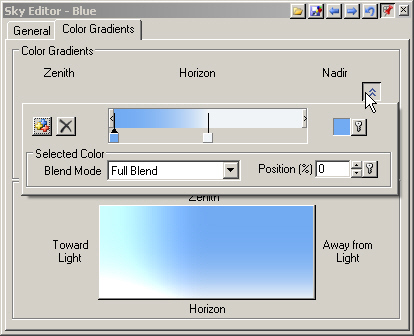
7. Show Material Controls to access the gradient colors.
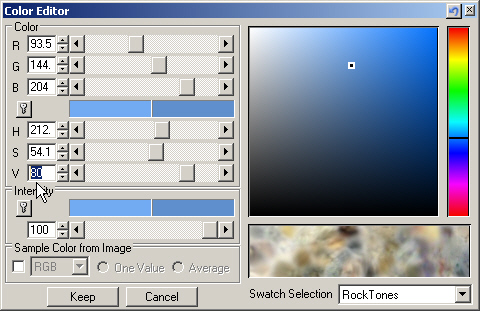
8. Select the Zenith color pin and open its Color Editor. Decrease the Value to 80 to darken the blue.
9. Save the project and render a preview.
10. Let’s make the horizon less white and more blue. Select the white color pin and change its Position of 60% in the gradient. Close the editor.