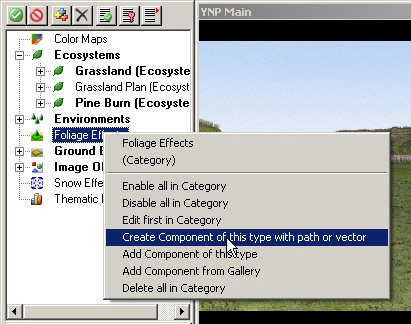
1. A Foliage Effect is used to place individual Foliage Objects. Go to the Scene-at-a-Glance, right-click the Foliage Effect category, and Create Component of this type with path or vector. This accomplishes the same thing as the Create button on the icon toolbar.
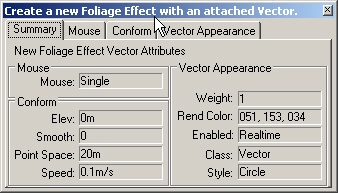
2. The Create window will confirm that we’re creating a new Foliage Effect with an attached vector.
3. Turn to the Mouse page, select Connect, and change the Point Space to 10 meters. This will automatically generate vertices every 10 meters.
4. Left-click a starting point on the left side of the YNP Main view and left-click an end point on the right side. Right-click to finish.
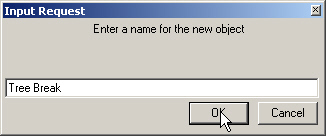
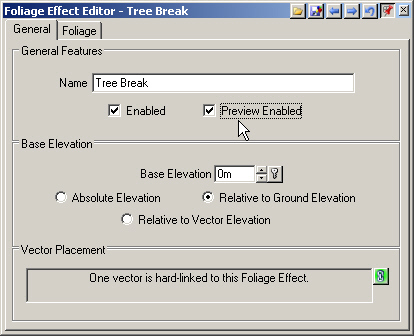
5. Name the vector and Foliage Effect Tree Break.
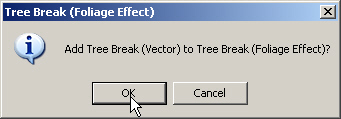
6. Add the vector to the Foliage Effect and close out the Component Gallery when it opens.
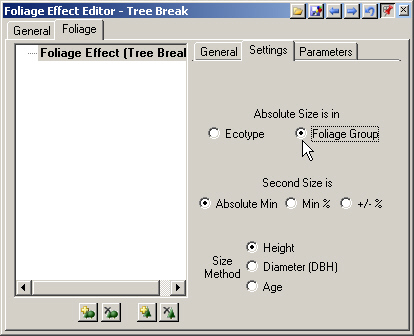
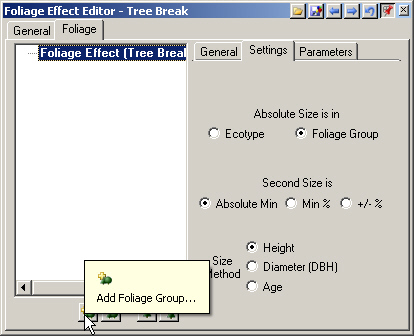
7. In the Foliage Effect Editor, go to the Foliage page and Settings tab. Change the Absolute Size is in to Foliage Group.
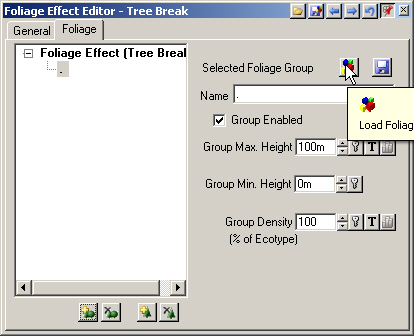
8. Add Foliage Group, and name it anything. The name will be overwritten when we load the Component.
9. Select Load Foliage Group
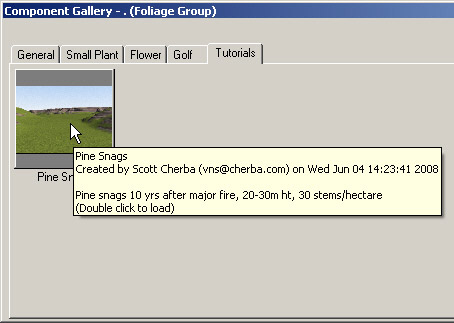
10. Go to the Tutorials page and load the Pine Snags Component we created in an earlier tutorial.
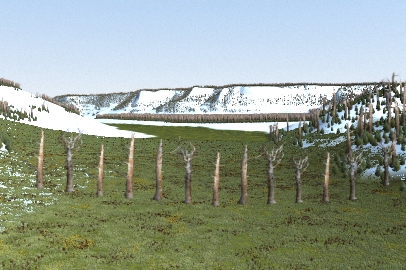
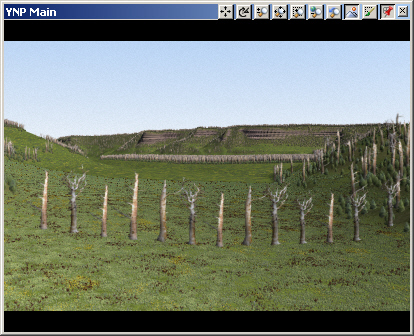
11. Save the project and render a preview.
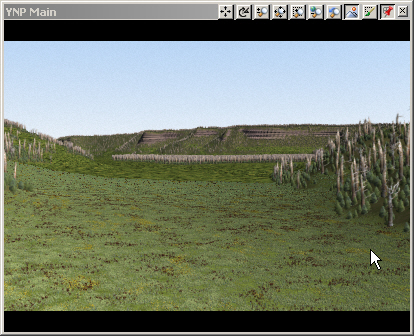
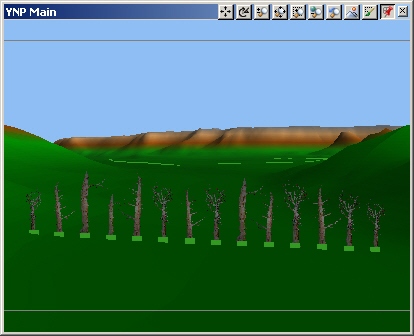
12. Switch the YNPMain view back to realtime mode.
13. By default, Foliage Effects have realtime Preview Enabled.