1. Go File menu, Open a project, and find your way to the Tutorials\YNP folder. Open the YNP5A project. Save the project in your YNP folder as YNP5.
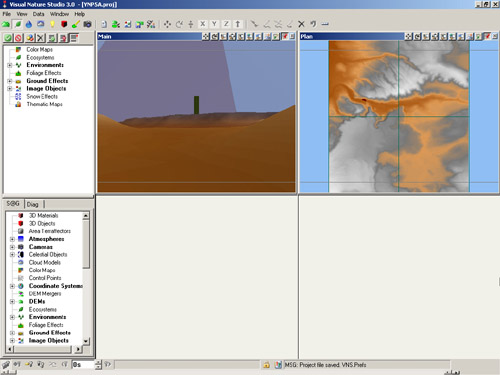
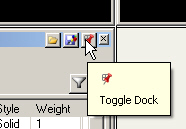
2. Open the Database Editor and click its Toggle Dock button to undock the editor.
3. Hold the mouse over the corner of the editor until it becomes a diagonal double-ended arrow. Click and drag the corner out until you can see all the table columns.
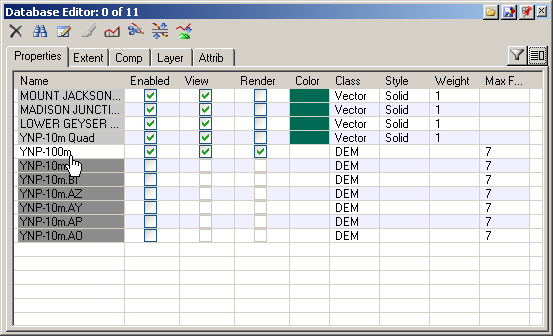
4. The YNP-100m DEM is set to View and Render. As with most projects, we’d like to make realtime views as responsive as possible and rendered terrain as detailed as possible. This is achieved by using lower resolution DEMs for views and higher resolution DEMs for rendering.
5. Click the YNP-100m Render box to clear it and disable rendering. The low-resolution 100-meter DEM will just be used for realtime views.
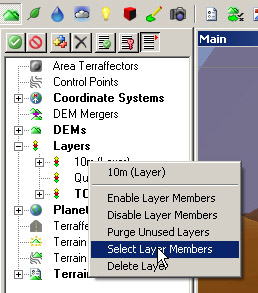
6. Now for the high-resolution 10-meter DEMs. Switch to the Terrain Task Mode in the Scene-at-a-Glance.
7. Expand the Layers category, right-click the 10m Layer, and Select Layer Members.
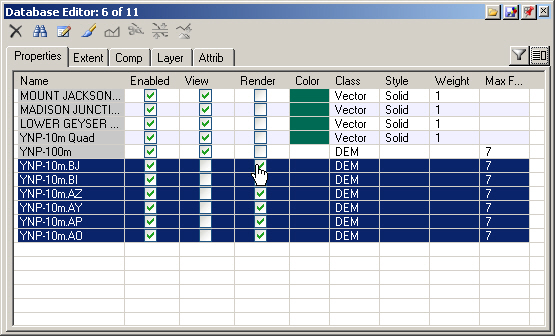
8. In the Database Editor, check one of the Enabled boxes and all selected items will be updated to View and Render.
9. Check one of the View boxes to disable viewing the DEMs in realtime views. These DEMs will just be used for rendering.
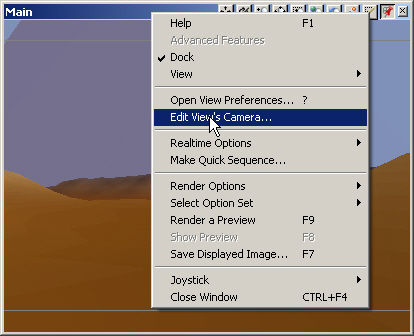
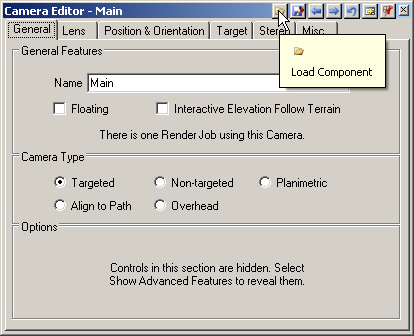
10. Let’s all start with the same YNP Main Camera view. Go to the Main Camera popup menu and Edit View’s Camera to open the Camera Editor.
11. Load Component.
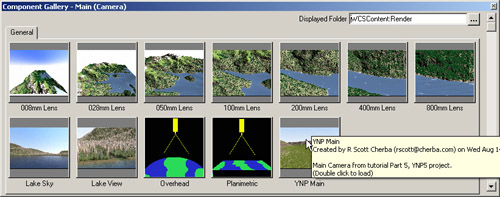
12. The Component Galley will open to the Cameras section. Double-click the YNP Main thumbnail to load it.
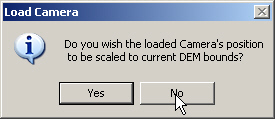
13. Don’t scale the camera’s position; we want it just where it was saved.
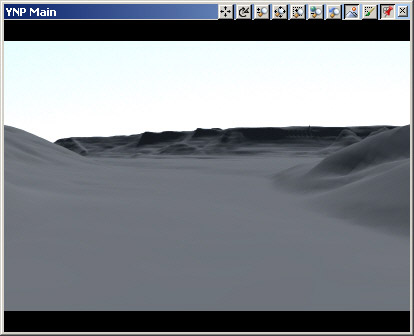
14. Render a YNPMain preview.
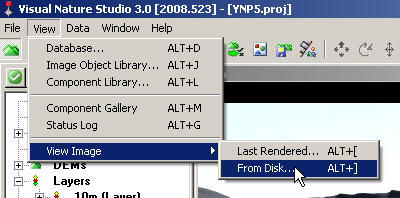
15. Now that we all have the same view, go up to the menu and View > View Image > From Disk.
16. Go to the image folder on the VNS 3 DVD and open LandCoverDiagram.jpg.
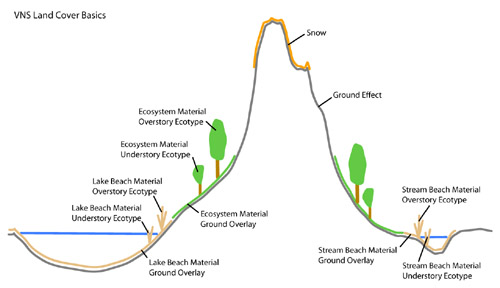
17. When VNS renders a scene, it evaluates polygons for coverage starting with Lakes and their associated Beaches. Beaches are built like Ecosystems, with an Overstory Ecotype, Understory Ecotype, and Material Ground Overlay. For those polygons not covered by a Lake Component, the renderer sees which polygons qualify for Ecosystem coverage. Ecosystems have an Overstory Ecotype, Understory Ecotype, and a Ground Overlay for the ground between. For the polygons that remain uncovered, Ground Effect is rendered.
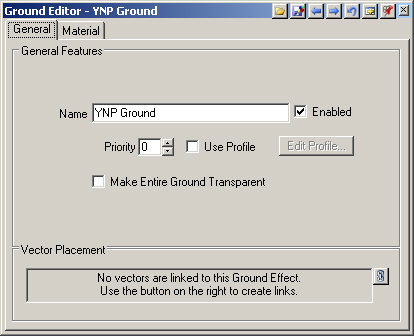
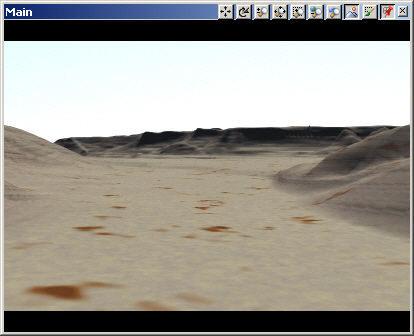
18. Close the image. We have default grey Ground Effect rendering on the terrain because there are no other ground coverage Components in the project. Go to the Land Cover Task Mode and open the Ground Editor.
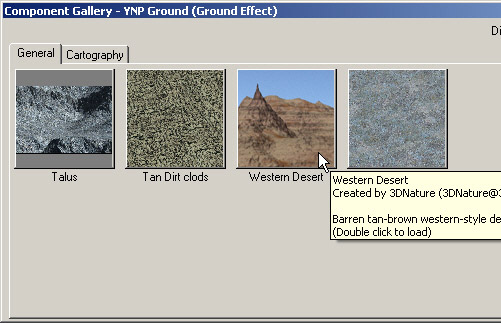
19. Load Component and load the Western Desert.
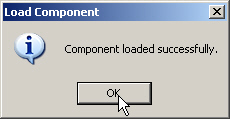
20. Save the project and render a preview.
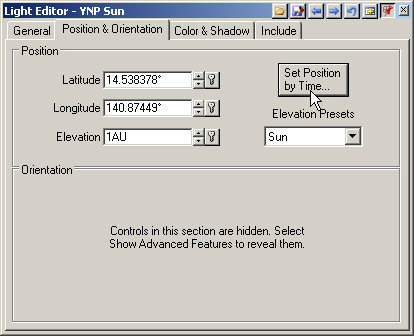
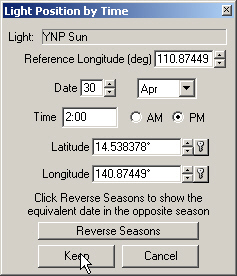
21. Let’s change the Light to early afternoon. Go to the lower Scene-at-a-Glance and expand the Lights category.
22. Open the Light Editor to the Position & Orientation page.