1. We’re done building the project. Now it’s time to render the Main view to disk. For that, let’s go back to the Render Task Mode.
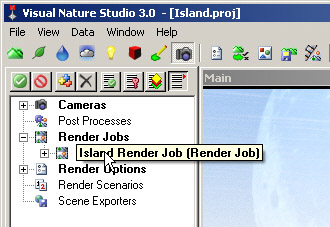
2. Expand the Render Jobs category and open the Island Render Job.
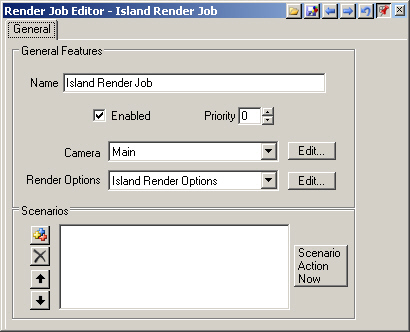
3. A Render Job is comprised of a Camera and Render Option. It can also use Render Scenarios. Render Jobs allow you to render different camera views with different Render Options. The default Render Job is already set up for the Main camera, so let’s take a look at its Render Options.
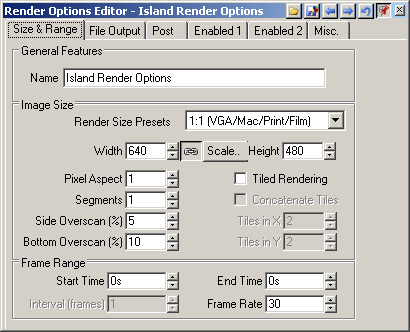
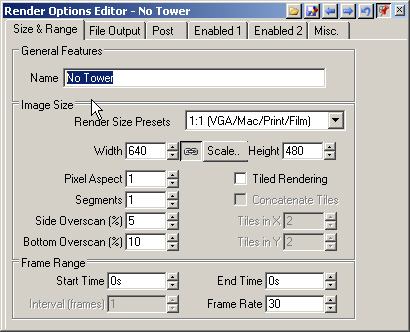
4. Edit the Render Options to open the Render Options Editor. We’re set up for a 640×480 image size and pixel aspect ratio of 1. We don’t have to worry about frame range because we’re rendering a single image, not a series of animation images.
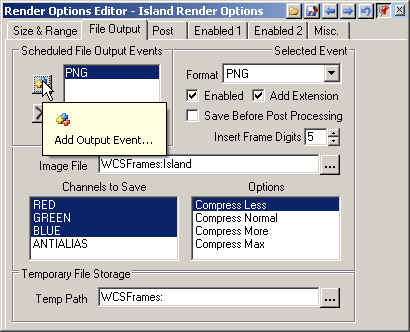
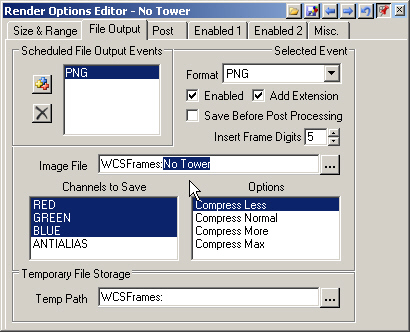
5. Go to the File Output page where we specify the type of file to save. Add Output Event to add a file type. PNG is the default format added to the output events. We can change this with the Format dropdown list, but PNG is a good choice for its small file size and high quality.
6. The default file name is based on the project name and is saved it in the WCSFrames folder. VNS will overwrite a saved file by the same name, so rename old files or choose a new file name when rerunning Render Jobs.
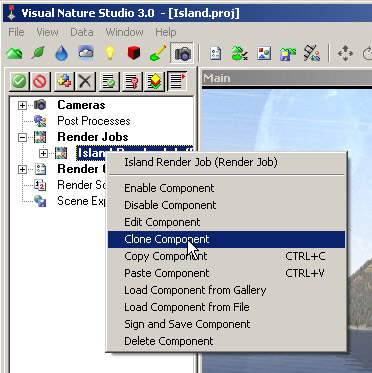
7. Let’s create another Render Job. It will be the same except we’ll turn off 3D Object tower rendering with a Render Scenario. Right-click the Island Render Job in the Scene-at-a-Glance and Clone Component.
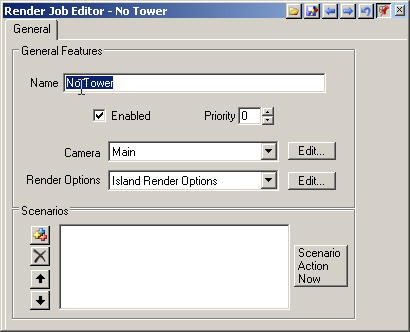
8. Rename it No Tower and Enter. It will render the same Main Camera, but will use another Render Option to give it a unique file name.
9. Select the Island Render Option in the Scene-at-a-Glance and clone it. Rename it No Tower.
10. Turn to the File Output page and change the Image File to No Tower.
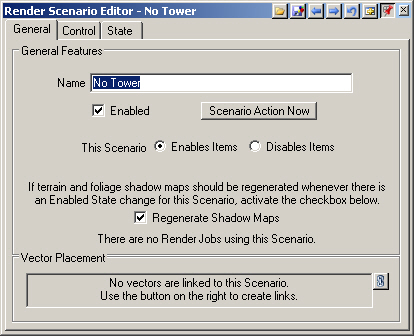
11. The last Component we need is a Render Scenario. It will turn off the 3D Object High Tension Tower at render time. Double-click the Render Scenario category to create one and rename it, you guessed it, No Tower.
12. Change This Scenario to Disables Items.
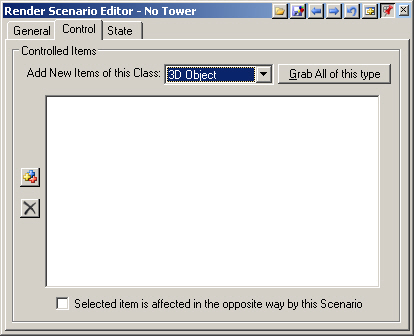
13. Go to the Control page and select 3D Objects from the Add New Items of this Class dropdown list.
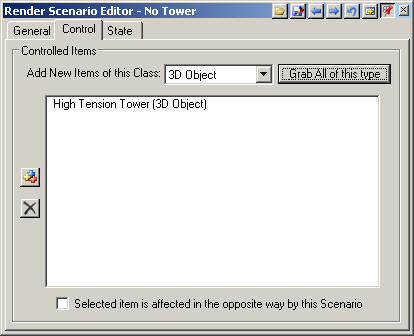
14. Click Grab All to add all 3D Objects to the Controlled Items list. We could have used Add Item , but Grab All requires fewer steps when there’s only one object.
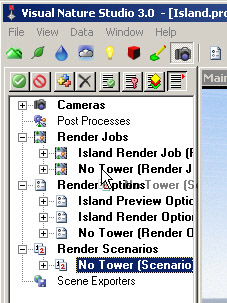
15. To control the No Tower Render Job with this Render Scenario, expand the Render Scenarios category in the Scene-at-a-Glance. Click, drag, and drop the No Tower Render Scenario on the No Tower Render Job.
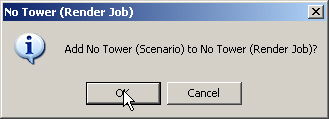
16. Confirm the operation.
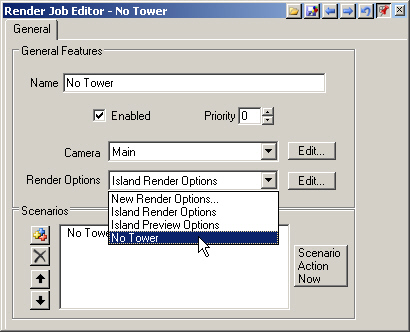
17. Go back to the No TowerRender Job Editor and change the Render Options to No Tower. Save the project.
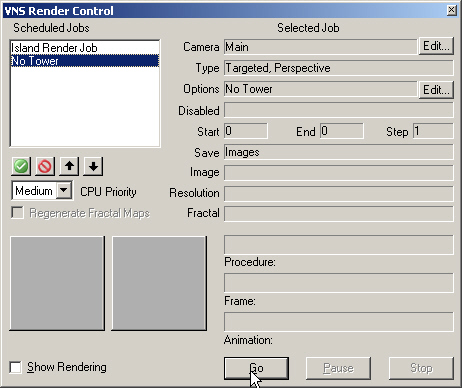
18. Open Render Control from the toolbar and make a last check of the Camera, Options, and Save fields. The Island Render Job will render the Main Camera using the Island Render Options and will Save Images. The No Tower Render Job will render the Main Camera using the No Tower Render Options and will Save Images. Go to start rendering.
19. If you’d like to watch the full size render in progress and don’t mind slowing VNS down, check Show Rendering.