Screen captures are from VNS 3. Scene Express for WCS 6 does not include VNS-specific features.
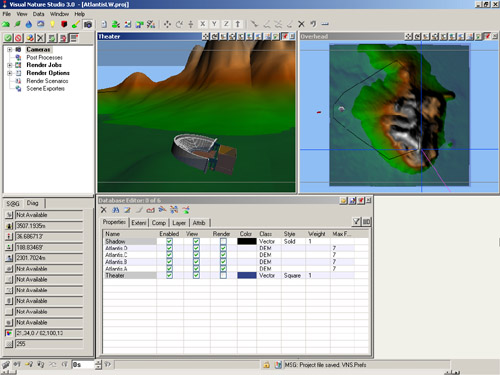
1. Open the Atlantis project from the WCSProjects\SX folder on your hard drive. Save the project as AtlantisLW.
2. Before doing anything else let’s make sure our export camera is LightWave-friendly. LightWave isn’t as forgiving as VNS and WCS and doesn’t allow a targeted camera to have additional pitch, bank, and/or heading rotations. We have two choices when it comes to exporting cameras for LightWave: use a targeted camera without any rotation or use a non-targeted camera. The Theater camera is the only one we’ll export and it’s a non-targeted camera. That means the exported LW camera will match the VNS/WCS camera.
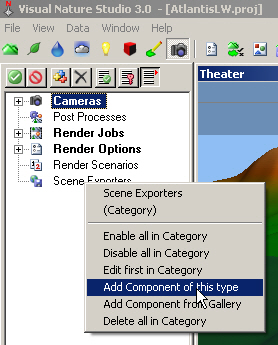
3. Go to the Render Task Mode in the Scene-at-a-Glance and add a Scene Exporter Component.
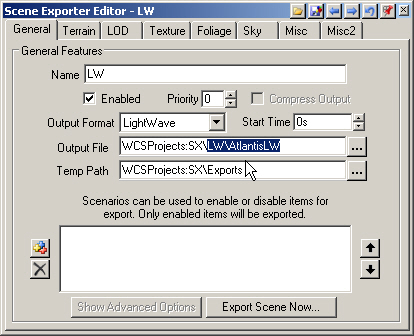
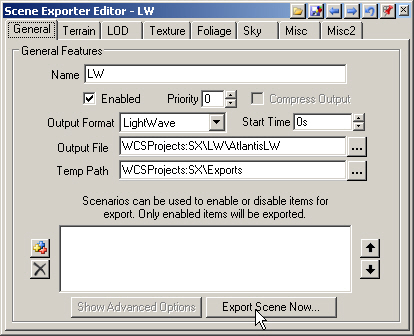
4. Name it LW and change the Output Format to LightWave. Replace Exports\AtlantisLW in the Output File field with LW\AtlantisLW. This will create a LW folder in the SX project folder to hold the LightWave files. Temporary files will be saved in an Exports folder.
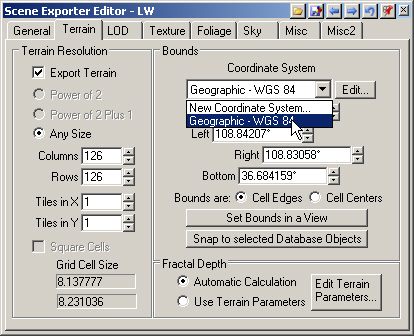
5. VNS Only. Go to the Terrain page. Choose Geographic – WGS 84 from the Coordinate System dropdown list.
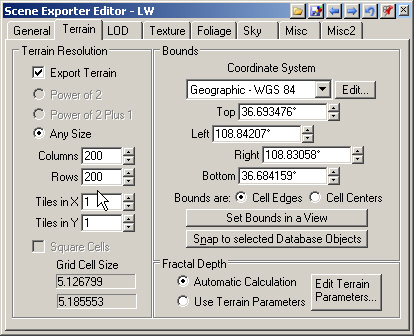
6. We’ll export the entire scene with one DEM object with 200Columns and Rows. That will give us a grid cell size of about 5 meters.
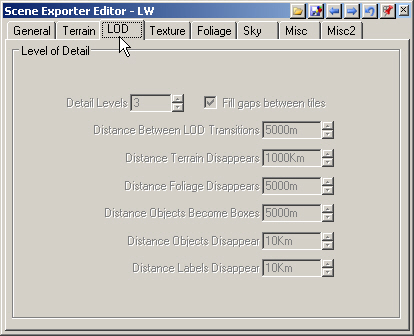
7. There are no LOD options in the LightWave format.
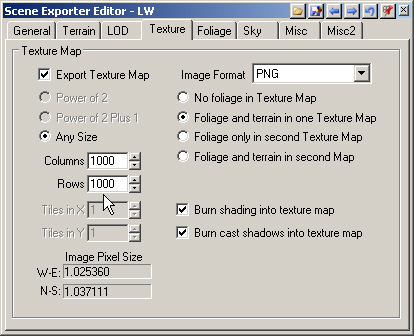
8. Turn to the Texture page. This controls the texture draped on the terrain. The Image Format field also applies to the sky texture. The Texture Map defaults to Any Size. Increase the Columns and Rows to 1000. This will give us a terrain texture resolution of about 1 meter per image pixel.
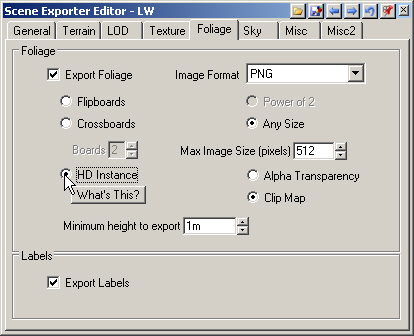
9. The Foliage page gives us an export option not available in other exporter formats. HD Instance is a great LightWave plugin from Happy Digital that uses instances of objects to save memory. It’s the best way to render thousands of trees so that’s what we’ll use. Find out more about it with the What’s This? button. While you’re there, download and install the demo plug-in as we’ll be using it shortly.
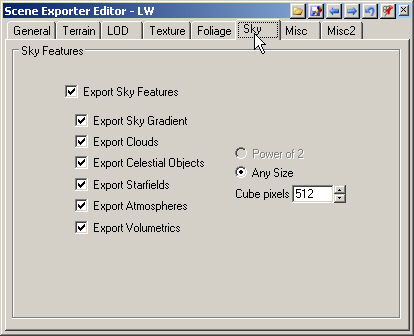
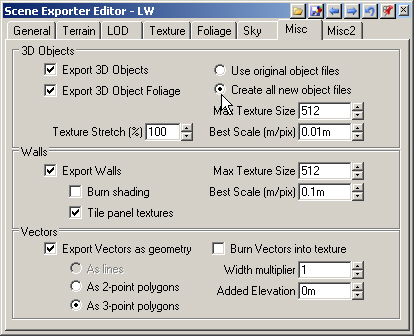
10. The Sky page defaults will serve us quite nicely so leave them alone. On the Misc page, select Create all new object files.
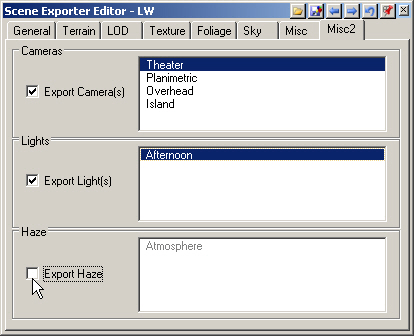
11. Go to the Misc2 page Cameras section and select the Theater Camera. Select the Afternoon Light and deselect Export Haze.
12. Return to the General page and Export Scene Now.
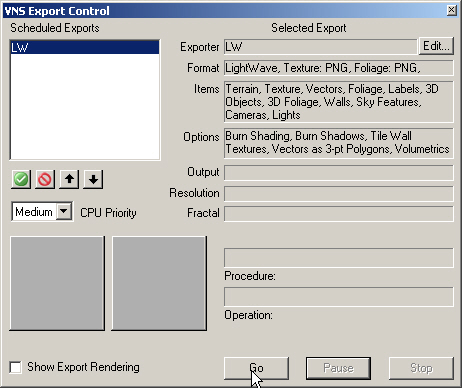
13. This will open the VNS Export Control window. Go to start exporting.
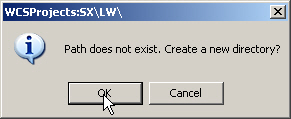
14. VNS will ask you to confirm the creation of new directories in the SX project folder. You won’t get the WCSProjects:SX\Exports window if you’ve already done other Scene Express tutorials.
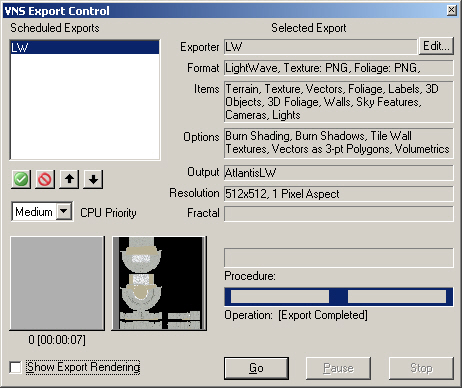
15. VNS Export Control will let you know when the export is complete.
16. Launch LightWave and open the AltantisLW scene file from your WCSProjects\SX\LW\Scenes folder.
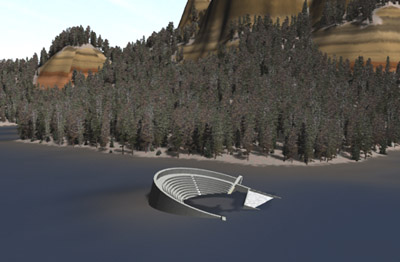
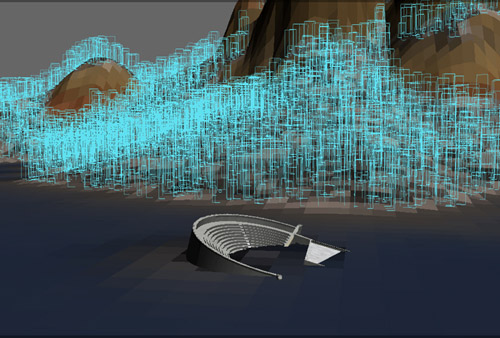
17. Here’s what the Theater camera view looks like in LightWave 9.
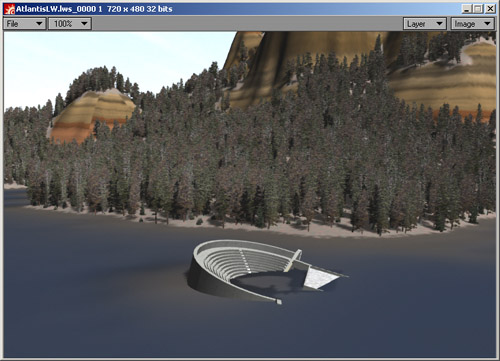
18. The number of rendered HD Instance trees is very limited in the demo. Here’s what the rendered scene looks like with the full version of the plugin.
19. Exported files from this tutorial are in the WCSProjects\SX\Tutorial Output\LW folder on the VNS 3 DVD. The completed project file is in the WCSProjects\SX\Tutorial Projects folder on your hard drive.