Screen captures are from VNS 3. Scene Express for WCS 6 does not include VNS-specific features.
Notes on Google Earth
» Terrain is supplied by Google Earth. You cannot replace it with your own. Terraffected terrain will only add to Google Earth terrain, not remove it.
» Due to terrain export limitations, 3D Object elevations may not be correct in Google Earth.
» Perspective camera locations will not be accurate in Google Earth. You’ll have to correct them in Google Earth.
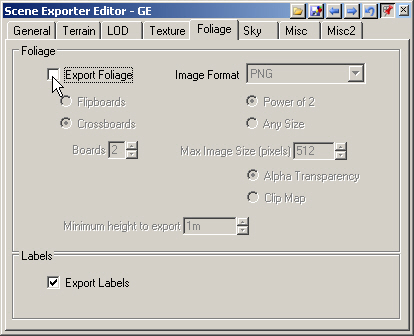
» Foliage can dramatically slow Goggle Earth response. Don’t export it unless you really need it.
1. Open the Cabin project from the SX folder on your hard drive. Save the project as CabinGE.
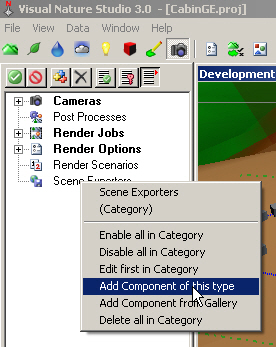
2. Go to the Render Task Mode in the Scene-at-a-Glance and add a Scene Exporter Component.
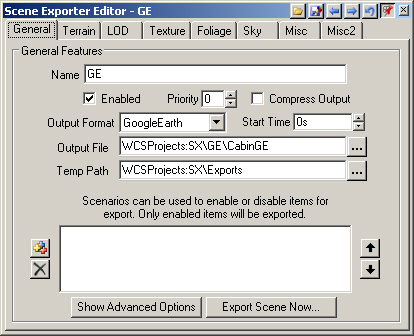
3. Name it GE and change the Output Format to GoogleEarth. Edit the Output File to read SX\GE\CabinGE. Temporary files will be saved in the SX\Exports folder.
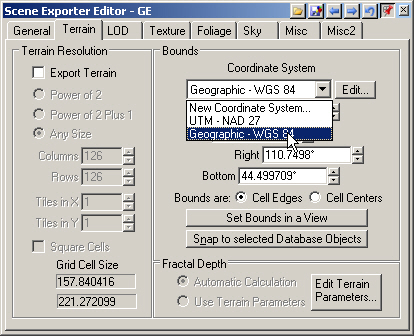
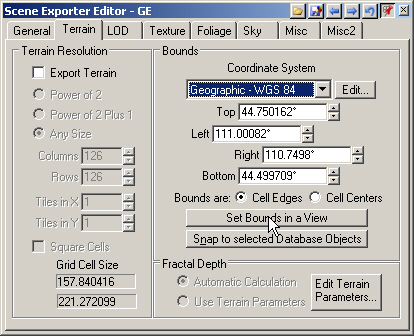
4. VNS Only. Go to the Terrain page. Deselect Export Terrain as Google Earth uses its own. Choose Geographic – WGS 84 from the Coordinate System dropdown list.
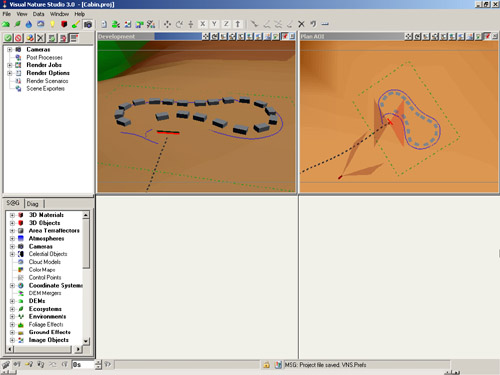
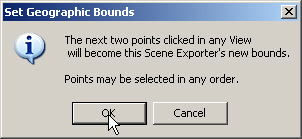
5. Set Bounds in a View. You’ll be reminded that the next two points clicked in any view will become the Scene Exporter’s new bounds.
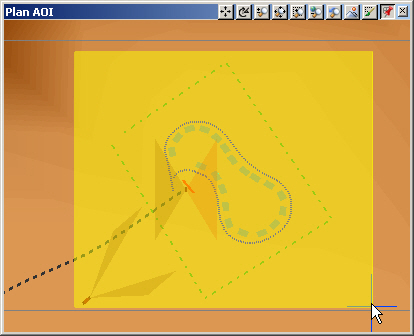
6. Click corners of a box enclosing the cabin development in the Plan AOI view.
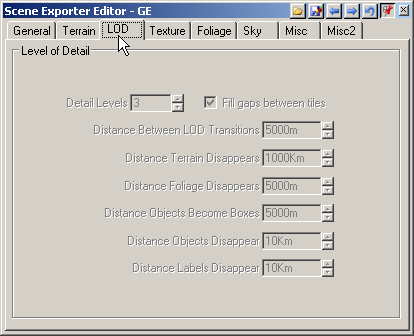
7. There are no LOD options with Google Earth export.
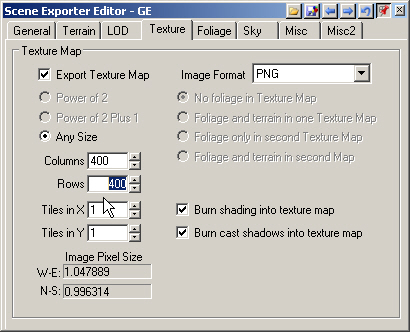
8. Turn to the Texture page. This controls the texture draped on the terrain. Change the Columns and Rows values to 400. This will yield a terrain texture resolution of about 1 meter per image pixel.
9. Deselect Export Foliage on the Foliage page. Foliage can dramatically slow Goggle Earth response. Don’t export it unless you really need it.
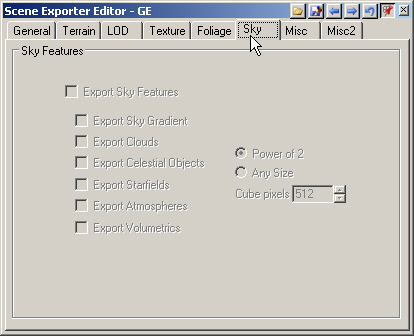
10. We have no Sky options in this format.
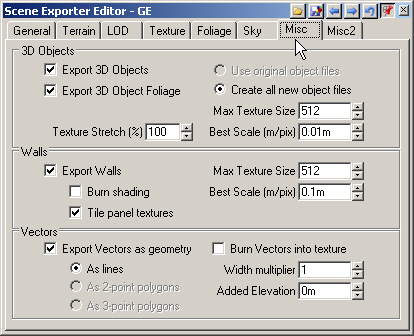
11. The Misc page defaults are fine for this tutorial.
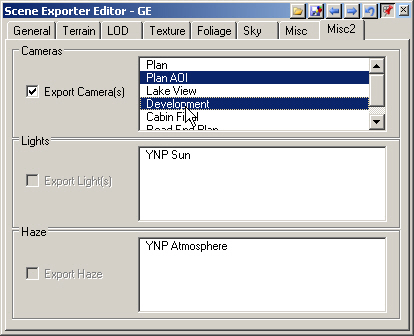
12. Go to the Misc2 page Cameras section and select the Plan AOI and Development Cameras.
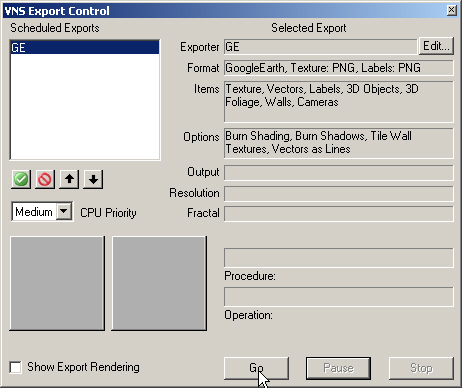
13. Return to the General page and Export Scene Now.
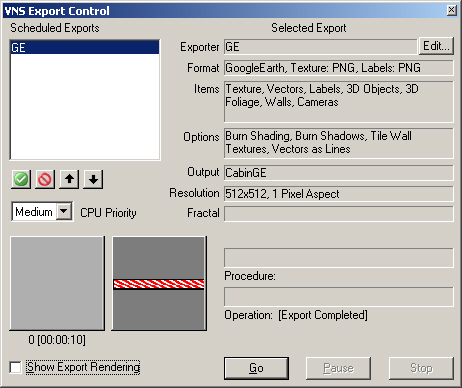
14. This will open the VNS Export Control window. Save the project and Go to start exporting.
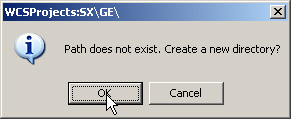
15. You will be asked to confirm the creation of new directories in the SX project folder. You won’t get the WCSProjects:SX\Exports window if you’ve already done other Scene Express tutorials.
16. VNS Export Control will let you know when export is complete.
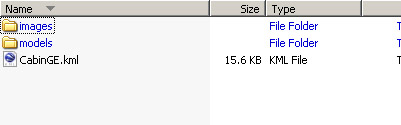
17. Your WCSProjects\SX\GE folder contains all the exported data files.
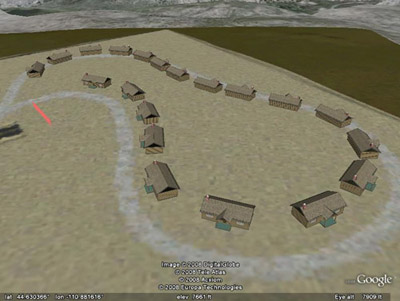
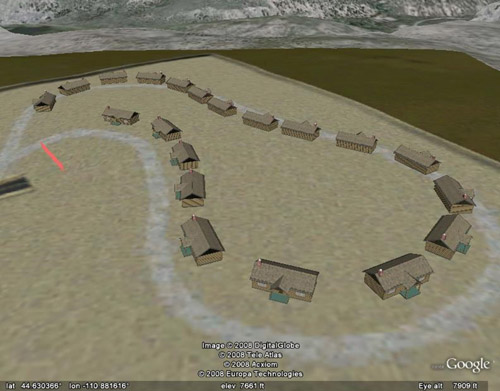
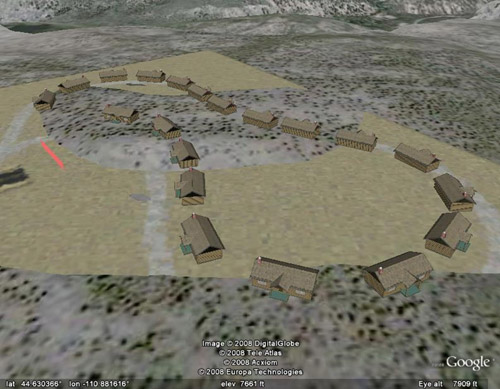
18. Here’s how the scene looks in Google Earth 4.3. The cabins appear out of position in the perspective view because most of them are floating above the terrain. We have a texture map showing a terraffected building pad but the terrain is all Google Earth’s.
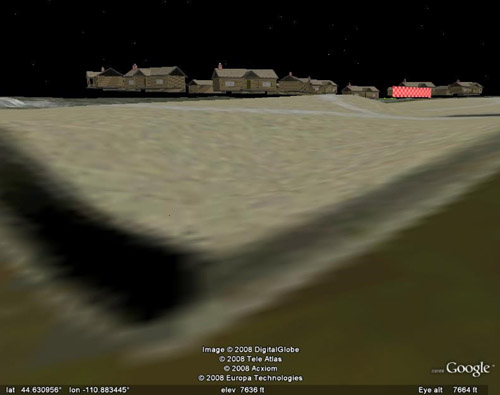
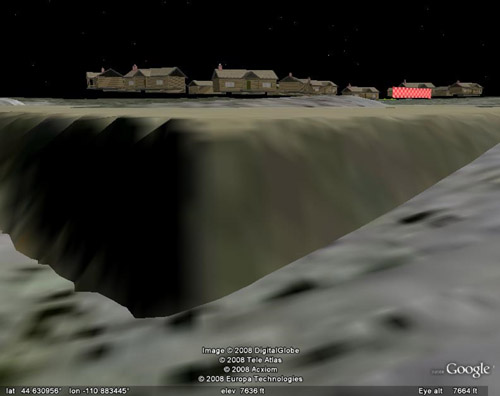
19. If we export terrain, this is how Google Earth displays it (see the WCSProjects\SX\Tutorial Output\GE2 folder on the VNS 3 DVD). Terrain is added but not removed and the texture image is only applied to the added terrain.
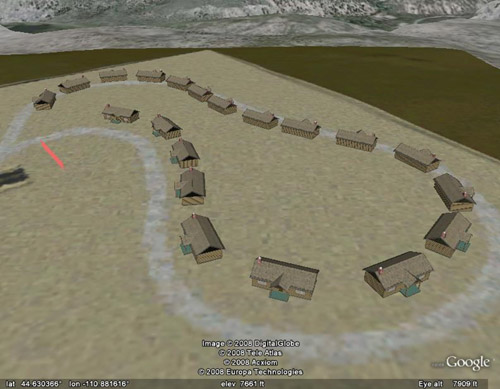
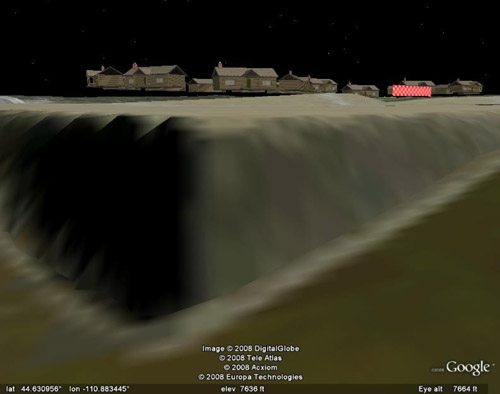
20. Loading both scenes in Google Earth shows the added terrain and a complete texture drape.
21. The exported Google Earth files are in the WCSProjects\SX\Tutorial Output\GE folder on the VNS 3 DVD. The completed project file is in the WCSProjects\SX\Tutorial Projects folder on your hard drive.