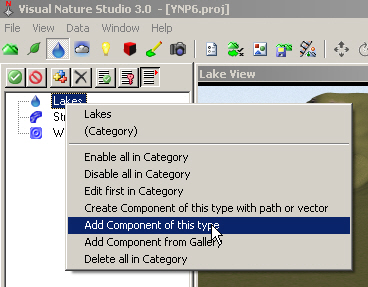
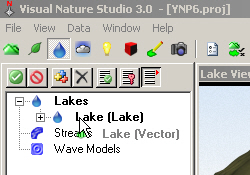
1. Half our job is done; we have a lakebed. Go to the Water Task Mode, select the Lakes category, and Add Component of this type.
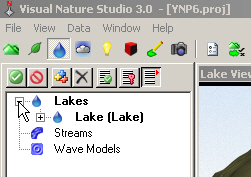
2. Expand the Lakes category.
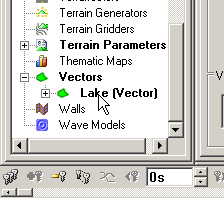
3. Go to the lower Scene-at-a-Glance list to the Vectors category.
4. Click and drag the Lake Vector up and drop it on the Lake. Confirm the operation.
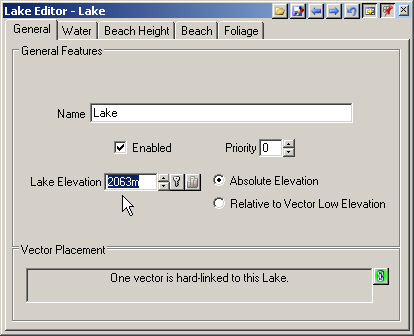
5. In the Lake Editor, enter an Elevation of 2063 meters.
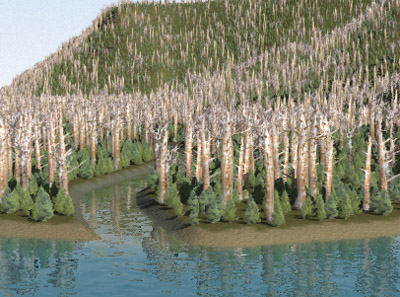
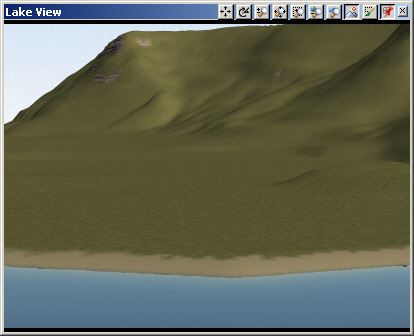
6. Save the project and render a preview.
7. Go to the lower S@G tab and open the Terrain Parameter Editor. Increase the Maximum Fractal Depth to 3. Save the project and render a preview. This gives us more detail along the beach.
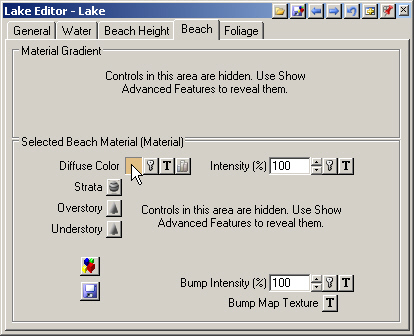
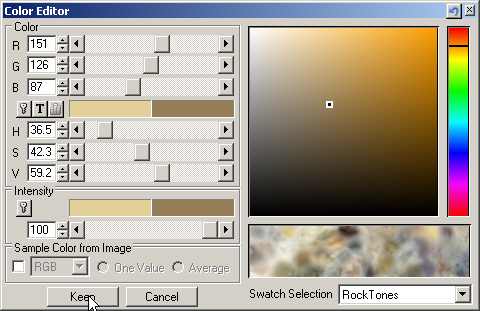
8. Let’s darken the beach. Bring the Lake Editor forward. Go to the Beach page and open the Diffuse Color Color Editor.
9. Choose a medium brown and Keep it.
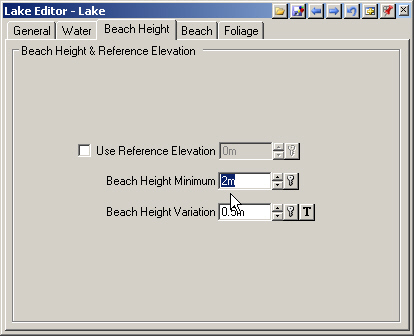
10. On the Beach Height page, change the Beach Height Minimum to 2 meters. Combined with the default Beach Height Variation of 0.5 meters, Beach Material will be rendered 1.5-2.5 meters above the Lake Elevation.
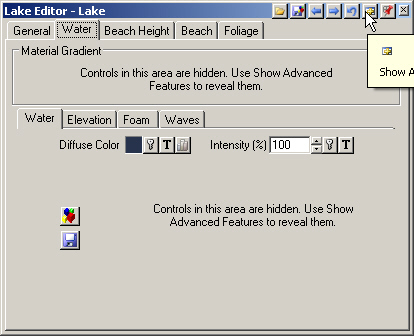
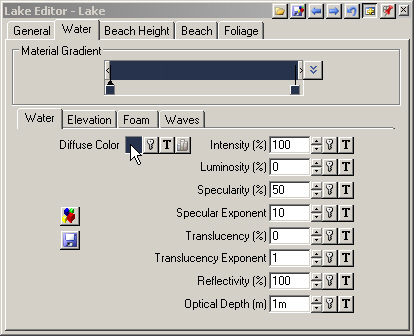
11. Go to the Water page and Show Advanced Features
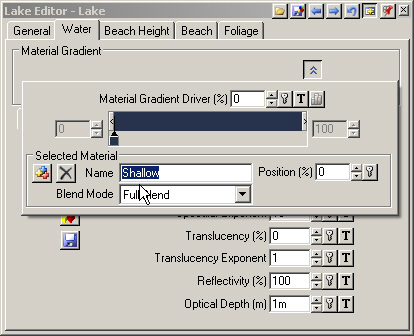
12. To create different colors for shallow and deep water, we’ll need a Material Gradient driven by water depth. Show Material Controls and rename the Material Shallow.
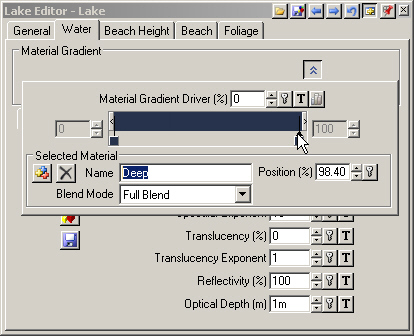
13. Click on the right side of the color gradient to add another pin. Name it Deep.
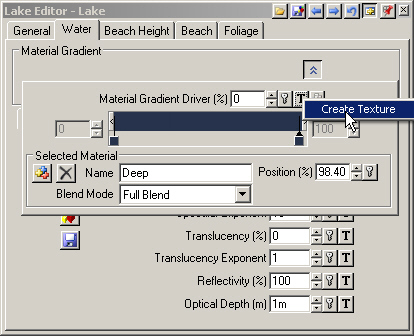
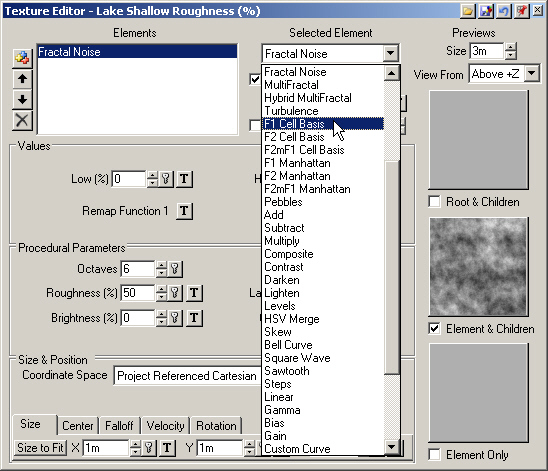
14. Create a Material Gradient Driver Texture to drive the Water Materials.
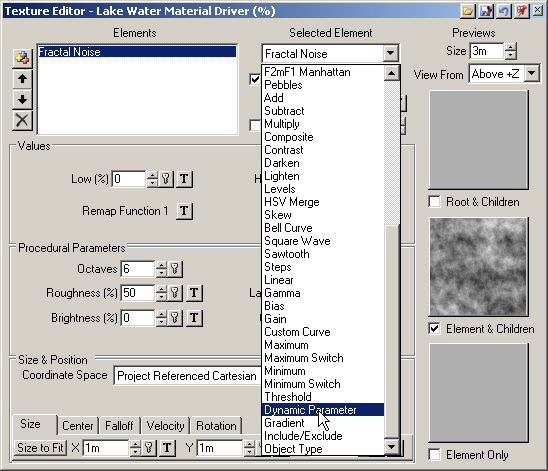
15. Choose Dynamic Parameter from the Selected Element dropdown list.
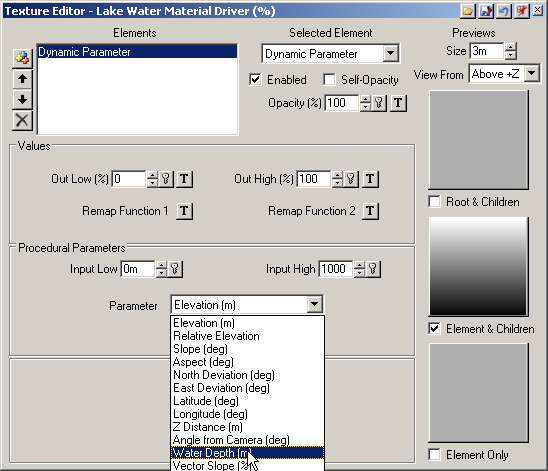
16. Select Water Depth as the Parameter.
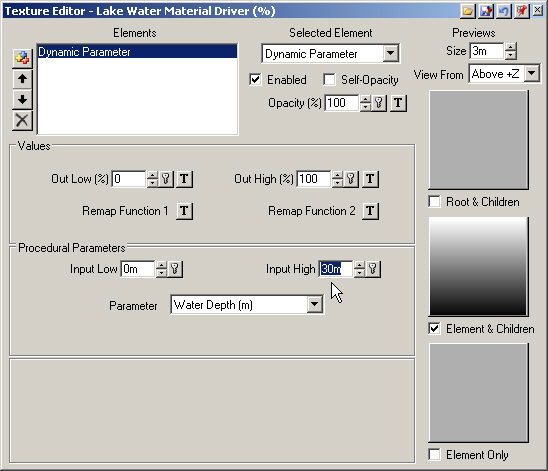
17. Leave Input Low at 0 meters and change Input High to 30 meters. Close the Texture Editor.
18. This gradient will cause the Shallow Water Material to render at a depth of 0 meters and Deep Water Material to render at depths of 30 meters and beyond.
19. Show Material Controls again to hide its window.
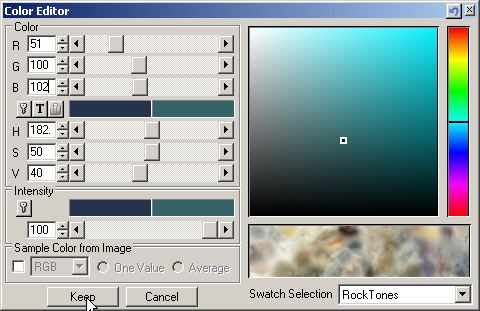
20. Select the Shallow pin and open the Diffuse Color Color Editor. If you forget which pin is which, check the Active Item window on the Animation Toolbar. It reads Lake Water Shallow.
21. Raise the Value to 40 and the Green to 100. Close the editor.
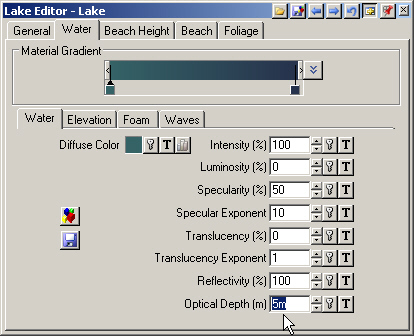
22. Increase the Optical Depth to 5 meters to make the Shallow water more transparent.
23. Save the project and render a preview.
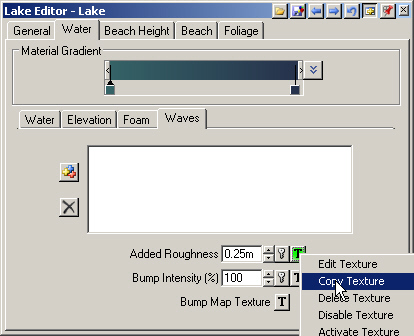
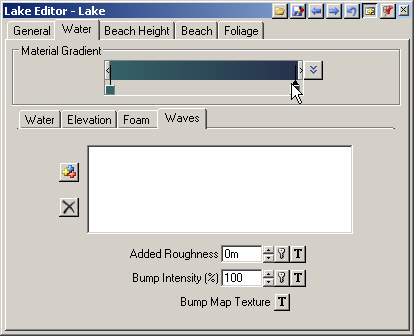
24. To add a little breezy roughness to the Shallow water, go to the Waves tab and increase the Added Roughness to 0.25 meters. Create a texture.
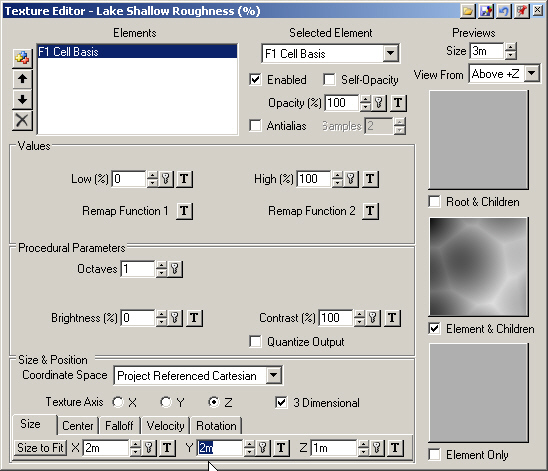
25. Choose the F1 Cell Basis Element.
26. Change the X and YSize to 2 meters
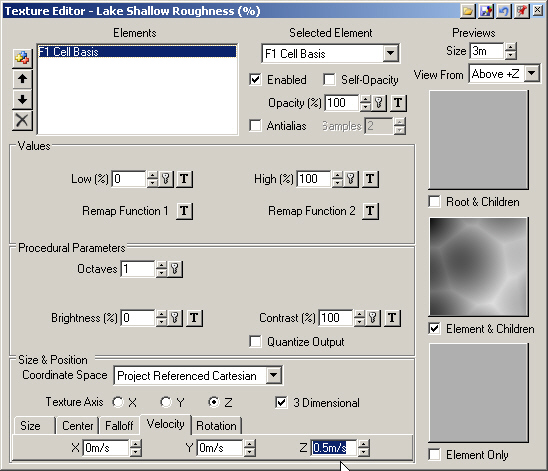
27. To animate the texture, select the Velocity tab. Change the Z value to 0.5 m/s. Close the Texture Editor.
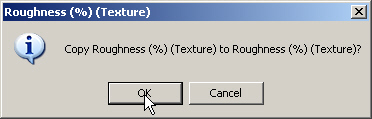
28. To copy the Shallow Water Material Roughness to the Deep Water Material, select Roughness Texture Operations and Copy Texture.
29. Select the Deep Water Material pin in the Material Gradient.
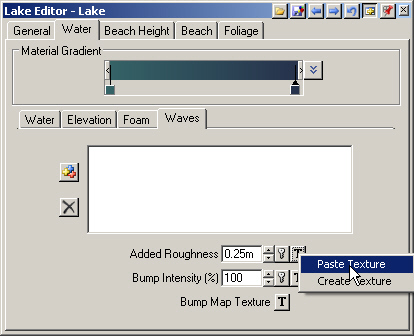
30. Change the Added Roughness to 0.25 meters. Select Texture Operations and Paste Texture. Confirm the operation.
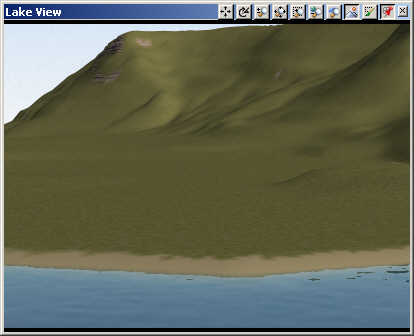
31. Save the project and render a preview.
32. Water surface detail is dependent on terrain resolution and Fractal Depth. The 10-second LakeViewWater.mov animation in the VNS 3 DVD animation folder shows the water rendered at a Maximum FractalDepth of 3.