1. We’re done animating the scene and are ready to render. We’ll create two Render Jobs. The MainTest Render Job will be a fast rendering animation to check for mistakes. The MainFinal Render Job will be the final frame sequence.
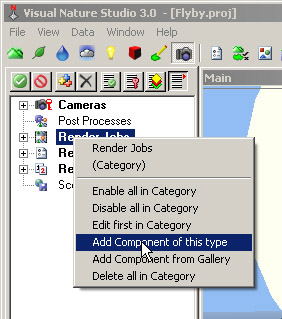
2. Go to the Render Task Mode. Right-click the Render Jobs category and Add Component of this type.
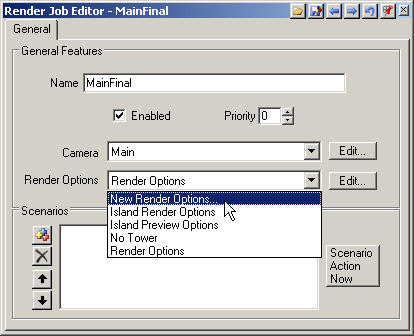
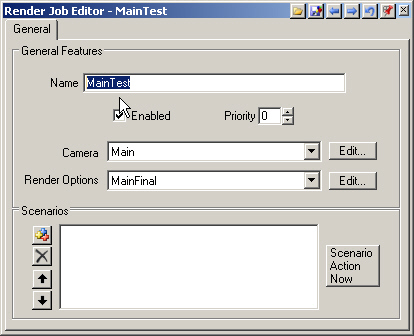
3. Name the job MainFinal. This Render Job will use the Main camera and new Render Options, so select New Render Options.
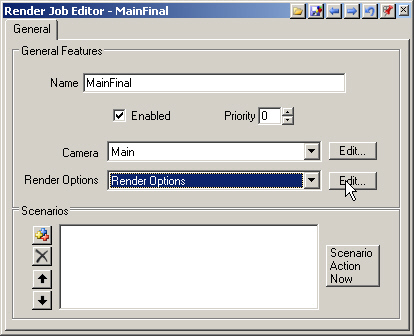
4. Edit the Render Option to open the Render Options Editor.
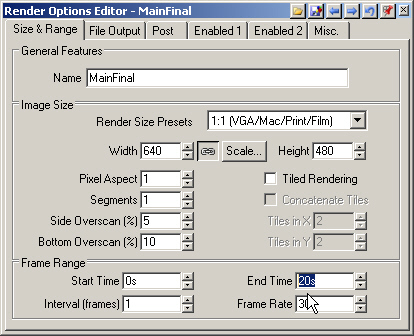
5. Name the options MainFinal to match the Render Job. To render the entire animation, change the End Time to 20 seconds.
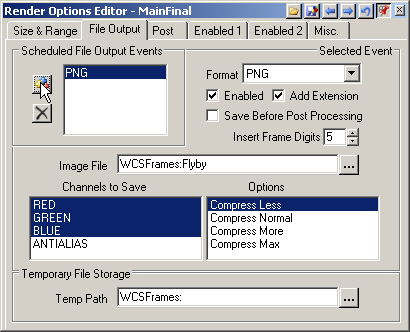
6. Go to the File Output page and Add Output Event. PNG is the default format and a good lossless one. We could render the animation directly to AVI or QuickTime output, but these formats have limitations and are not recommended for final output. AVIs and QuickTime movies cannot be rendered on several machines and may lose rendered output if the computer crashes before the Render Job is complete. These formats are best used for tests, as we will see shortly.
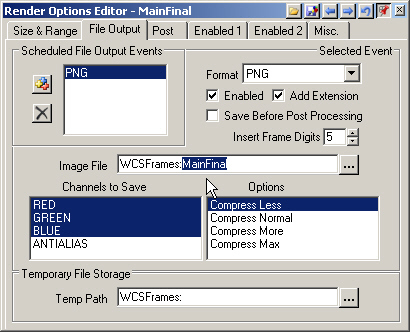
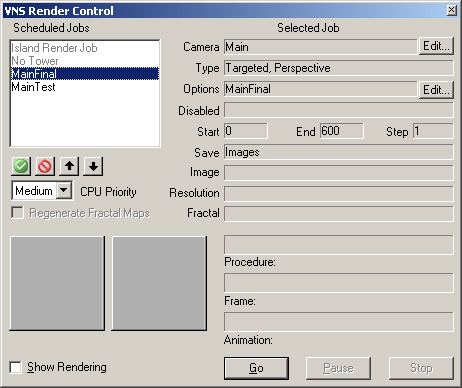
7. Enter MainFinal as the Image File name and the job is ready for rendering.
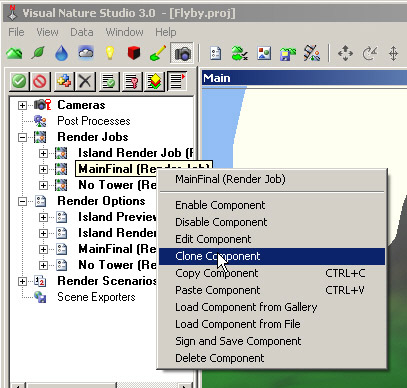
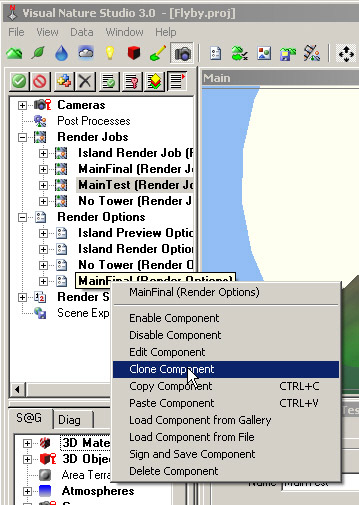
8. We have a MainFinal Render Job with its MainFinal Render Options. Let’s clone them for MainTest use. Expand the Render Jobs in the Scene-at-a-Glance and clone MainFinal.
9. Rename the clone MainTest.
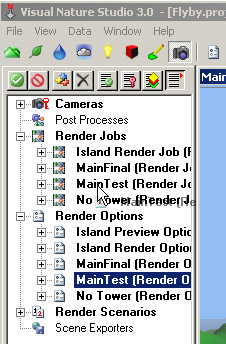
10. Select the MainFinal Render Options in the Scene-at-a-Glance and clone it.
11. Rename the clone MainTest. To reduce the frame size, click Scale and enter h for half size.
12. Reduce the Frame Rate to 6 frames per second.
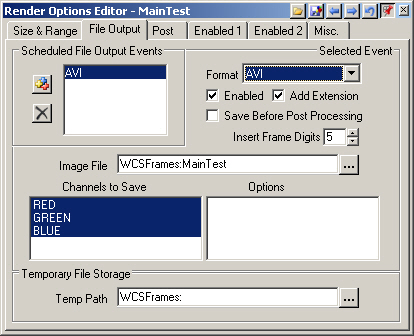
13. On the File Output page, change the Format to AVI. Rename the Image File MainTest.
14. Go to the Scene-at-a-Glance and click and drag the MainTest Render Options to the MainTest Render Job. Confirm the operation.
15. We’re ready to render the test animation, so close the editors and open Render Control . We don’t need the Island or No Tower Render Jobs so disable them.
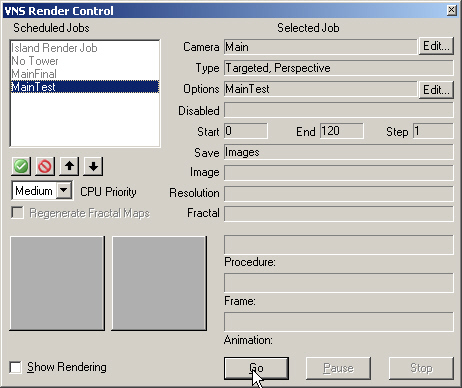
16. We’ll render just the MainTest Render Job the first time around, so select MainFinal and disable it. Go to start rendering.
17. VNS warns us that the Terrain Parameters are currently set to render using Variable Fractal Depth, which is the default method and appropriate for rendering single images. It is not appropriate for terrain animation, which we’ll talk about in the next tutorial. For now, take my word for it and select Depth Maps.
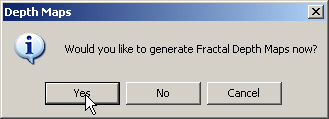
18. Answer Yes to generate Fractal Depth Maps.
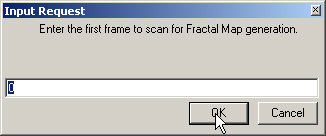
19. Start with frame 0.
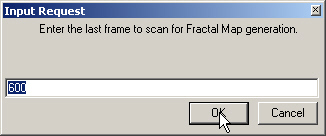
20. End with frame 600.
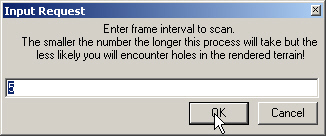
21. Generate maps every 5 frames. In a nutshell, VNS will go through the animation and keep track of which terrain polygons pass near the camera and which ones stay distant. The rendering engine will use the resulting map to subdivide terrain polygons, which optimizes rendering time and terrain detail.
22. The Status Window will show progress as Fractal Depths Maps are calculated.
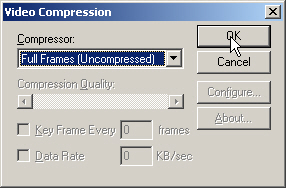
23. We’re rendering the test animation to the AVI format, so the Video Compression window opens asking for a Compressor. Let’s go with Full Frames.
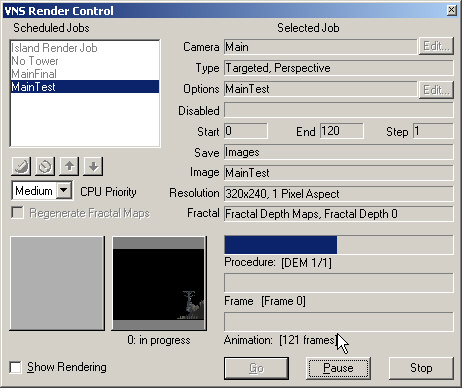
24. Render Control will show rendering progress.
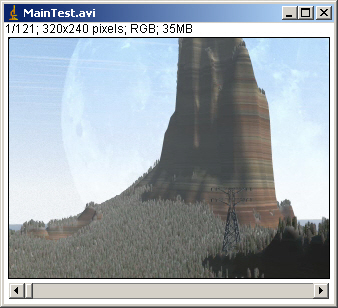
25. The MainTest AVI can be found in the animation folder on the VNS 3 DVD.
26. Everything looks good in the test animation, so it’s back to Render Control for MainFinal rendering. Disable the MainTest Render Job and enable MainFinal. Make a last check of the render settings and start rendering. This will take many hours, so take the rest of the day off and we’ll check back later.
27. It took about 3 hours to render the 601 frames. The assembled MainFinal QuickTime movie is in the animation folder on the VNS 3 DVD.