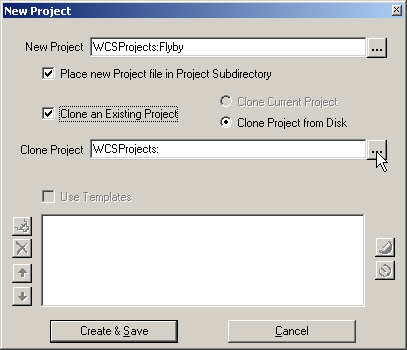
1. The last tutorial laid the groundwork for basic VNS scene construction. Let’s build on those basics and animate Components. Create a new project and name it Flyby. We’ll use the Island project as a starting point, so Clone an Existing Project.
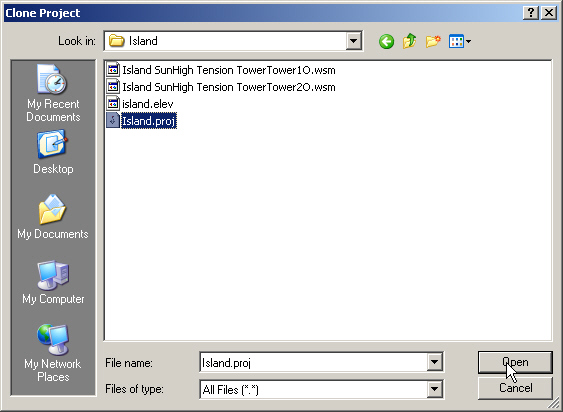
2. Browse files to open the Clone Project file requester. Go to the Island project folder and open the Island project.
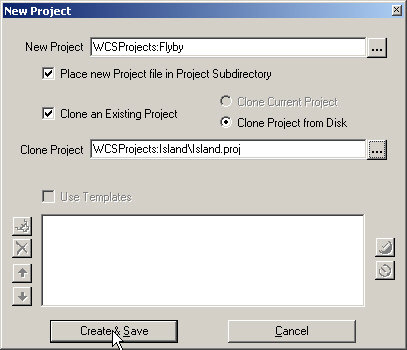
3. When you Create & Save, VNS will create a copy of the Island project, called Flyby, in a new Flyby folder under WCSProjects. The terrain elevation file is still in the original Island folder.
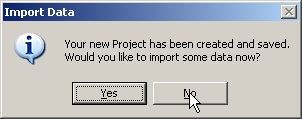
4. We already have the terrain data we need, so answer No in the Import Data window.
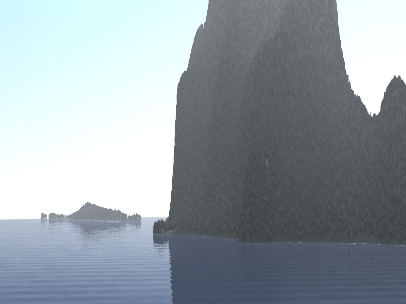
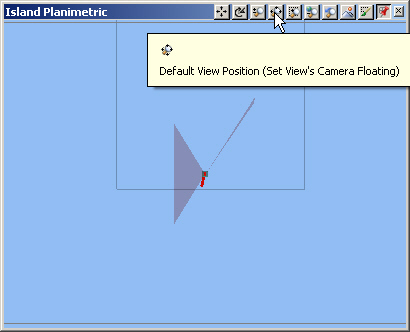
5. Activate the Island Planimetric view and return the camera to its default camera position.
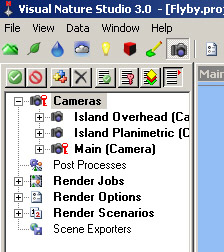
8. We’ll be working with the Animation Toolbar, so let’s take a closer look at it. Turn on the Key Frame Group toggle, which keys all parameters in a group when one is keyed. This will make more sense shortly when we create the first keyframe. Keyframes are frames where you set parameters. VNS does the rest of the work and creates the frames in between. Let’s start by animating the Main camera.
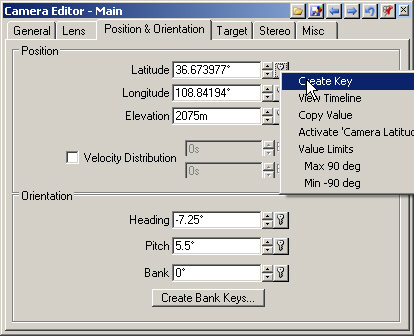
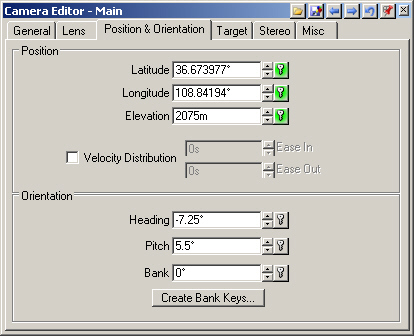
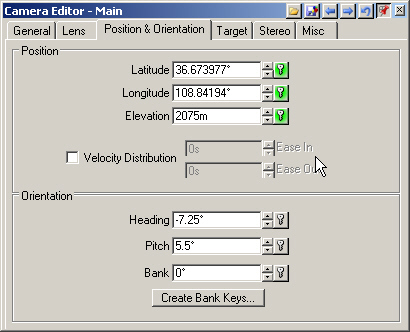
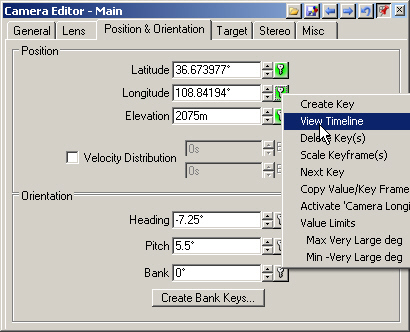
9. Go to the Render Task Mode and open the Main Camera Editorto the Position & Orientation page. Select the Animation Operations to the right of the Latitude field and select Create Key.
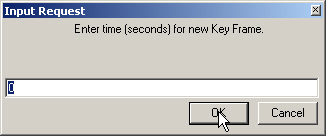
10. The Input Request window will ask for the keyframe time and default to the current frame. This is the beginning of the camera path, so use the Enter key to set the first keyframe at 0 seconds.
11. The Animation Operations icon turns green for all 3 members of the camera position group because we’re in the Key Frame Group mode.
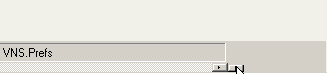
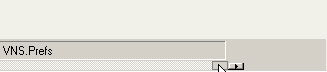
12. In the Scene-at-a-Glance, keyframed parameters are indicated by a red key.
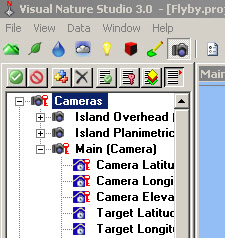
13. Expand the Main Camera category. The Camera Latitude, Longitude, and Elevation all have red keys.
14. Now we’re going to keyframe a new camera position. The Main camera is still active, so Ctrl-click a new camera location northeast of the island.
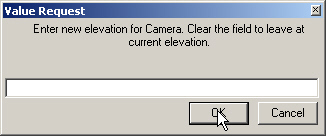
15. Clear the elevation field in the Value Request window and OK. When no elevation is entered, the camera is placed at the current elevation.
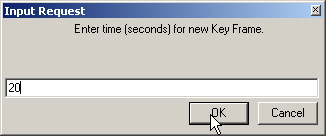
16. This time, add a key with Add Key Frame on the Animation Toolbar. Enter 20 seconds for the new keyframe time. The planimetric view will update with the new camera location.
17. Go to Next Key Frame is now available beside the frame counter. We can jump between keyframes with Go to Next Key Frame and Go to Previous Key Frame .
18. Click the small Play Animation arrow at the right end of the frame slider to play the animation. VNS has taken the 0 and 20 second camera position keyframes and filled in the frames in between. Play Animation again to stop playback.
The smaller arrow to the left of Play Animation plays the animation only as long as it’s depressed:
19. We can also drag the frame slider to move forward and back in the animation. Holding down the right or left arrow keys on the keyboard plays the animation forward and back.
20. To jump to a time in the animation, enter it into the frame counter. When you’re done, enter 0 to return to the start of the animation.
21. Let’s change the velocity of the camera between the keyframes using the Timeline Editor. One way to open it is to make the Camera Latitude active in the Scene-at-a-Glance and select OpenTimeline for Active Parameter on the Animation Toolbar.
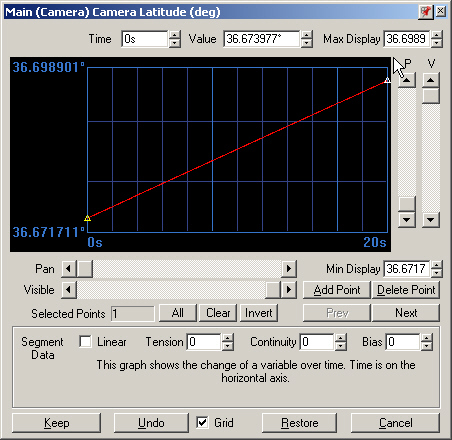
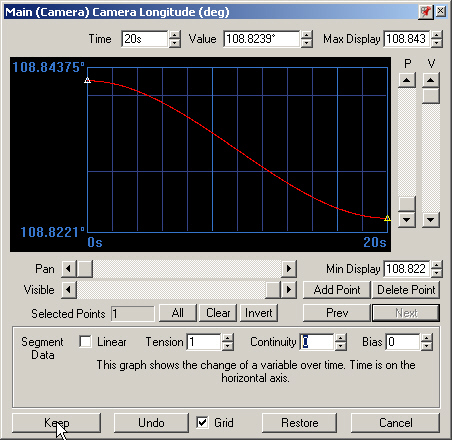
22. The timeline is a graph with the variable on the vertical axis, in this case latitude, and time on the horizontal axis. Triangles represent keyframes and the active one is highlighted in yellow. The latitude timeline represents a change in north-south position with time. The absolute value of the slope is the north-south velocity. The graph is a straight line, which means we have a constant velocity and the camera starts and ends at full speed. We’re going to change the velocity to make the camera start slowly from rest, accelerate to cruising speed, and then decelerate to a gentle stop at the end.
23. We could go to the Camera Editor page and use VelocityDistribution to Ease In and Ease Out, but it can’t be previewed in realtime views.
24. Instead, we’ll vary velocity in the Timeline Editor. The first key is yellow and active. Change its Tension to 1.
25. Select the last keyframe and change its Tension to 1. This will give us a latitude velocity that starts at 0 (no slope), slowly increases to a maximum at 10 seconds, and slows to 0 again at the end of the animation (slope decreasing to 0). Keep the changes to set the latitude timeline settings.
26. That takes care of the latitude half of the camera position. The most convenient way to access the timeline is from the Camera Editor. Select Longitude Animation Operations and View Timeline.
27. Repeat the latitude timeline process and change the Tension at each longitude keyframe to 1.
28. Keep the changes, save the project, and play the animation. The camera now slowly accelerates to a maximum velocity midway through the animation and decelerates to a stop at the end.