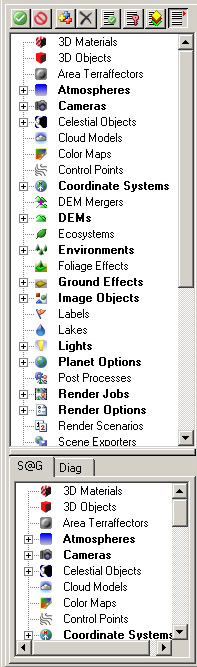
1. You can also save the project as a Component. So what is a Component? It’s a building block that can be saved, shared, and loaded into other projects. In its current freeform mode, the Scene-at-a-Glance shows all Component categories. Bold categories have Components.
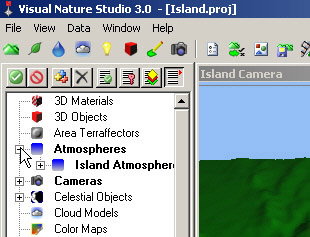
2. Expand the Atmospheres category by clicking the + in front of it. There you’ll see the Island Atmosphere Component.
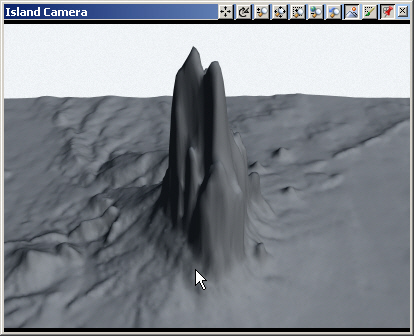
3. Let’s save the project as a Component. We’ll use a thumbnail image to identify it. Click anywhere in the Island Camera view to activate it and key F9 to make a preview render. You can also start a render with the Preview Render button on the titlebar.
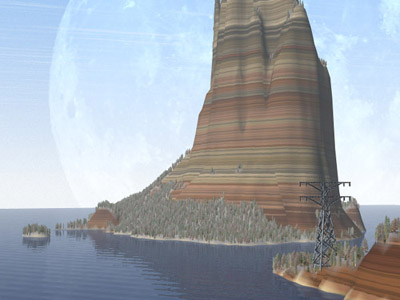
4. The render won’t look like much yet because we only have the default Island Ground Effect covering it, but it will do for a start.
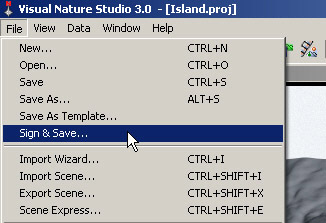
5. Go to the File menu and select Sign & Save.
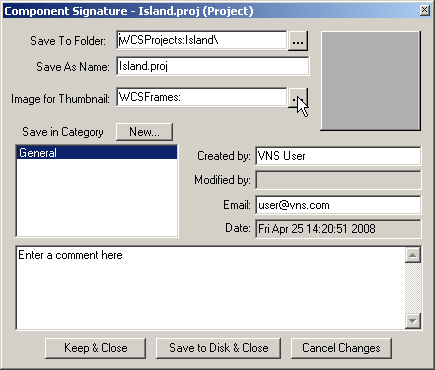
6. This will open the Component Signature window. To the right of the Image for Thumbnail field, click the directory icon .
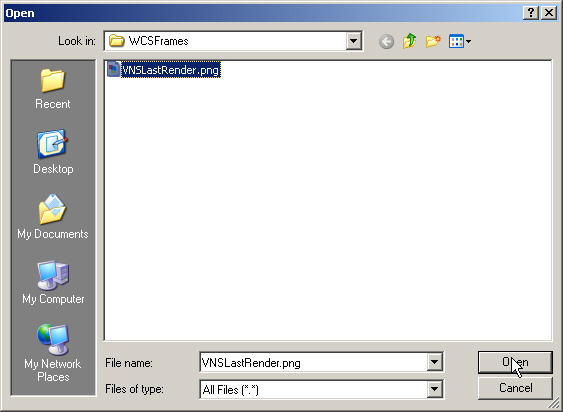
7. Open VNSLastRender.png in the WCSFramesfolder. VNS saves preview renders under this name, overwriting it each time.
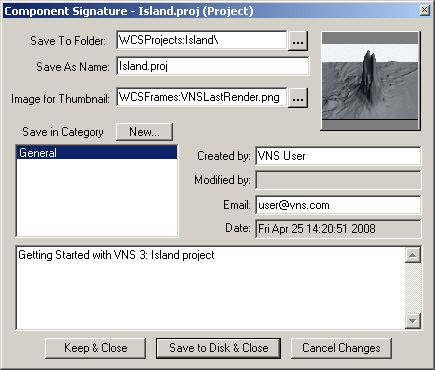
8. VNS will update the Component thumbnail. Add a complete description in the Comments box, keeping in mind that this will explain what’s in the Component and how to use it. Save to Disk & Close to save the Component.
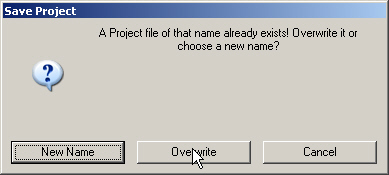
9. The Save Project box will warn you that a project of that name already exists, which we know, so Overwrite it.
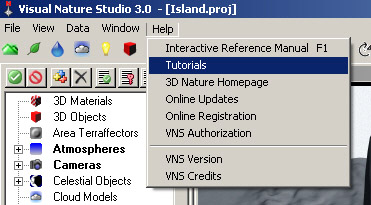
10. Go to the menu and select Help > Tutorials. Choose Existing Projects and you’ll see the project ready for use. Click the thumbnail to bring up the project’s description.
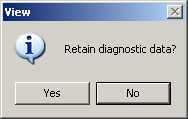
11. We’ll need it in a moment, so activate the Island Camera view and key F8 to switch back to realtime mode. Enter past the View box to accept the default option.
12. Up to now we’ve left the Scene-at-a-Glance in freeform mode. Let’s break it down into Task Modes. That’s where the first 8 buttons on the Icon Toolbar come in. They filter the upper pane and show only task-specific Component categories.
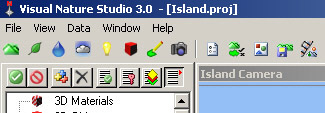
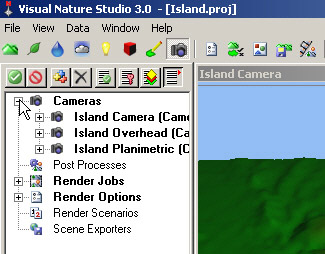
13. Let’s start with the last one first, the RenderTaskMode . We’re only interested in the Cameras category, so expand the listing. You’ll recognize the 3 Cameras from the popup menu.
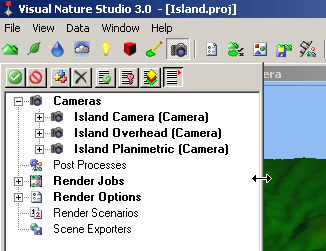
14. The first 4 buttons directly above the Scene-at-a-Glance allow you to Enable , Disable , Add or Clone , and Delete Components. The next 3 buttons control item visibility in the upper pane. The last one expands the Scene-at-a-Glance and allows you to click and drag the right edge.
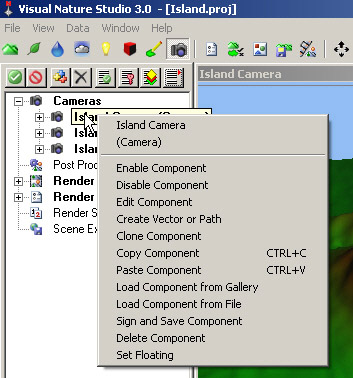
15. Component operations can also be accessed from a right-click on the Component itself.